 BRANDON BURRELL
.
March 13, 2025
.
Feature Stories
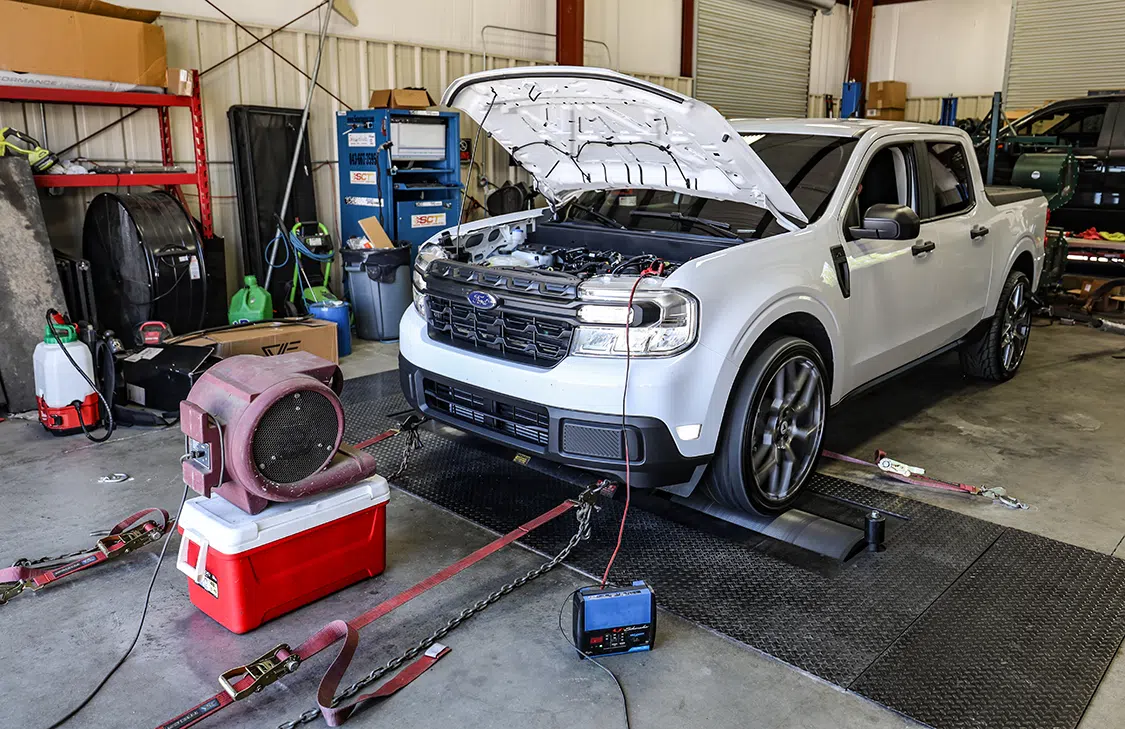
When upgrading any truck, big or small, one of the first things people tend to do is add some extra power to the engine.
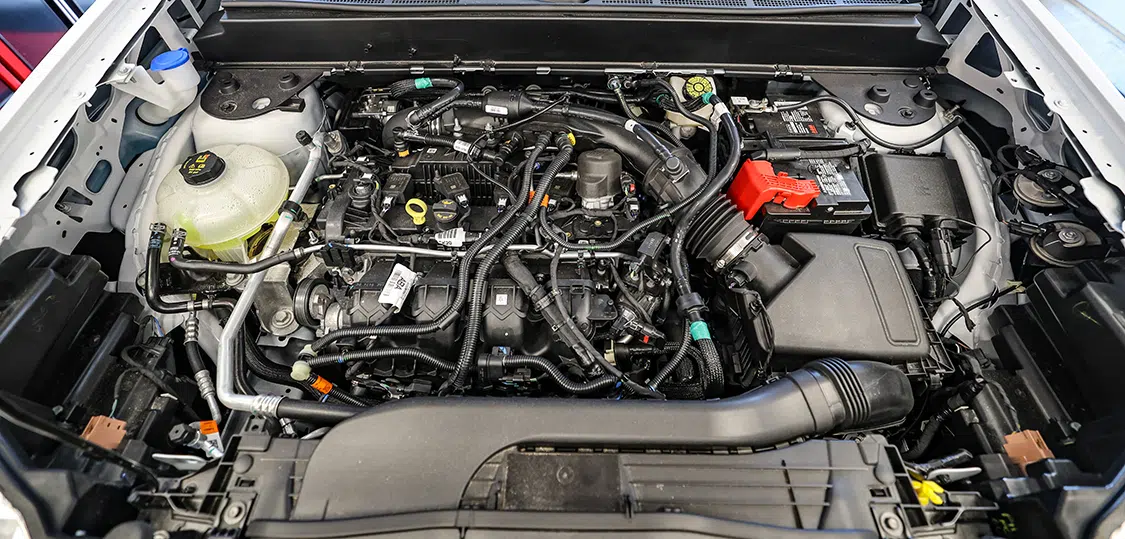
In this case, our ’23 Ford Maverick XL with the 2.0L Ecoboost came with very little power from the factory. Being a 4-cylinder turbo engine, I knew I could squeeze a little more power out of it. The Ford Ecoboost platform has become one of the most popular Ford options. Most of the company’s vehicles, including Mustangs and all ST platforms, have this option in various sizes. With the Maverick, you either have the Ecoboost or hybrid option. I was more interested in adding some upgraded power versus having a few more MPG, so I opted for the Ecoboost.
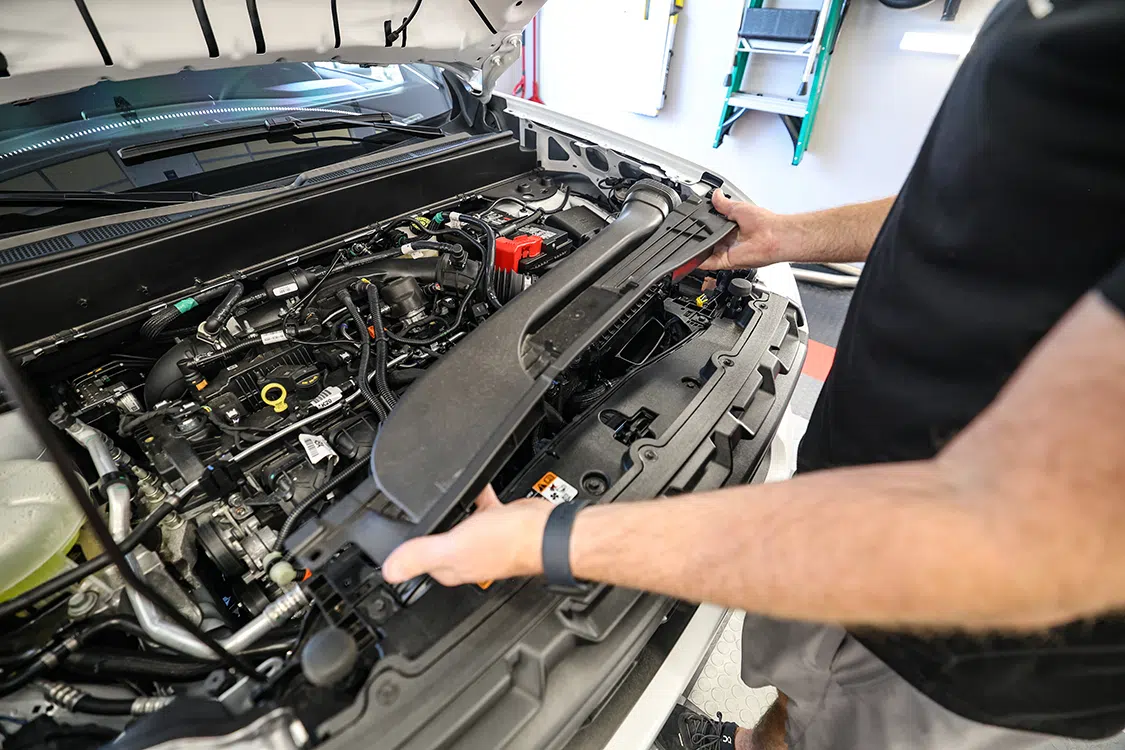
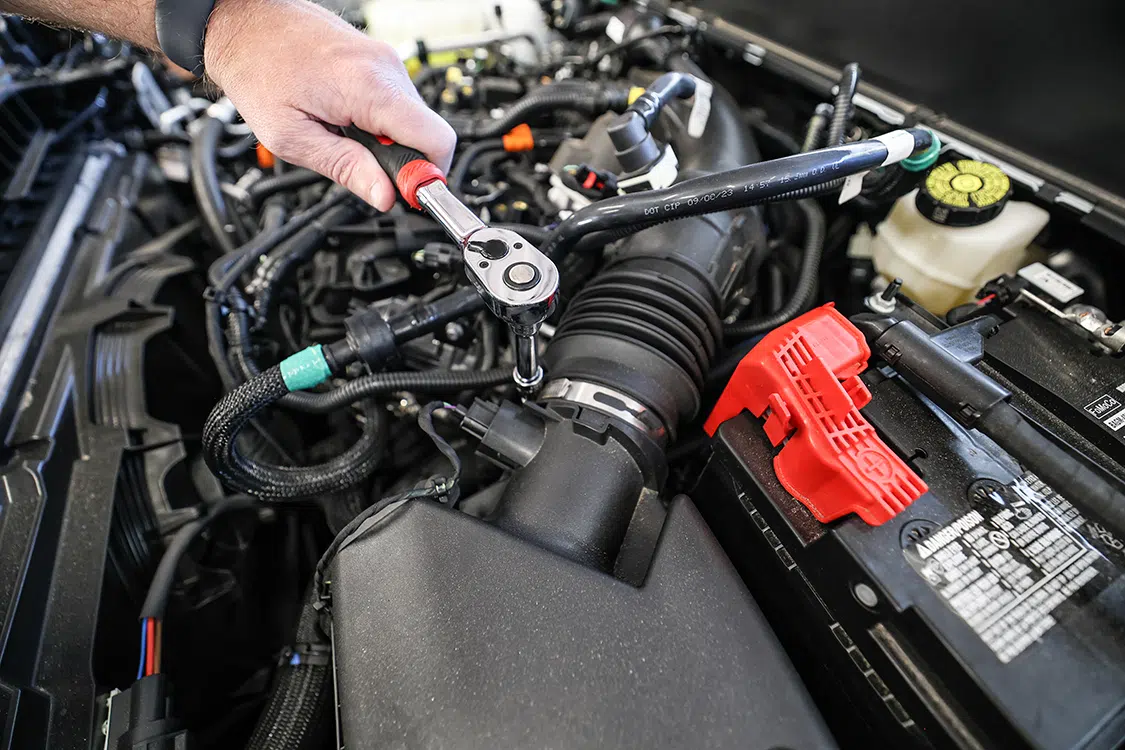
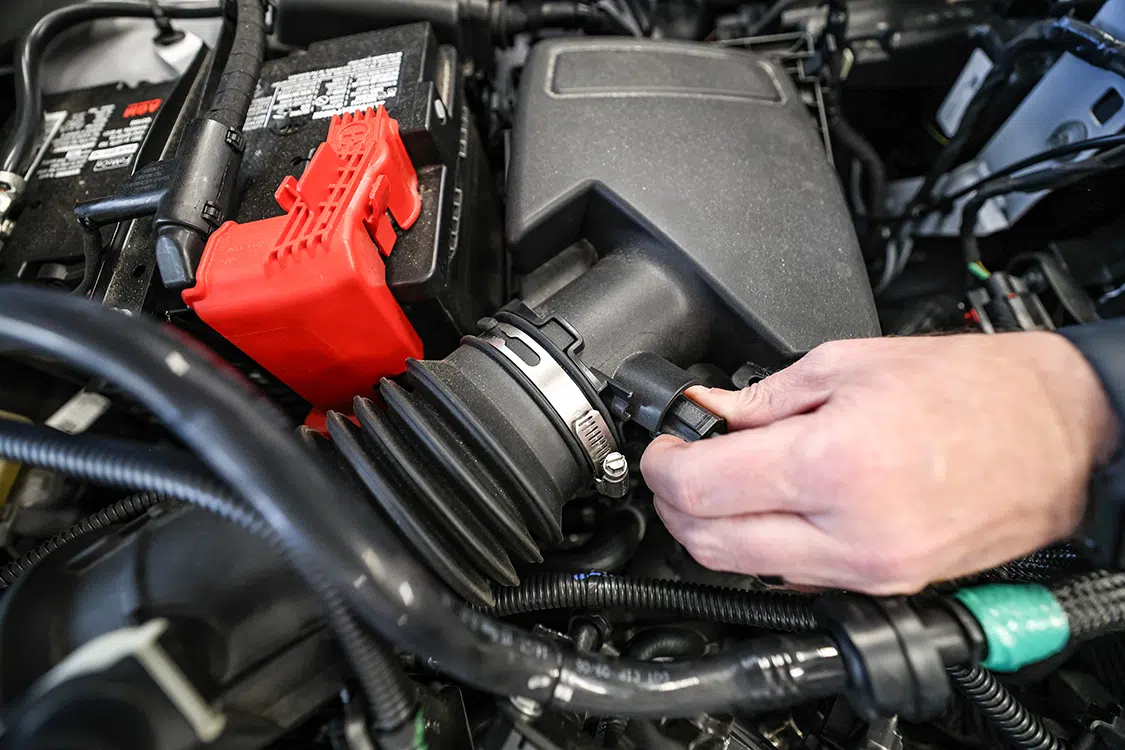
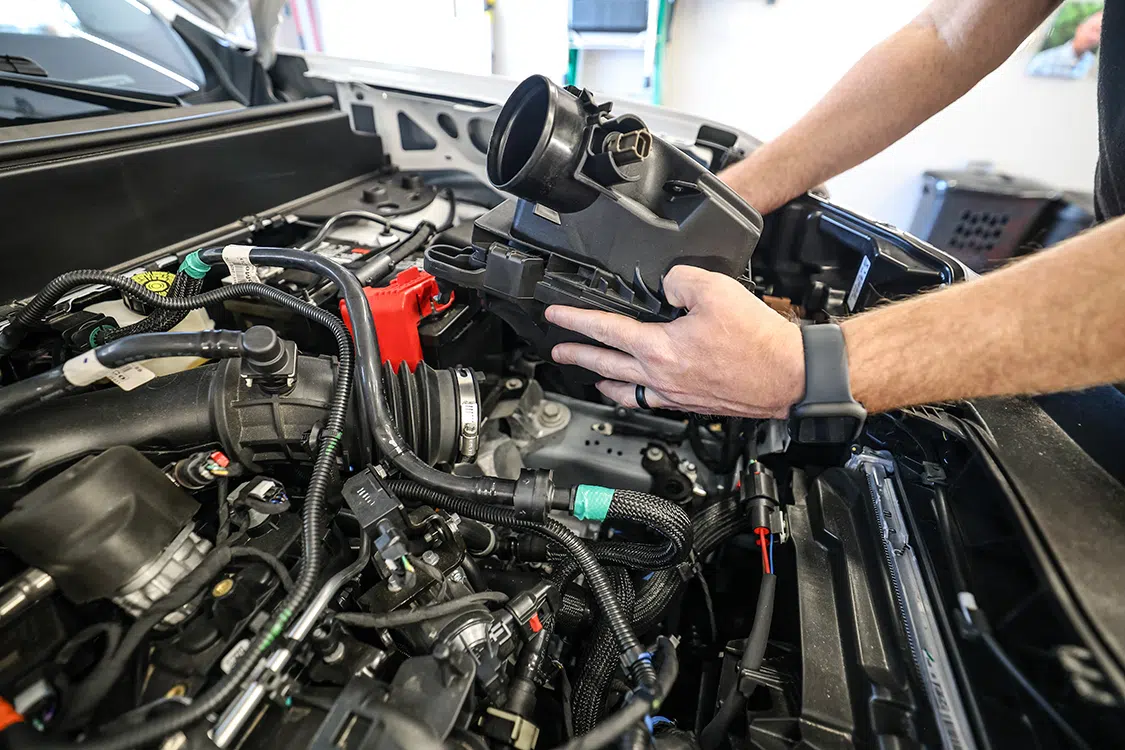
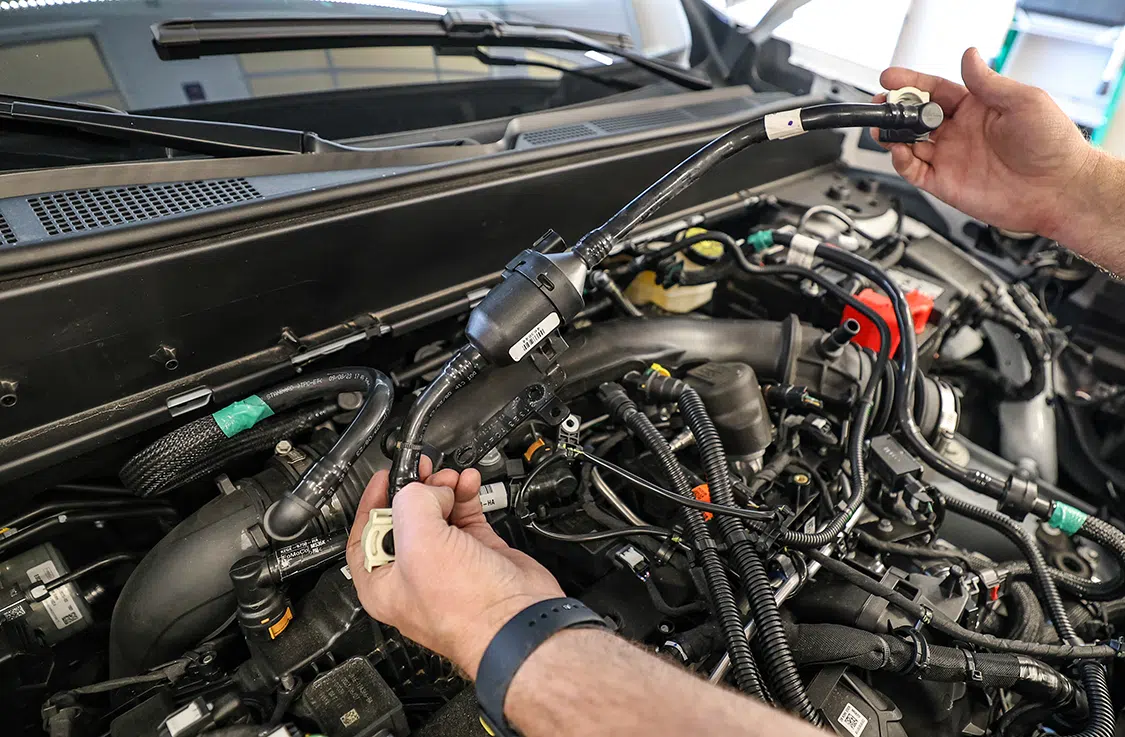
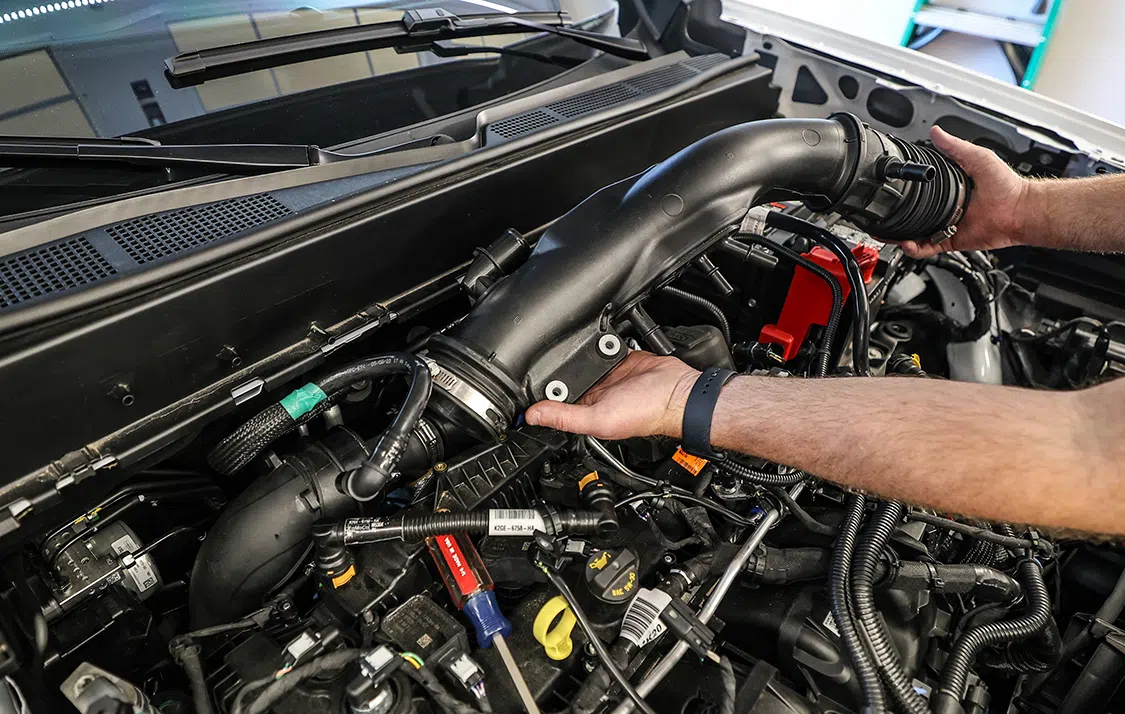
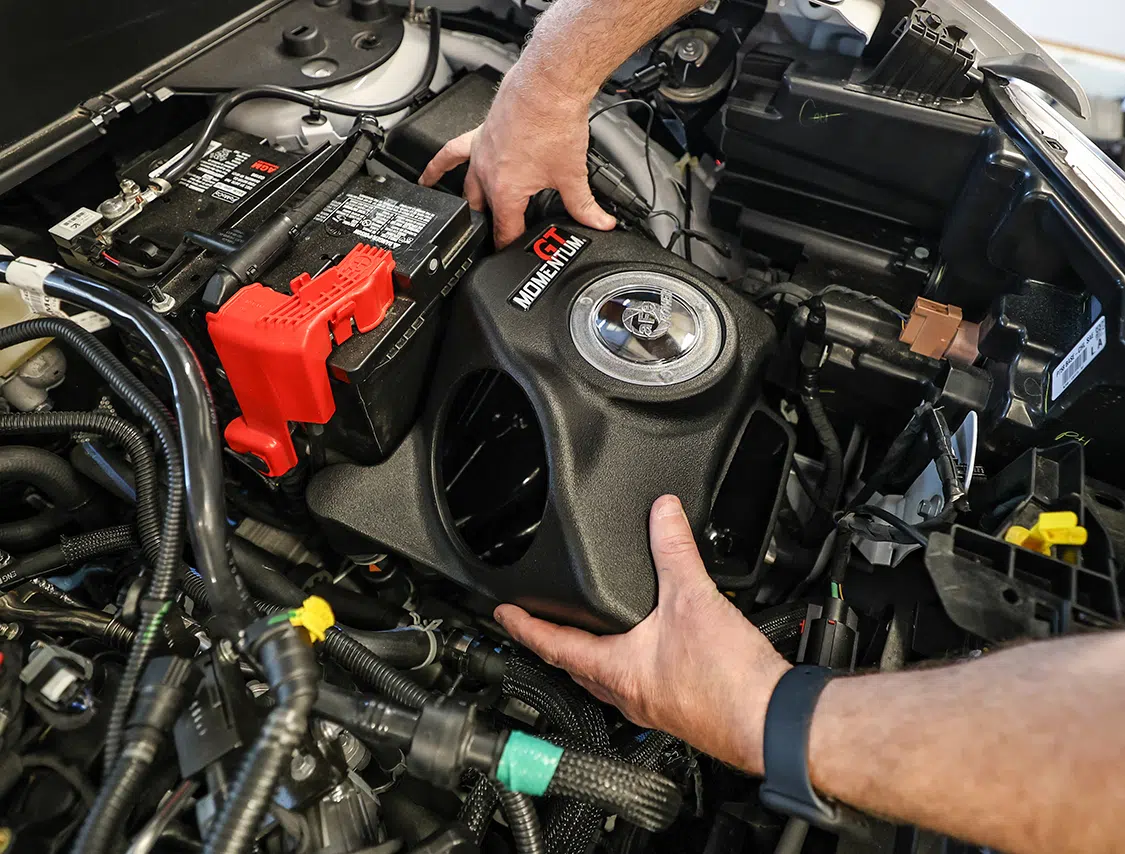
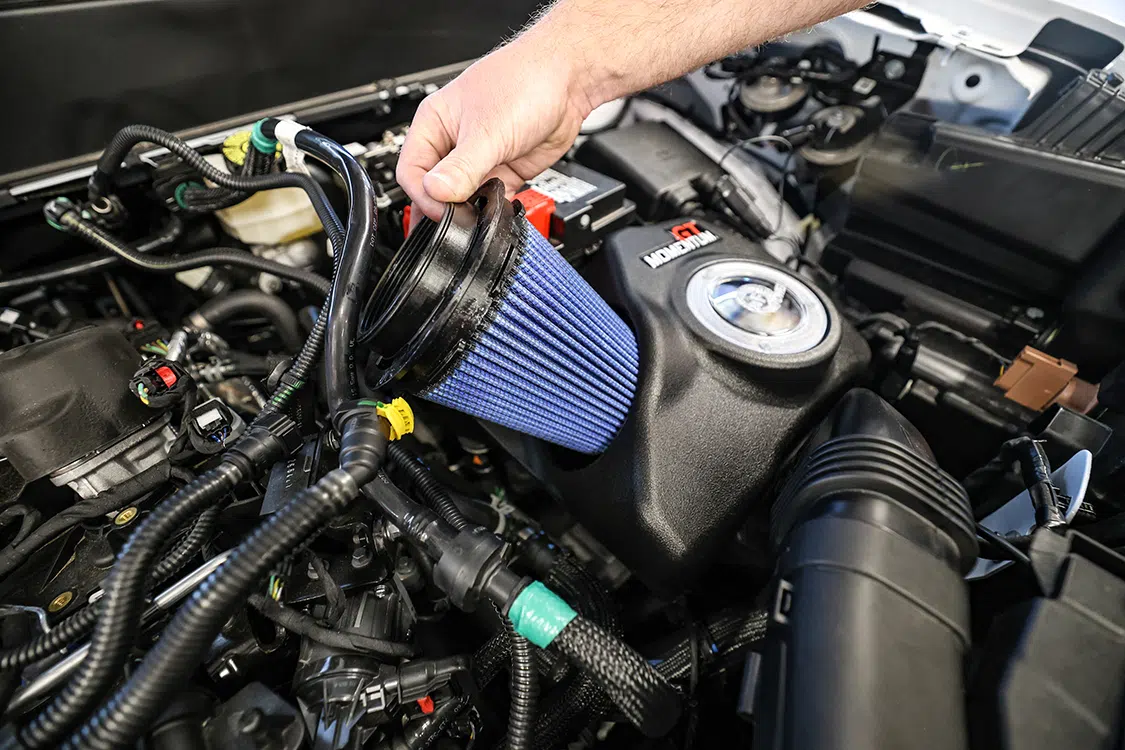
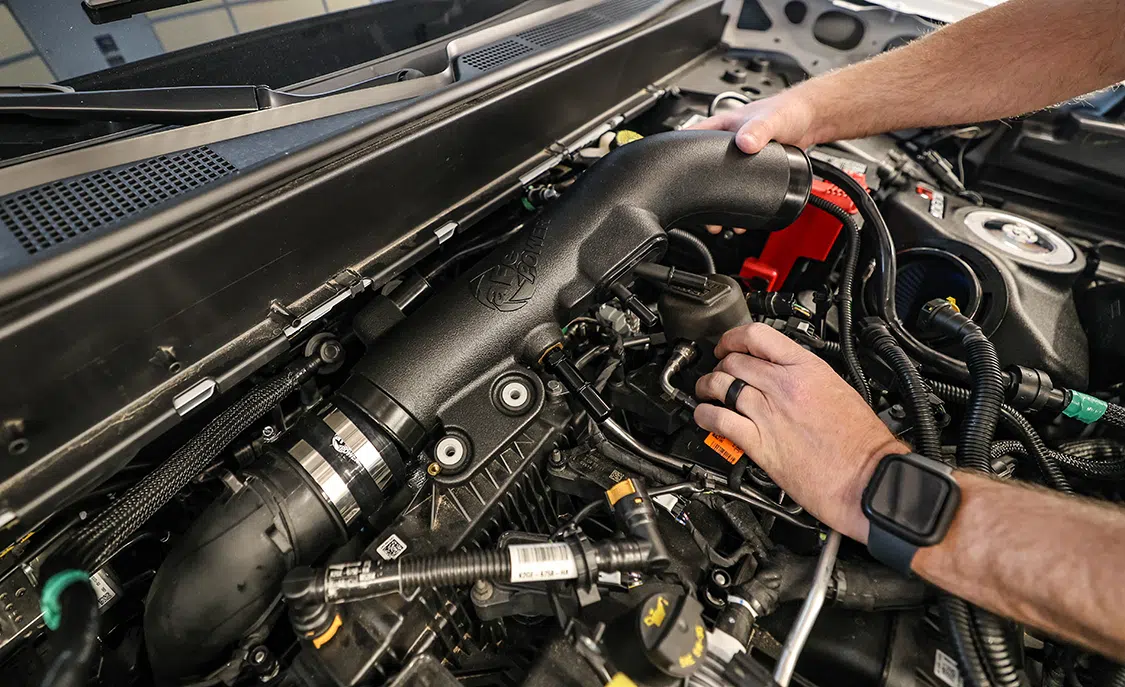
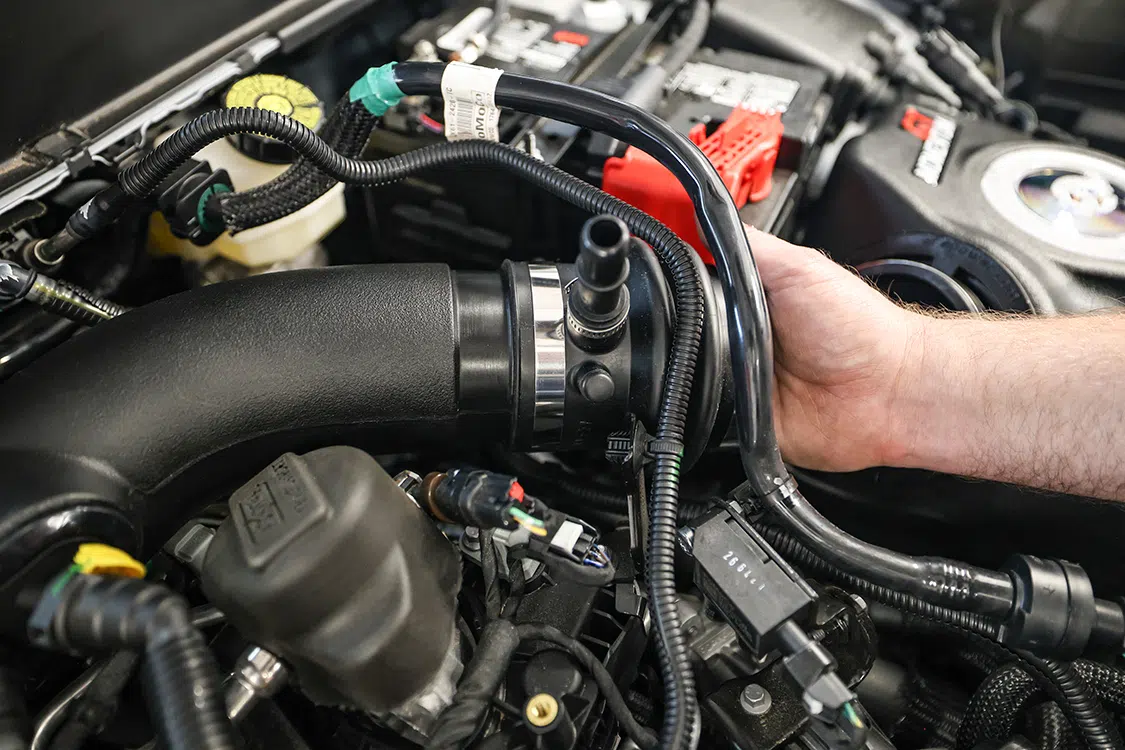
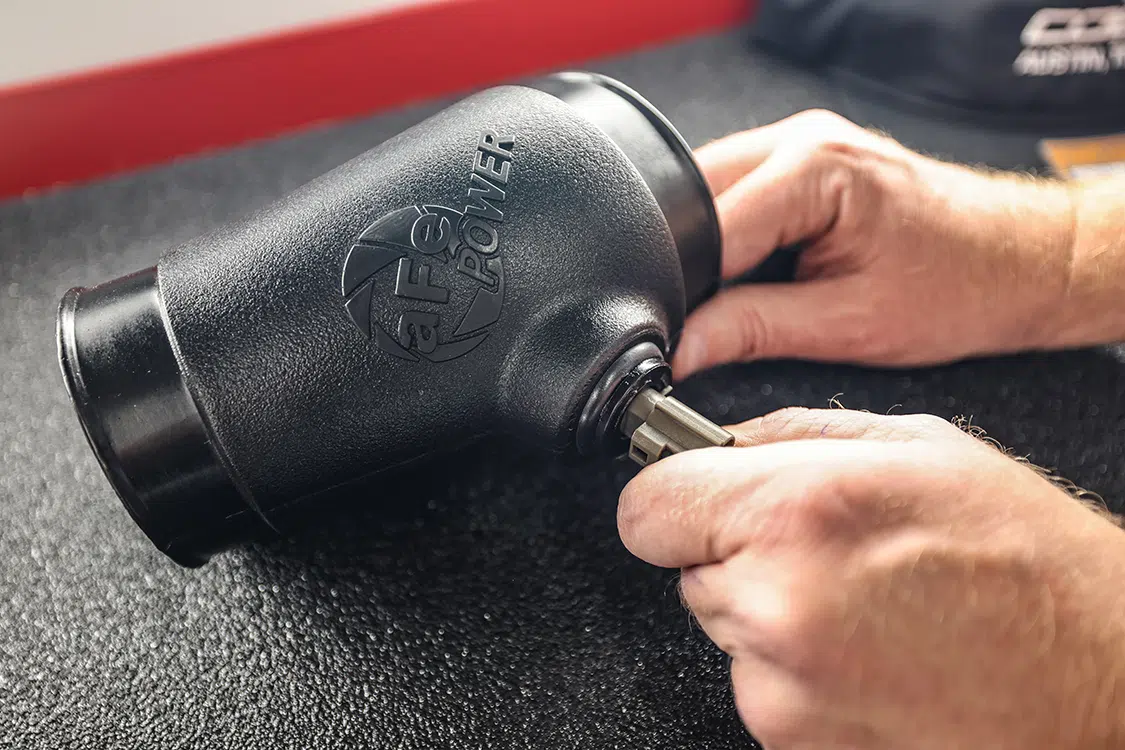
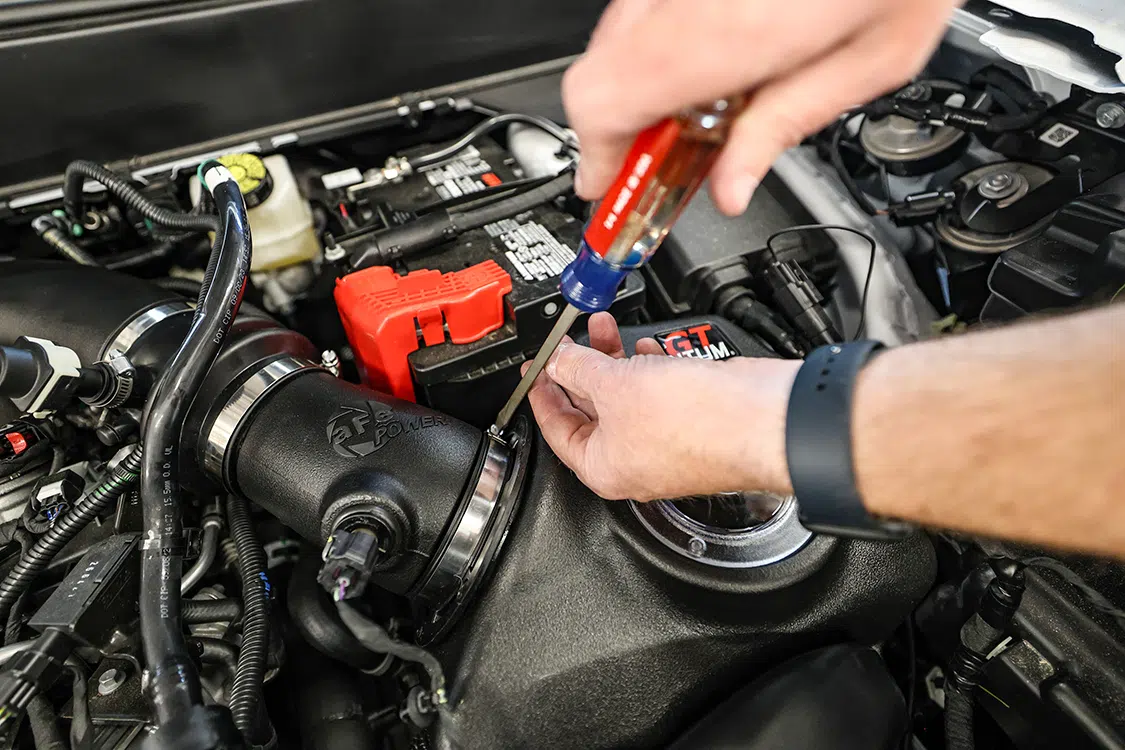
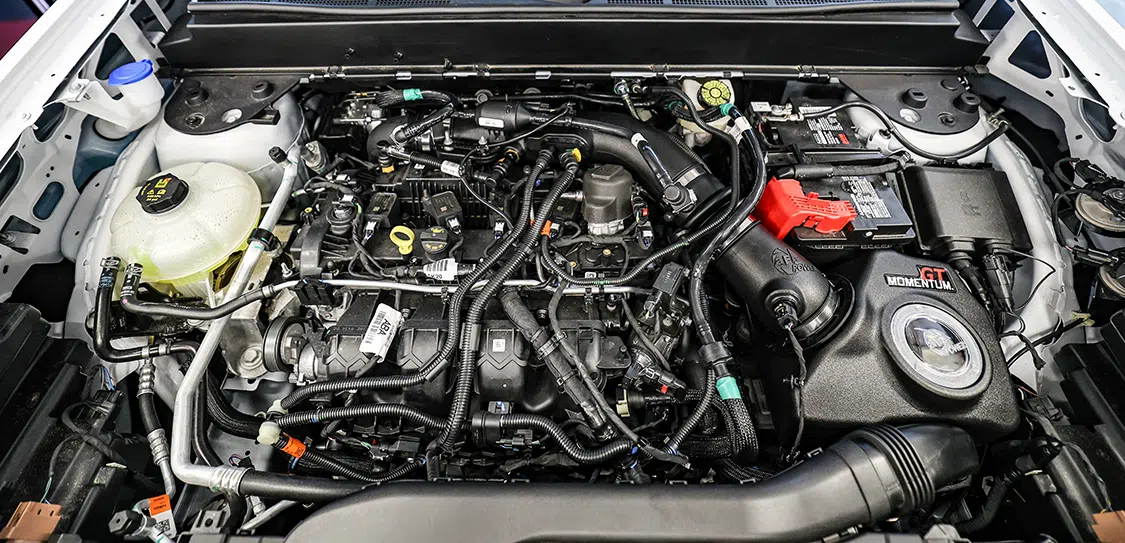
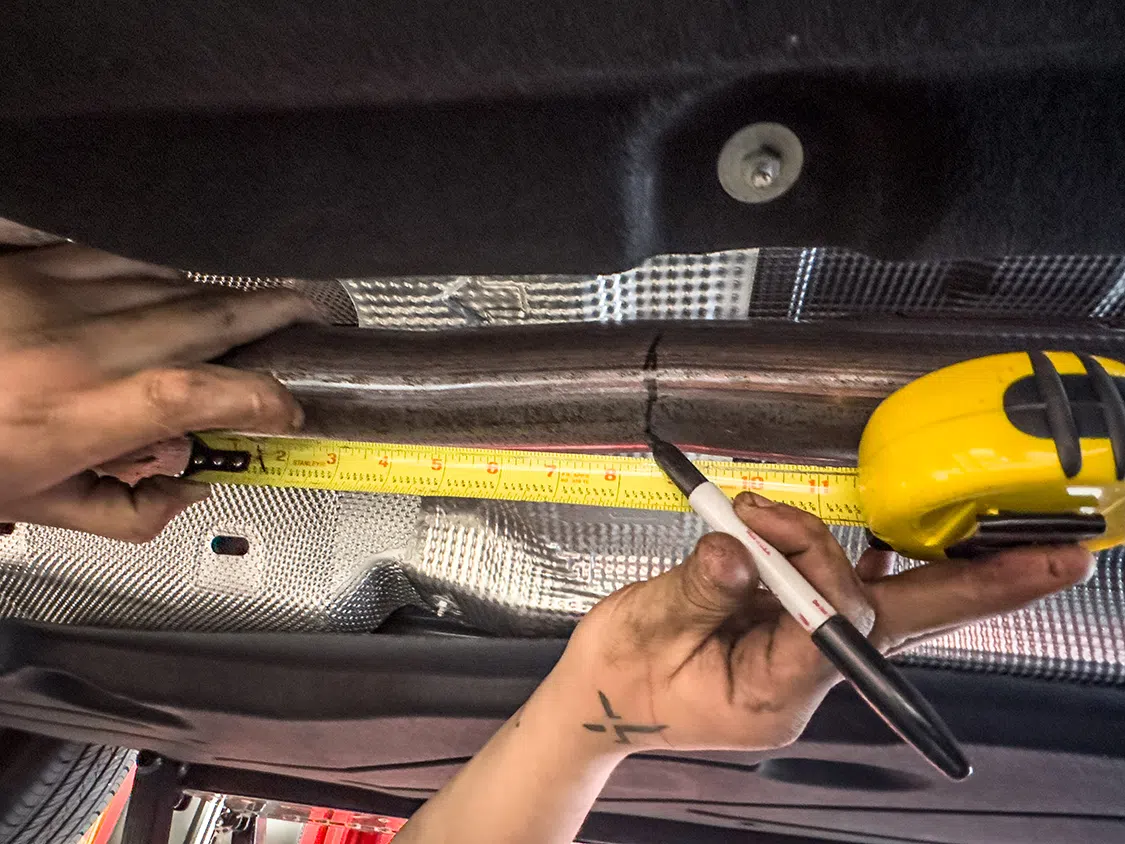
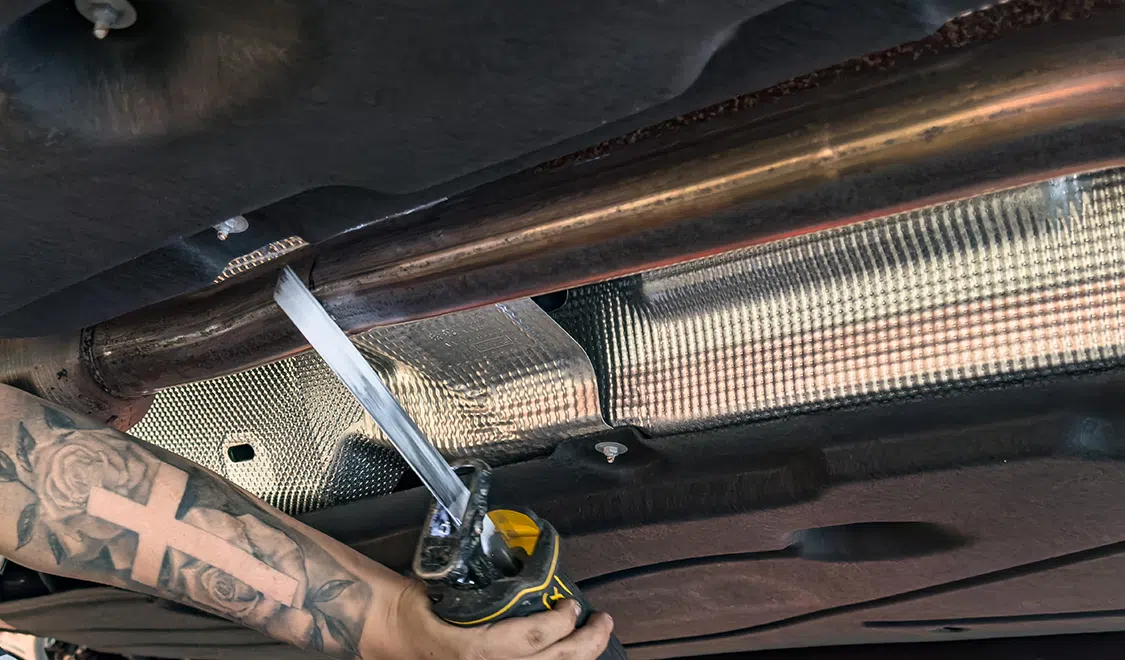
With Ford already having this platform on the market for a while, I knew there had to be several aftermarket companies offering upgrades. I reached out to the crew at aFe Power to see what they had to offer. I picked up their Momentum GT cold air intake system (Part #50-70079R, $410 MSRP) to let the engine breath a little better. To get the spent gasses out more easily, I also grabbed the aFe Power Vulcan Series 2-½-inch 304 stainless steel cat-back exhaust system with black tip (Part #49-33145-B, $788 MSRP).
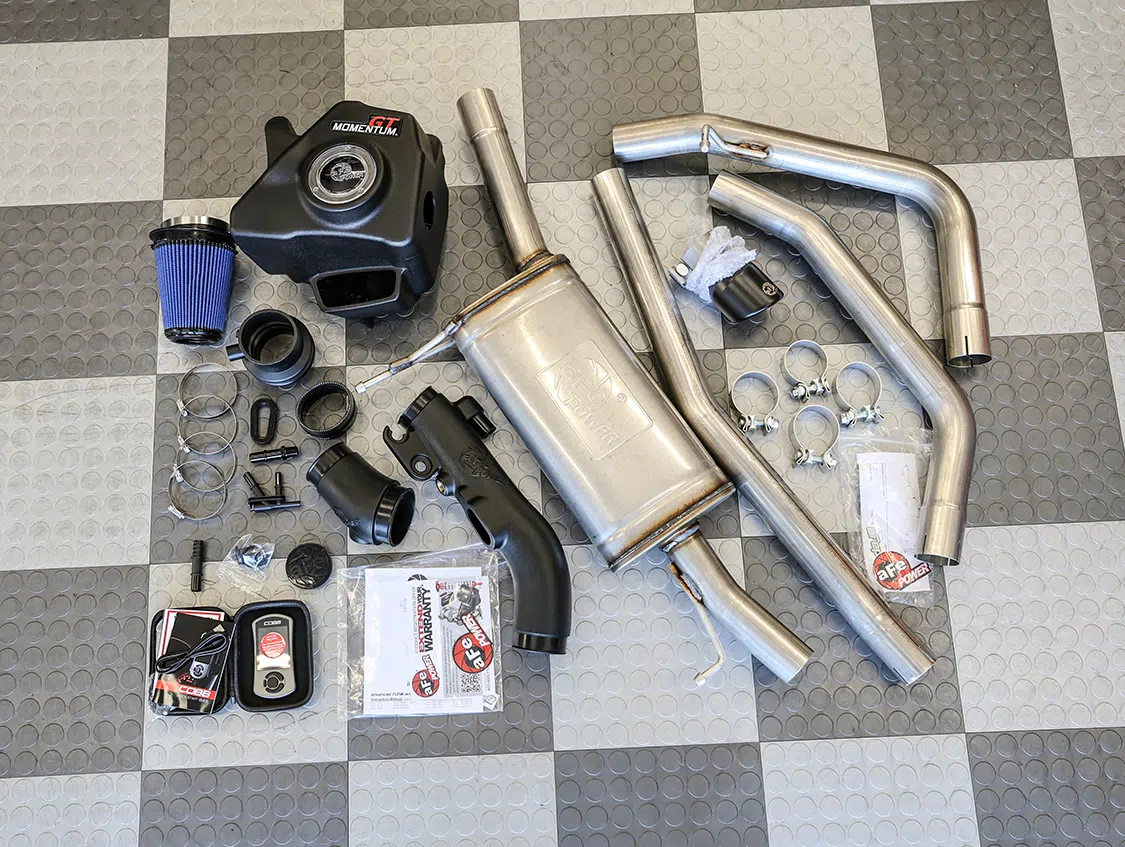
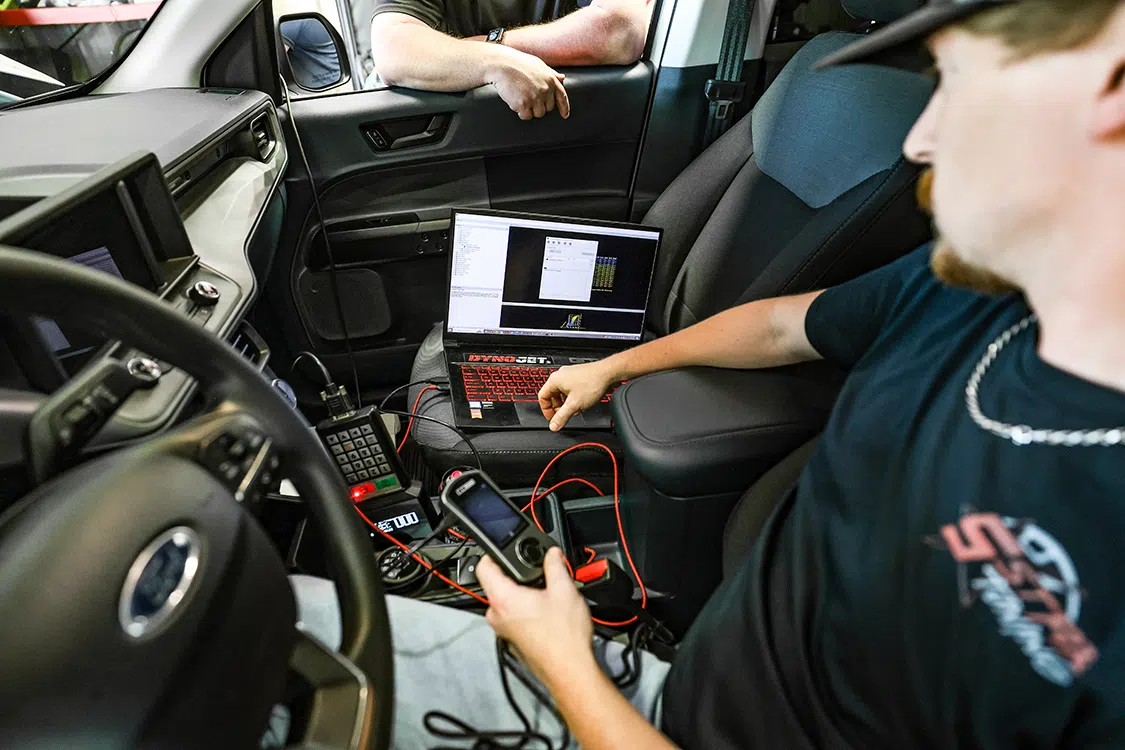
Once the bolt-on parts were in hand and installed, which was a quick afternoon job with standard hand tools, I reached out to COBB Tuning for one of its Accessports. It not only allows a tune to be added to the truck, but also allows for custom tunes to be loaded into the Accessport and then loaded into the truck. This design gives the end user way more variety as to how the truck is used (Part #AP3-FOR-009, $625 MSPR). This unit not only allows you to load the tunes on the truck, but has a full color screen that lets you monitor up to six parameters while driving the truck when either mounted on or laying in your console. This way you can always keep tabs on how the truck engine is performing.
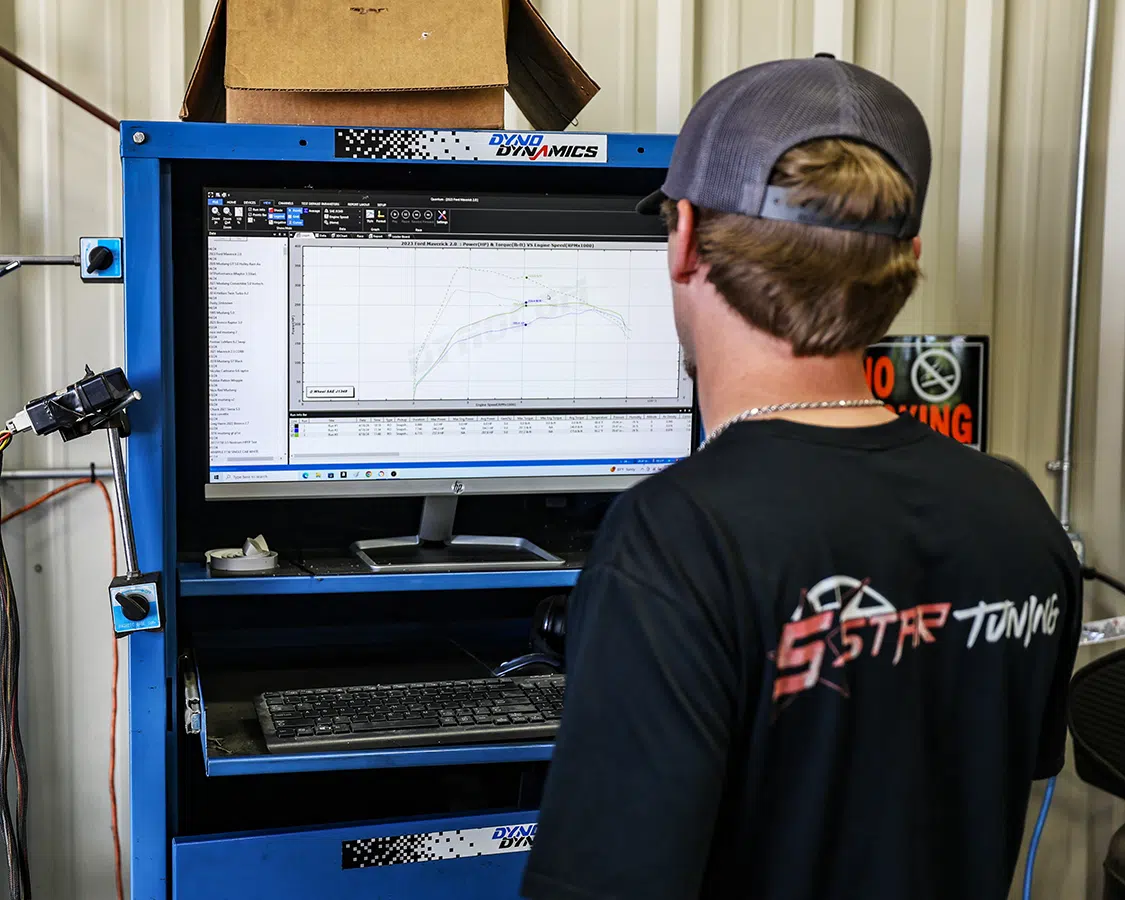
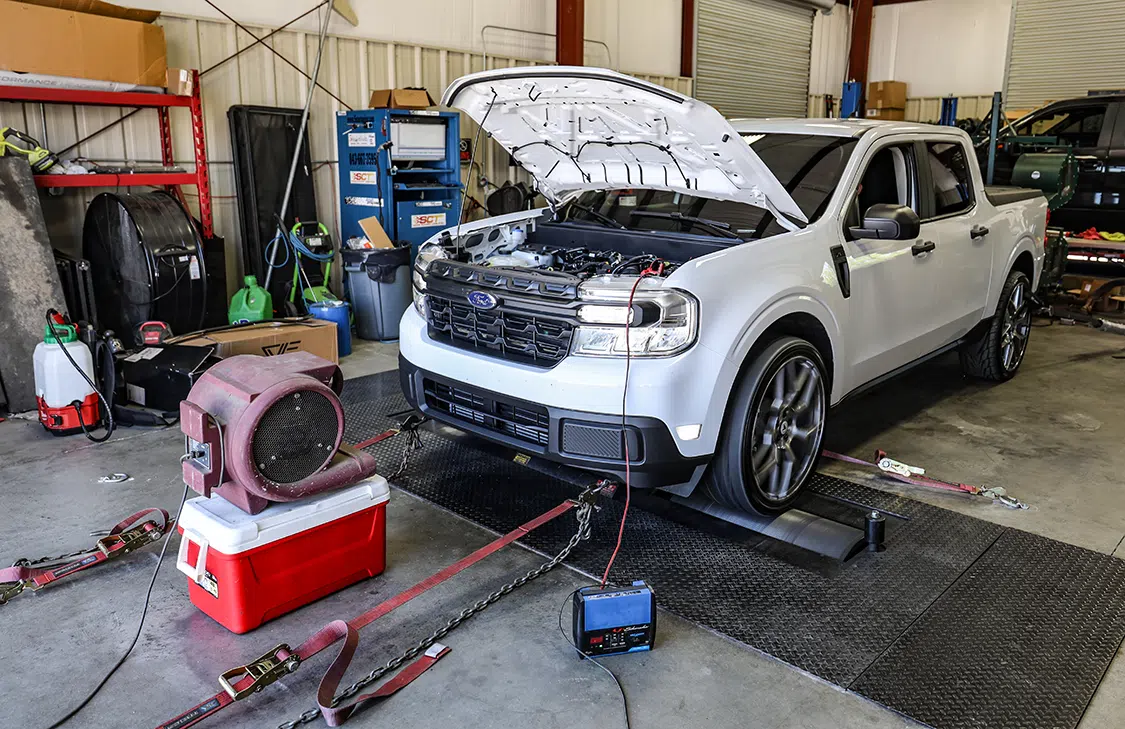
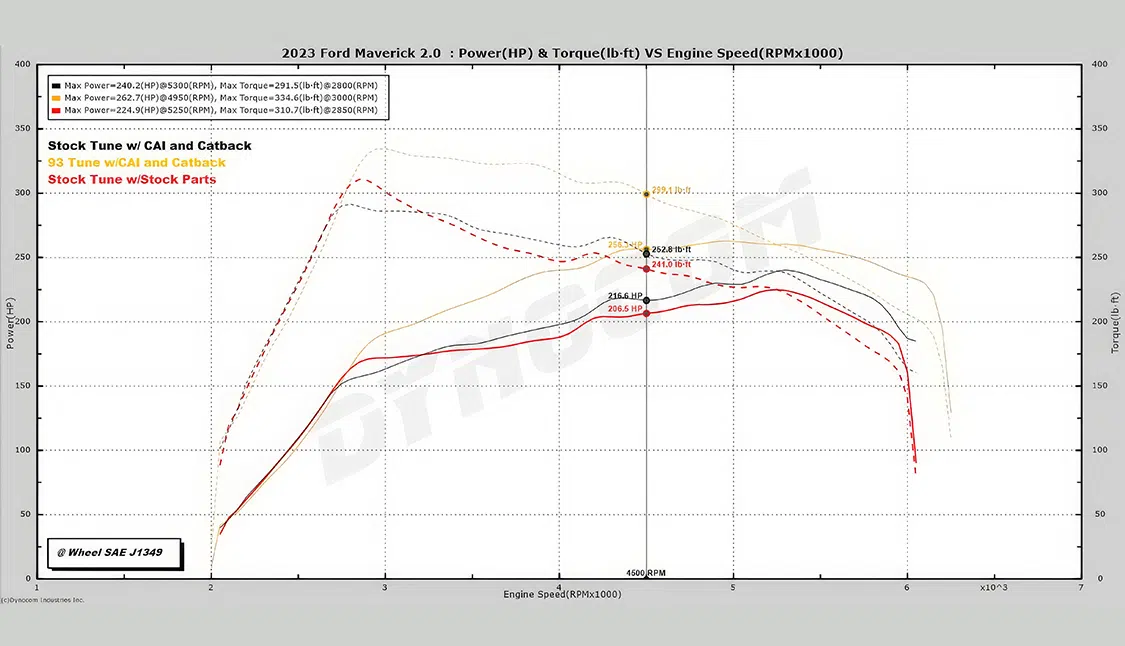
I wanted a little more out of the truck. So after the intake and exhaust was installed, I took it to 5 Star Tuning in Florence, South Carolina, for a full custom tune. I waited to install any tunes so they could do a base run with just the hard parts installed and the truck running 93 octane gas to see how much upgrade just the hard parts gave. They then created a custom tune for it when pushed the truck to 267 whp and 334 lb-ft of torque, which for a small, lightweight turbo truck was a huge step above factory. Granted, this is no race truck, but it is so zippy now and drives totally different than in its stock form. Changing lanes and merging into traffic is a blast in this truck now. These upgrades are 100% worth it if you’re looking for a fun truck to drive.
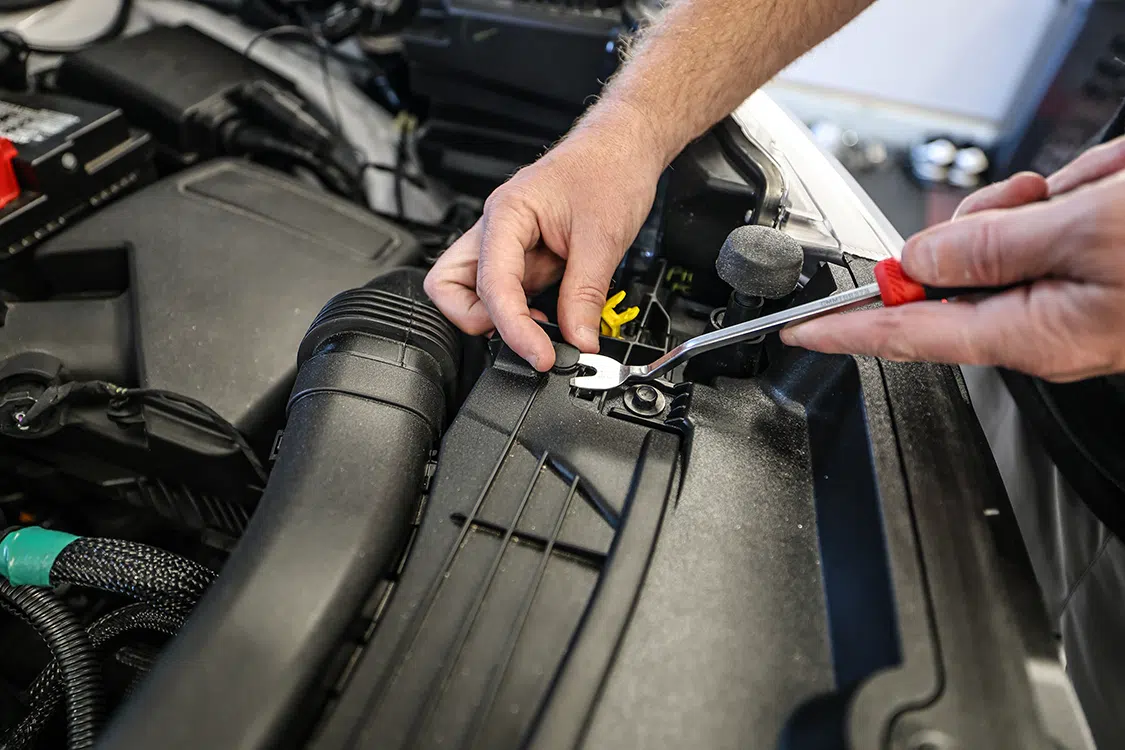
Follow along at how the parts and the tune were installed.


aFe Power
COBB Tuning
5 Star Tuning
We use cookies to enhance your browsing experience, serve personalized ads or content, and analyze our traffic. By clicking "Accept All", you consent to our use of cookies. Visit our Cookie Policy for more info.
Notifications
Share Link