Motortopia - EVERYTHING Automotive!
Close

RACK ’EM!

DANCHUK MANUFACTURING . October 09, 2022 . All Feature Vehicles
Save ArticleLogin to save it

Tri-Five Uni-Steer Rack-and-Pinion

Many Tri-Five Chevy owners are transforming the factory power steering box to a uni-steer rack-and-pinion. Because this is a very popular conversion, we thought a tech article would help clear up some questions you might have about switching to the other side of precision steering.

We think you’ll be surprised by how easy this installation really is. The Danchuk uni-steer kit (P/N 12572 or P/N 1257A) is impeccably engineered, and it’s the only rack-and-pinion on the market with the correct steering geometry for the classic Chevy suspension. In fact, cutting down the column and trimming the steering shaft are the most difficult parts, everything else is a bolt-in proposition.

Follow along as Danchuk installation tech Mike Morgan removes a 500 series power steering box, then correctly installs the Danchuk uni-steer rack-and-pinion kit.

Precision Steering
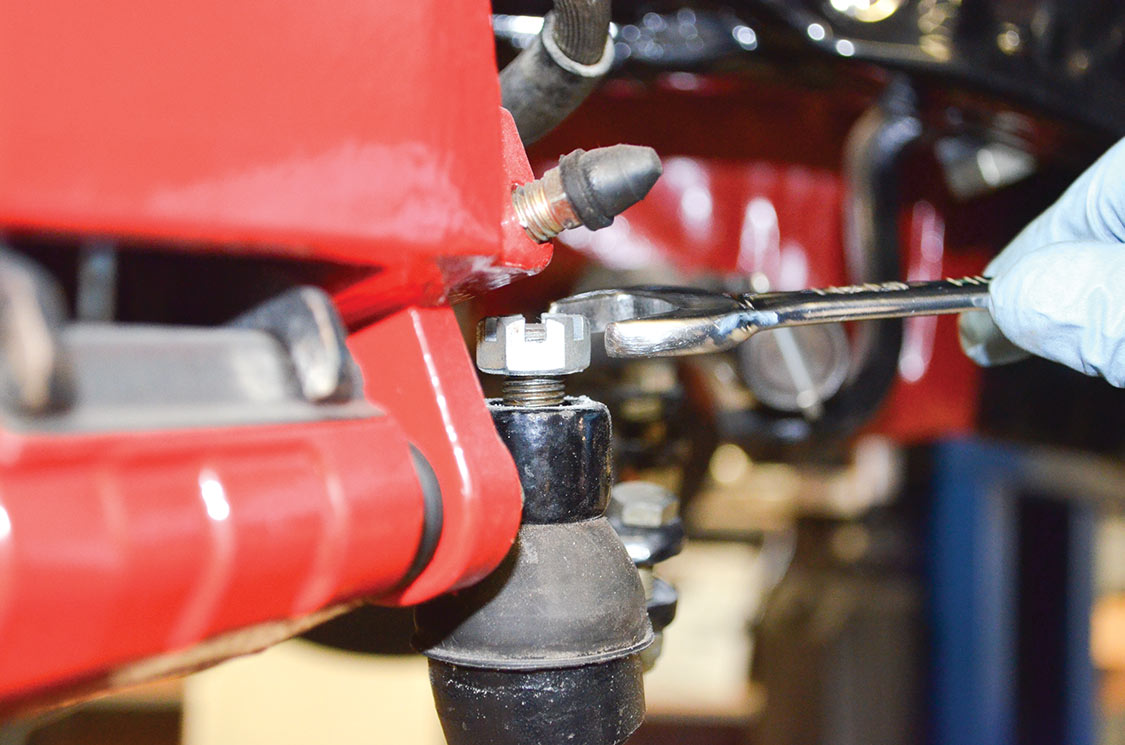
1. Remove the cotter pins from the tie rod ends using a pair of pliers. Then use an 11⁄16-inch open-end wrench to remove the castle nuts. Wedge a pickle fork between the steering arm and the tie rod end and tap the end of the pickle fork with a hammer to dislodge the tie rod end from the steering arm.
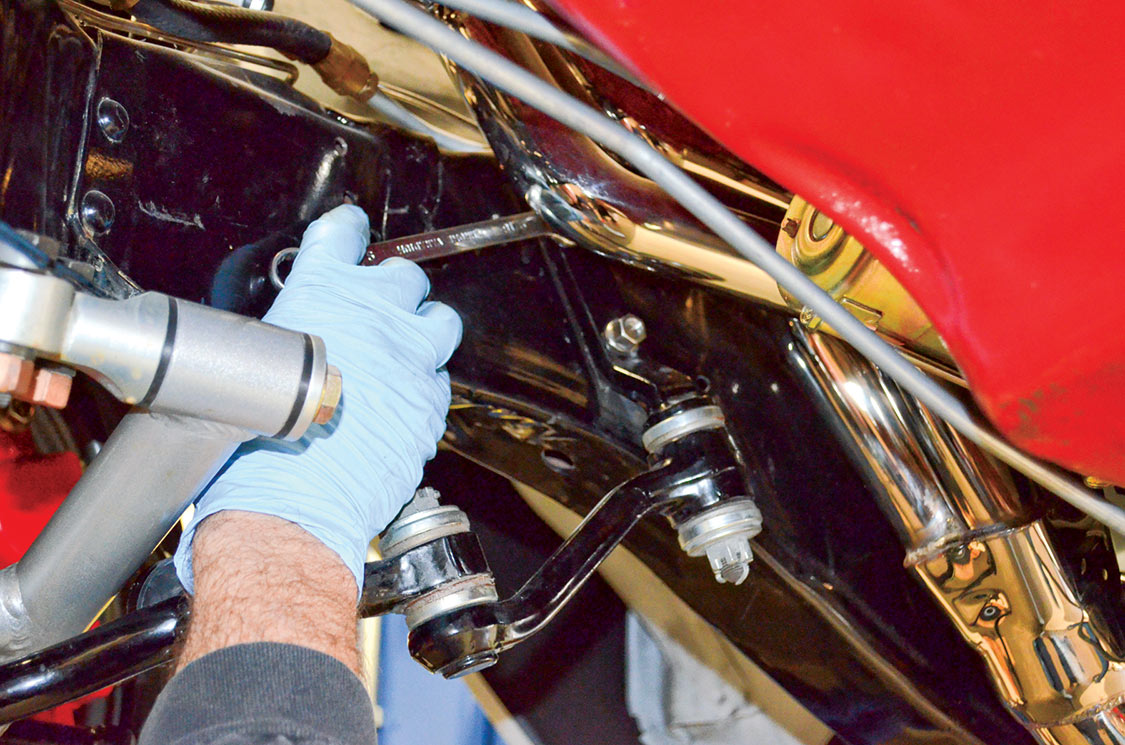
2. Unbolt the idler arm from the frame using a 9⁄16-inch open-end wrench, a 9⁄16-inch socket and 3⁄8-inch ratchet.
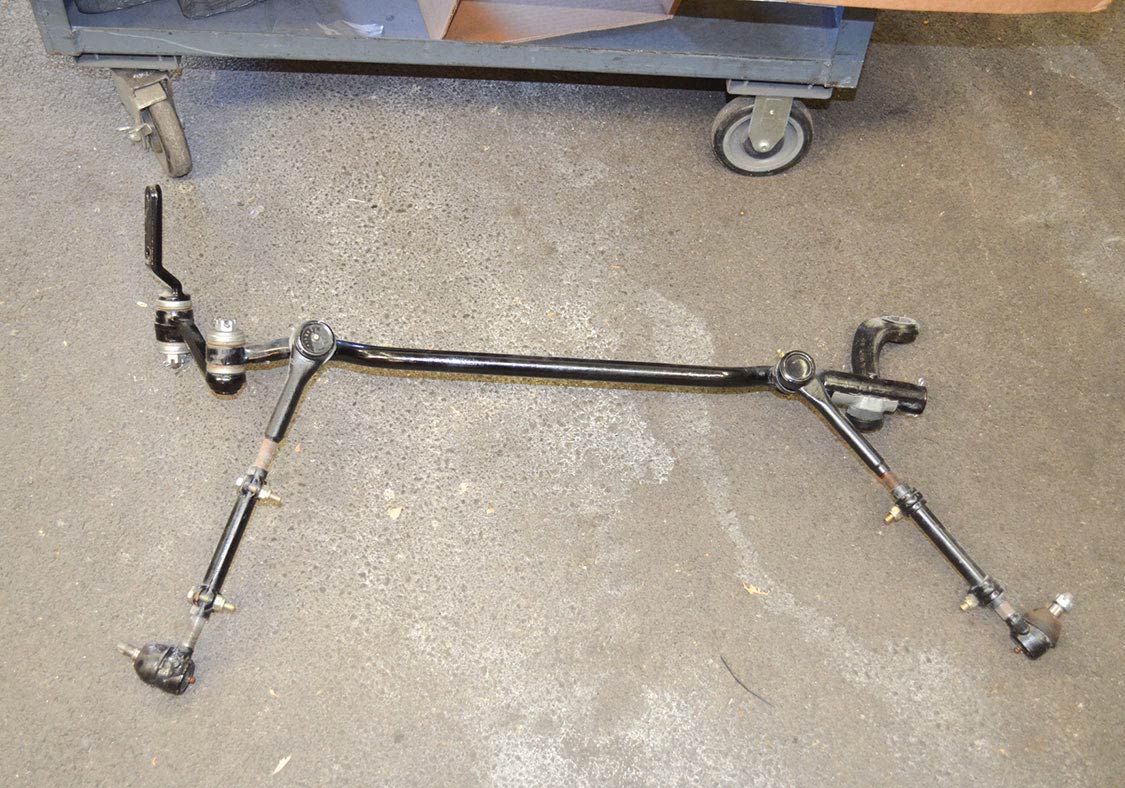
3. Remove the steering linkage and set aside.
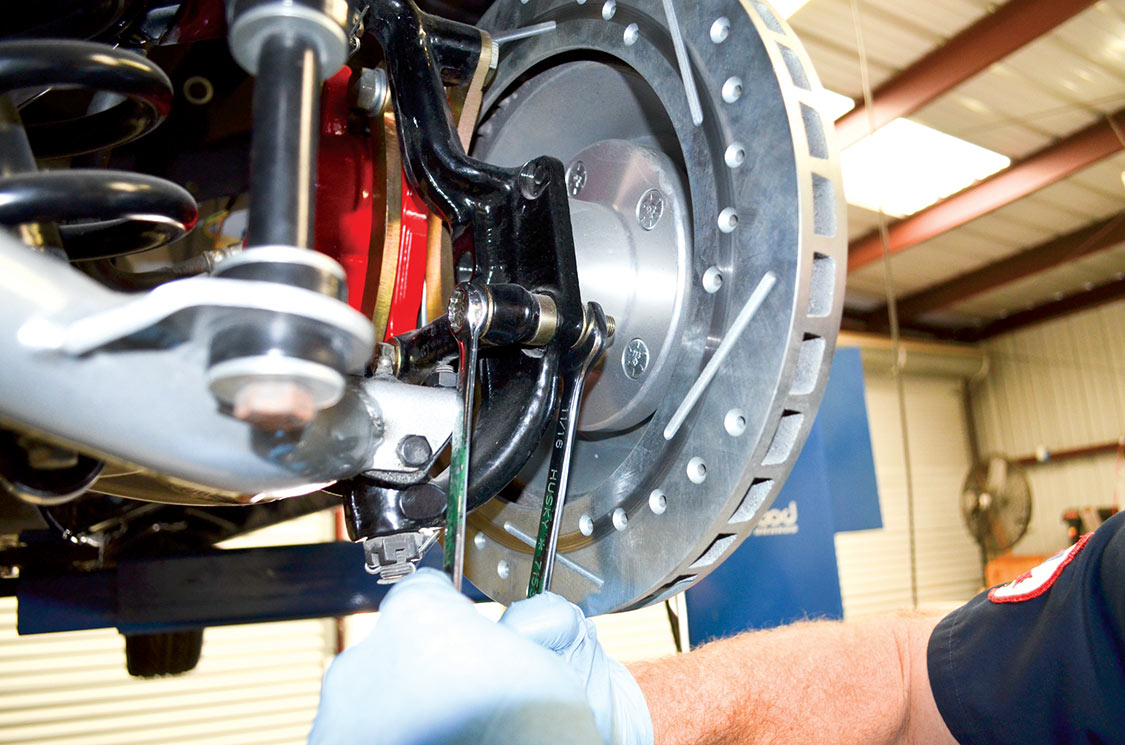
4. Using 5⁄8-inch and 11⁄16-inch open-end wrenches, unbolt the steering arms from the spindles. Retain the bolts and nuts. Remove the steering linkage and set aside.
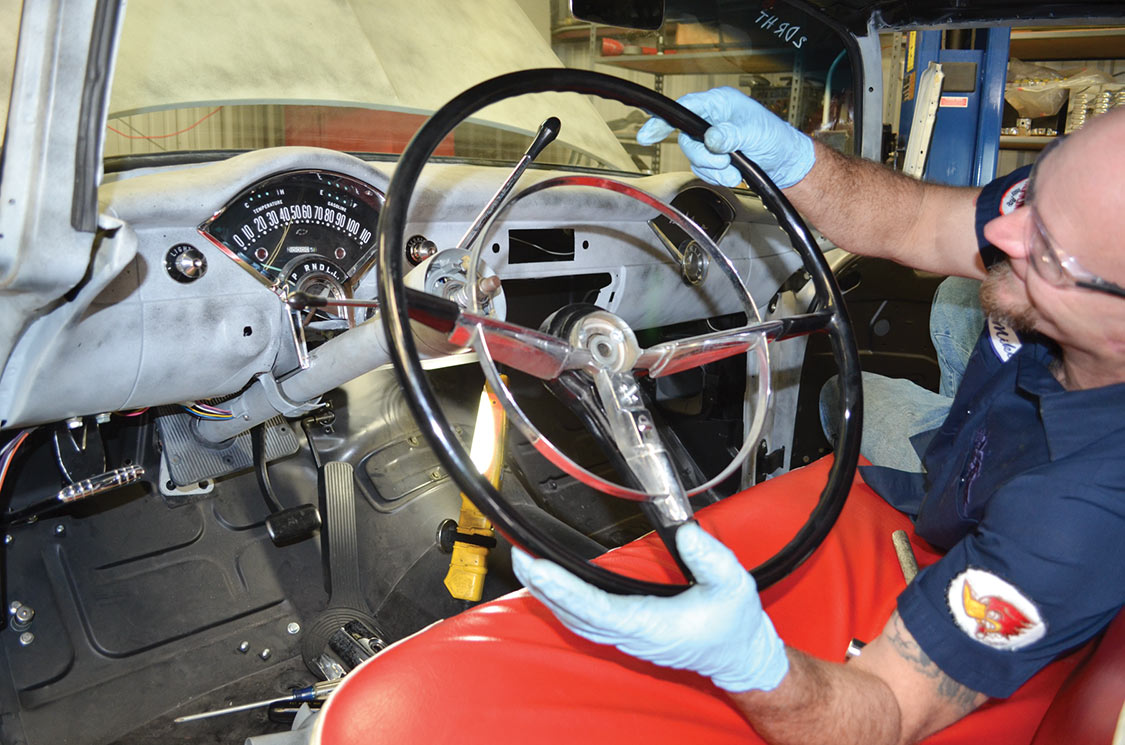
5. Remove the horn ring cap with a ¼-inch clutch head or Phillips head screwdriver. Remove the steering wheel nut with a ¾-inch socket and ½-inch drive ratchet. Use the steering wheel puller to remove the steering wheel.
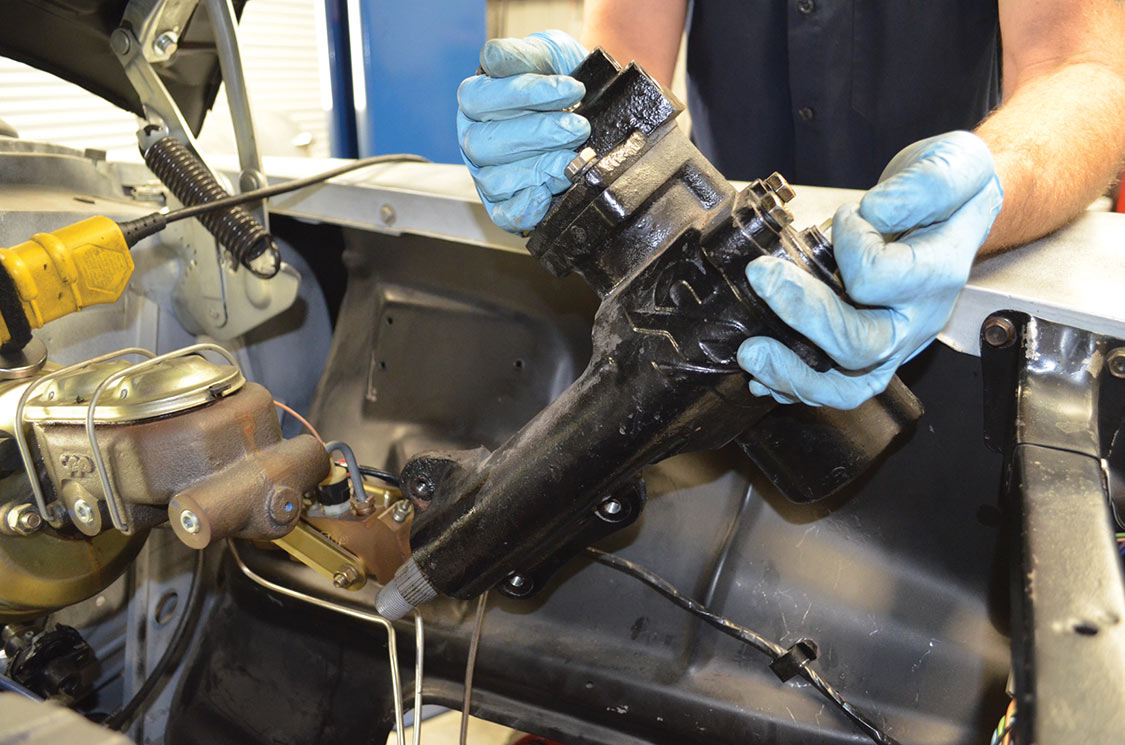
6. With a 9⁄16-inch socket and 3⁄8-inch ratchet, unbolt the steering box from the frame. The steering shaft is connected to the stock box and runs up the column to the steering wheel. Once the box is loose, pull down and forward (away from the column) to remove the steering box/shaft assembly and set it aside.
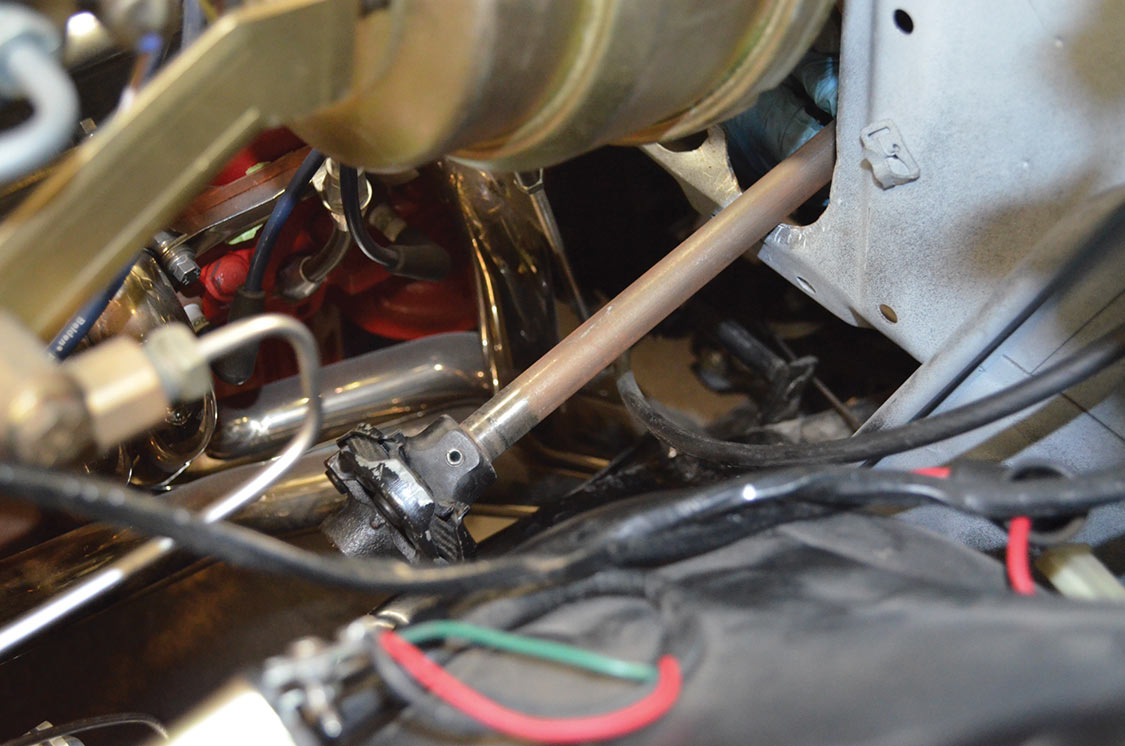
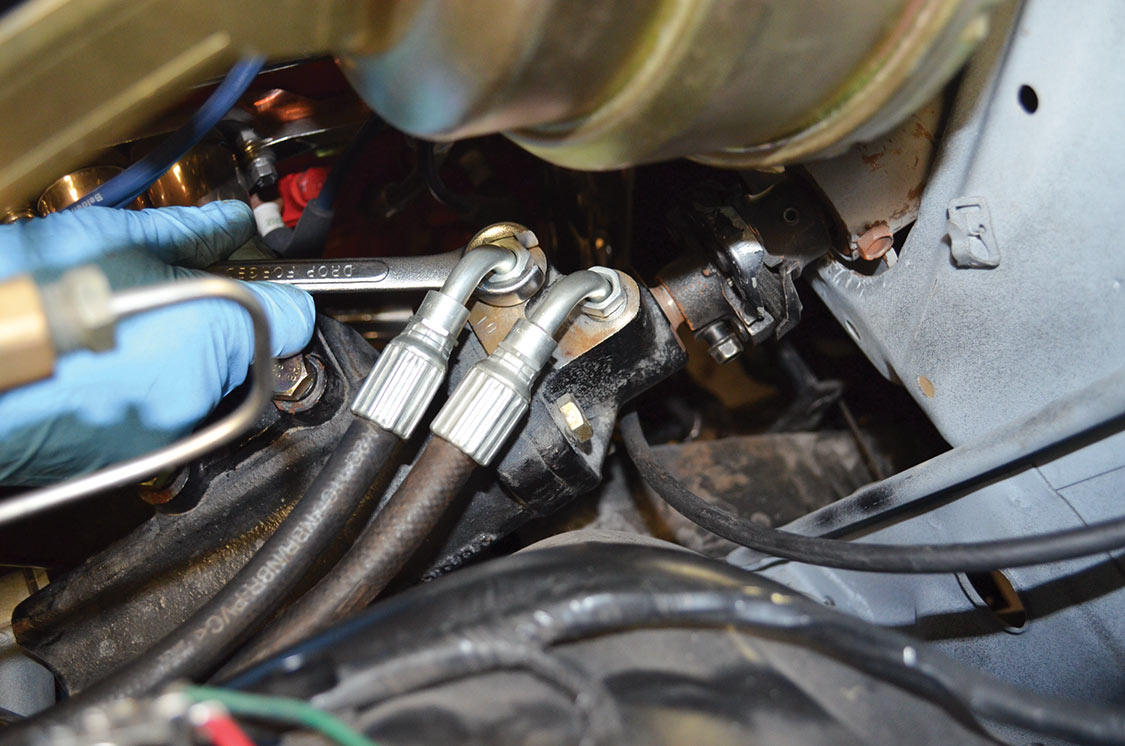
7. To remove a 605/500 box, first remove the hoses from the box using a 5⁄8-inch and 11⁄16-inch flare nut wrenches. Loosen the rag joint from the 500 box. Then, using a 9⁄16-inch socket and 3⁄8-inch ratchet, unbolt the box from the frame; pull the box away from the column to unhook the rag joint. Remove the box and set aside.
8. To remove a 605/500 box, first remove the hoses from the box using a 5⁄8-inch and 11⁄16-inch flare nut wrenches. Loosen the rag joint from the 500 box. Then, using a 9⁄16-inch socket and 3⁄8-inch ratchet, unbolt the box from the frame; pull the box away from the column to unhook the rag joint. Remove the box and set aside.
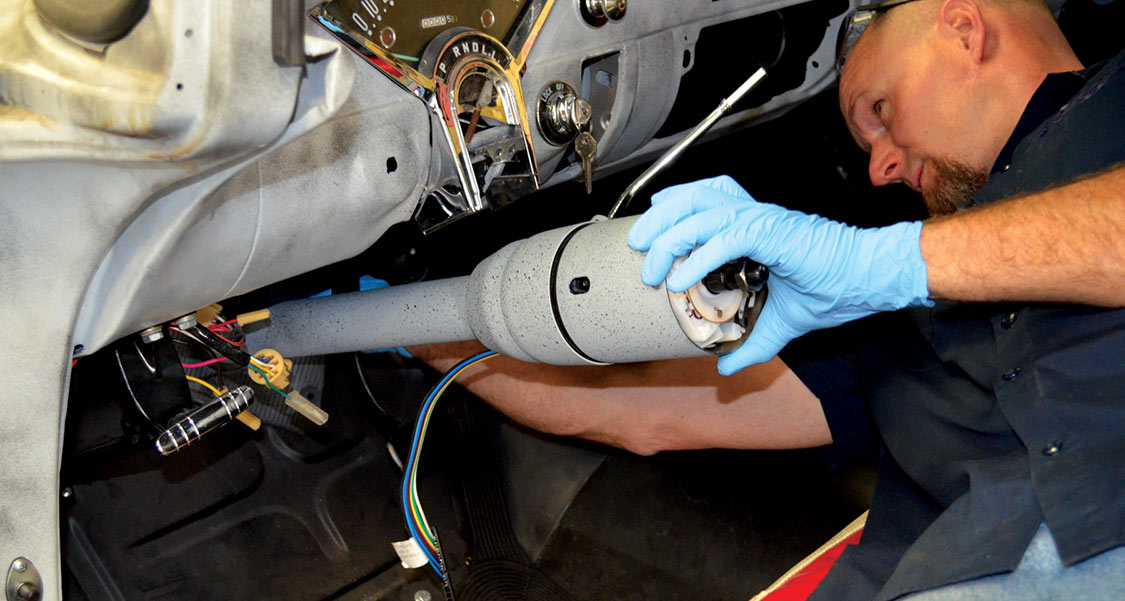
9. At this point, if you are replacing a stock box, you will remove the stock column for modification or replacement with an ididit or Flaming River unit. If you’re not removing or modifying the column, skip to step 22 on the kit’s instruction sheet for a stock column or step 29 for an ididit column, and install the upper U-joint.
10. Disassemble the lower portion of the column by removing the three hex-head screws with a ½-inch open-end wrench. Remove the lower bearing and inner column shift tube and set them aside.
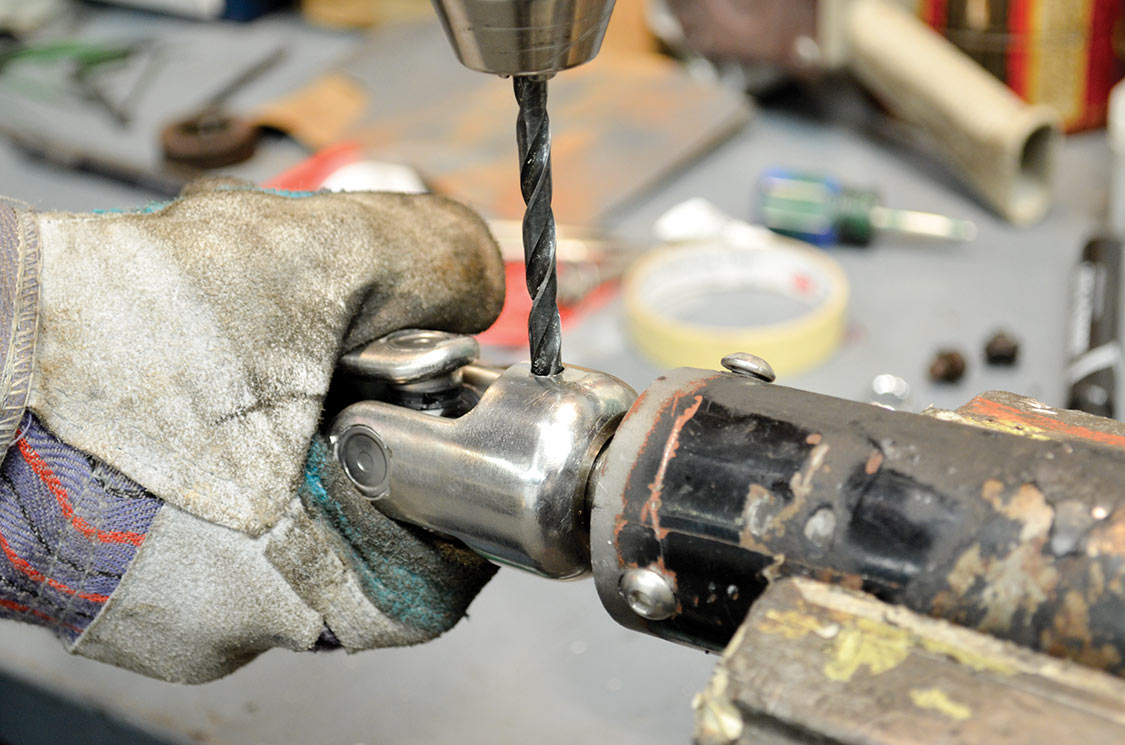
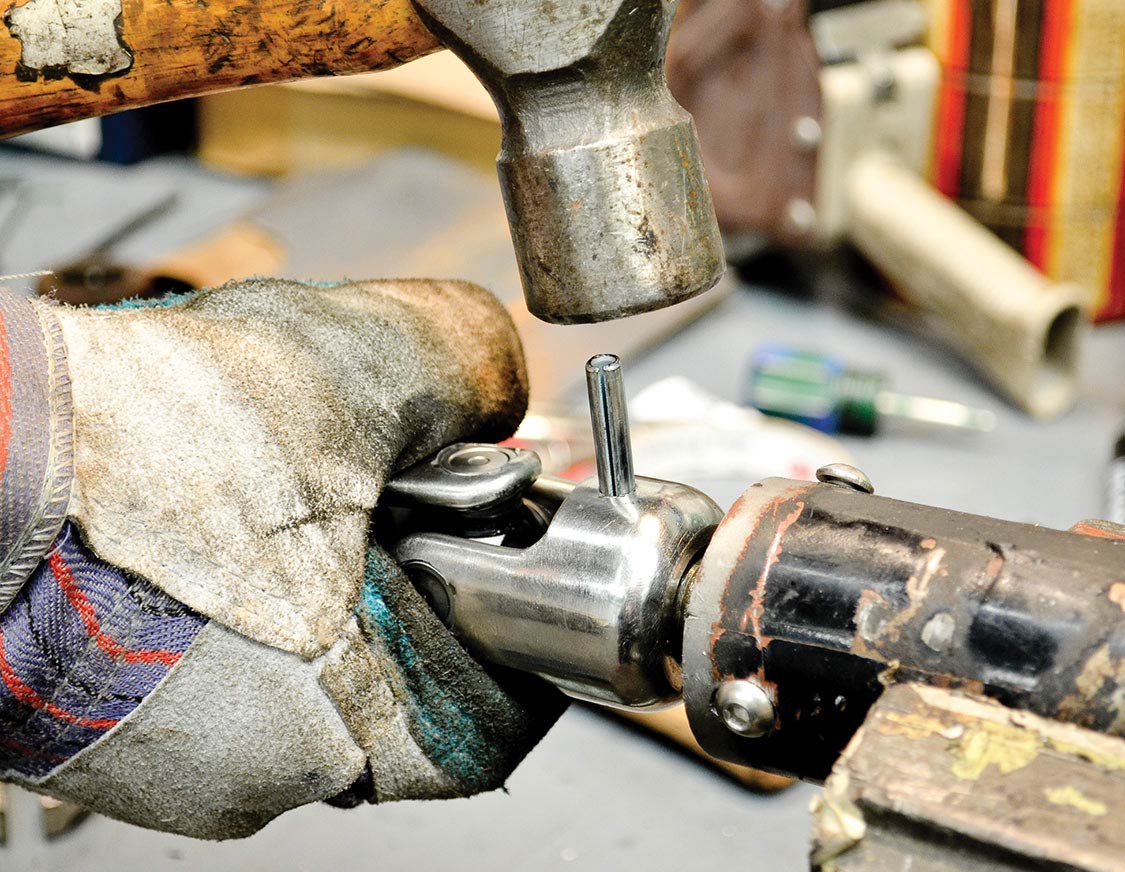
11. Install the U-joint on the end of the shaft. We used a U-joint with a ¾-inch smooth end for the end of the column and a 9⁄16-inch –30 splined end for the steering shaft. The smooth part of the U-joint slides over the end of the shaft and is secured with a roll pin. Drill through the U-joint and shaft with a ¼-inch drill bit and ½-inch drill, then insert the pin into the hole and tap in place using a hammer.
12. Install the U-joint on the end of the shaft. We used a U-joint with a ¾-inch smooth end for the end of the column and a 9⁄16-inch –30 splined end for the steering shaft. The smooth part of the U-joint slides over the end of the shaft and is secured with a roll pin. Drill through the U-joint and shaft with a ¼-inch drill bit and ½-inch drill, then insert the pin into the hole and tap in place using a hammer.
13. Install the U-joint on the end of the shaft. We used a U-joint with a ¾-inch smooth end for the end of the column and a 9⁄16-inch –30 splined end for the steering shaft. The smooth part of the U-joint slides over the end of the shaft and is secured with a roll pin. Drill through the U-joint and shaft with a ¼-inch drill bit and ½-inch drill, then insert the pin into the hole and tap in place using a hammer.
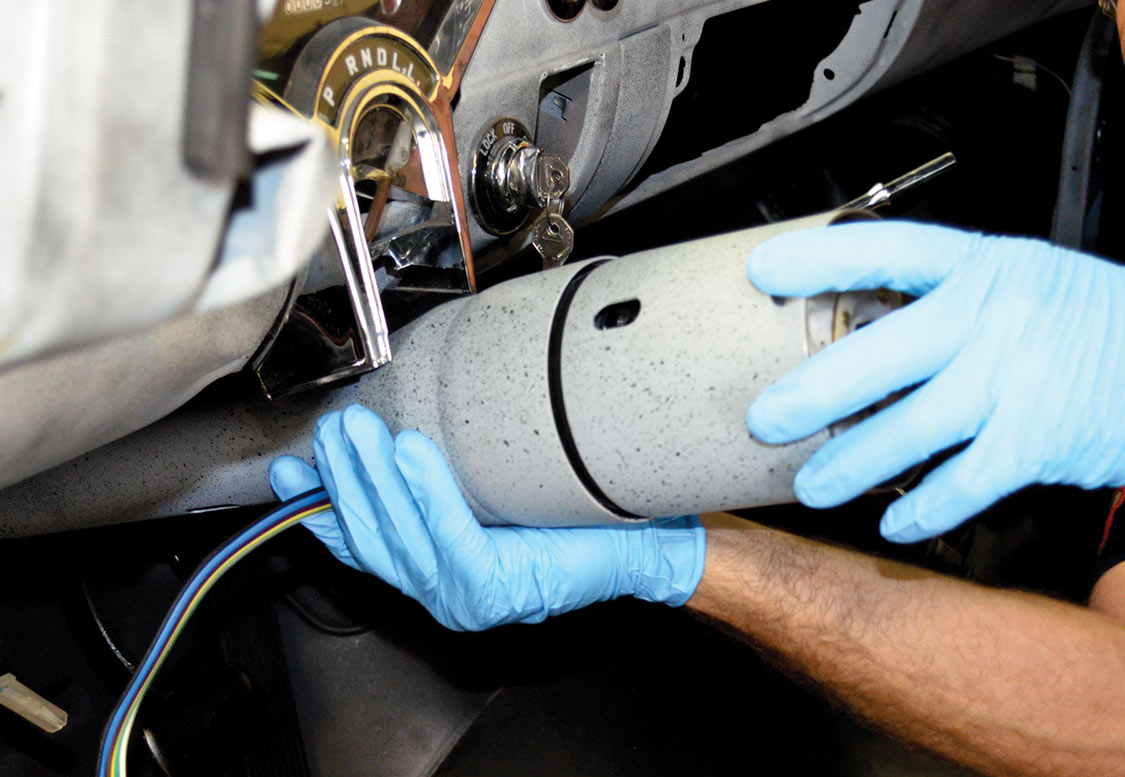
14. Slide the new column into place and install the upper column mount. Tighten the nuts using a ½-inch socket and 3⁄8-inch ratchet. Leave this a little loose to allow for adjustment later. Then, install the band clamp around the lower column mount and column tube. Tighten with a 7⁄16-inch socket and 3⁄8-inch ratchet. Leave this a little loose as well to allow for adjustment when you install the steering shaft. Check to be sure the column is in far enough to clear the firewall at the bottom.
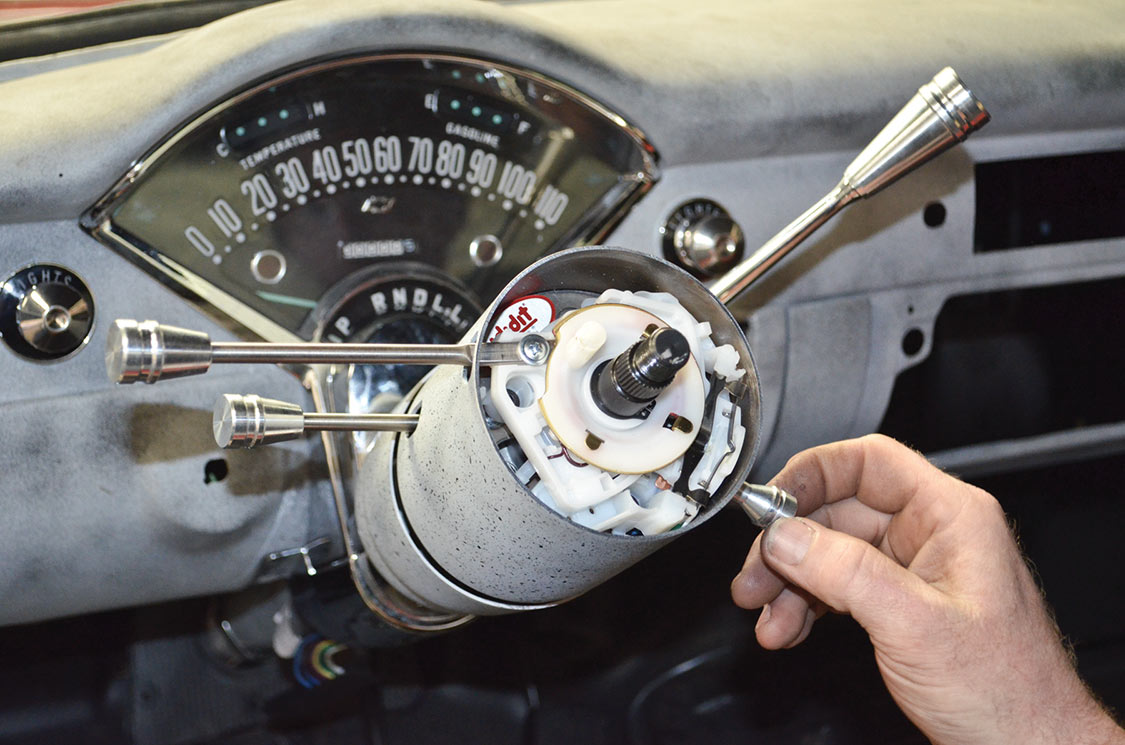
15. Install the turn signal arm with the supplied Phillips screw. Install the column shift arm and knob with a 3⁄32-inch Allen wrench. Install the tilt arm and flasher knob.
16. Hook up the supplied wiring harness for the emergency flashers and turn signals to the column. Hook the green wire to the green horn wire in the stock harness. Plug the six-pin connector into the stock harness. Hook the red wire to the red power wire from the stock harness. Hook up the neutral safety switch.
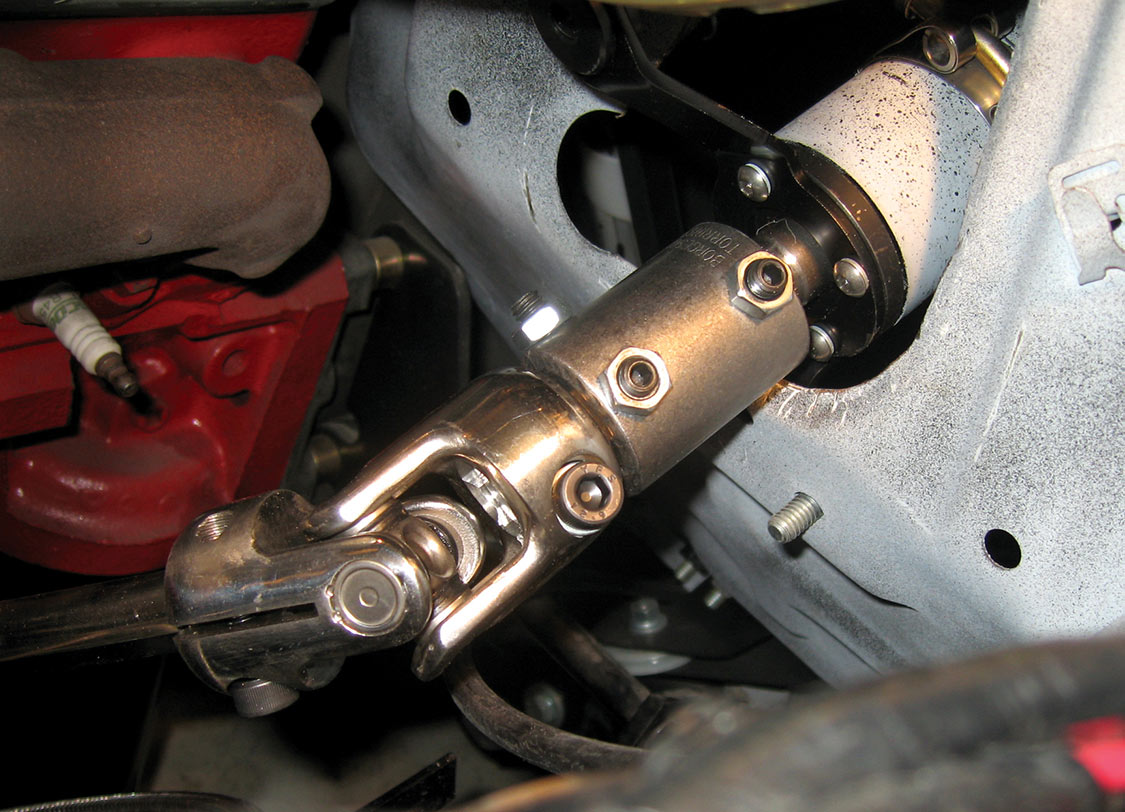
17. Install the U-joint onto the splined shaft at the bottom of the column. You will need a U-joint with a ¾-inch –36 spline for the column end. If you’re using an ididit column, like we did, and a 9⁄16-inch –30 splined shaft for the steering shaft end. Now you can install the rack-and-pinion into the car. The unit comes installed on the bracket. If yours did not, follow the instructions supplied with the unit, Step 3A, on how to mount it to the brackets.
18. There are three holes on the driver’s side of the bracket and two on the passenger side that will line up with the holes in the frame for the old steering box and idler arm assembly. Lift up the rack and line up the holes in the frame with those in the bracket. Run the mounting bolts supplied with the kit through the holes from the outside of the frame and attach the nuts. Using a 9⁄16-inch open-end wrench, 9⁄16-inch socket and 3⁄8-inch ratchet, tighten the nuts. With a torque wrench, torque the nuts to 28 ft-lbs.
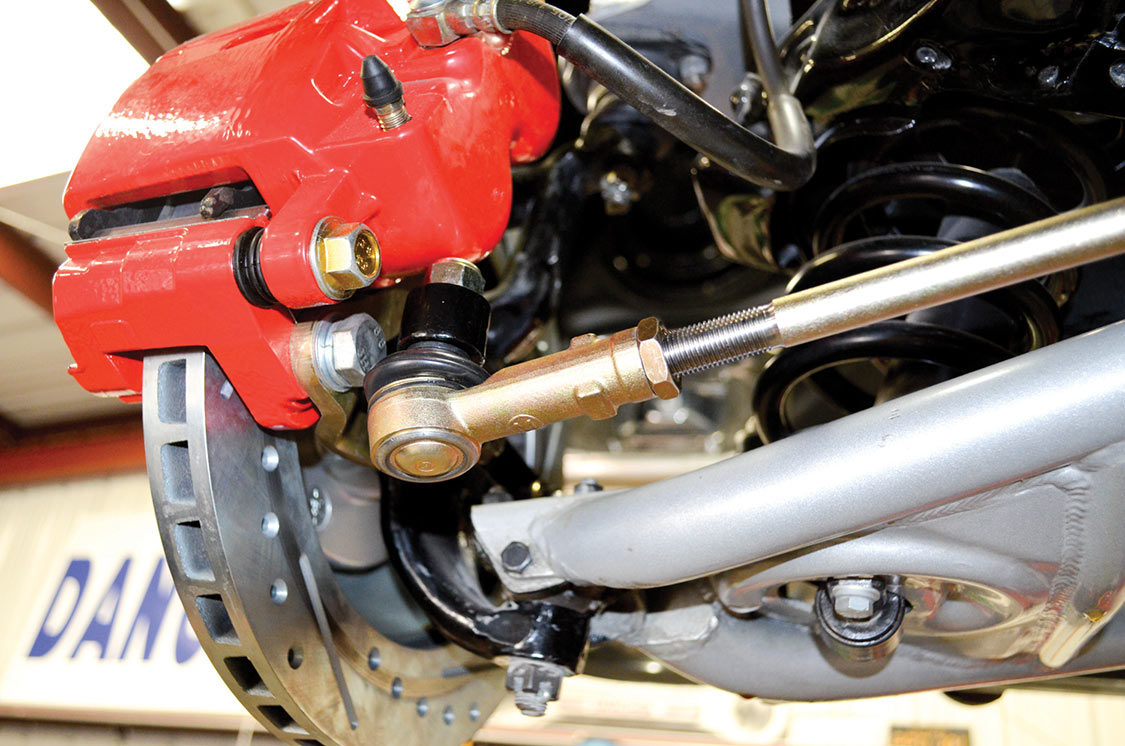
19. With a 5⁄8-inch and 11⁄16-inch open-end wrenches, attach the new steering arms to the spindles, torque to 40 ft-lbs.
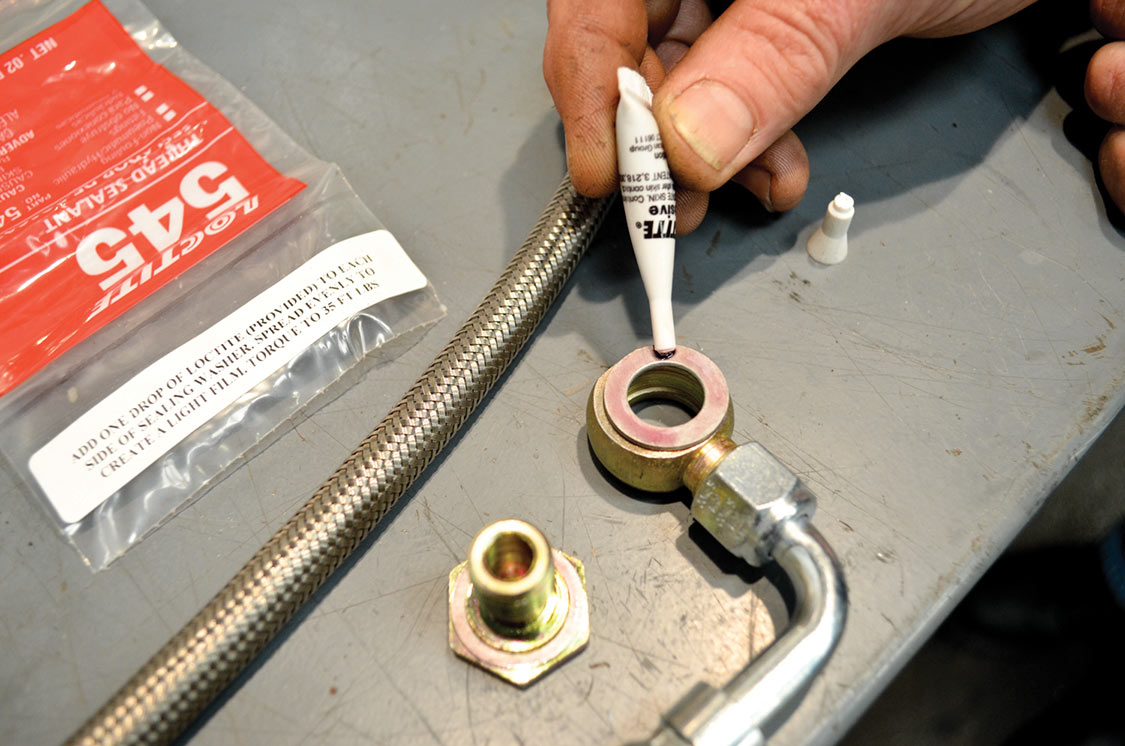
20. Install the supplied –AN adapter fittings into the pressure and return ports on the rack. Apply the supplied Loctite 545 to the both sides of the two sealing washers on the fittings and spread it on evenly. Install the fittings into the rack and torque to 15 in-lbs.
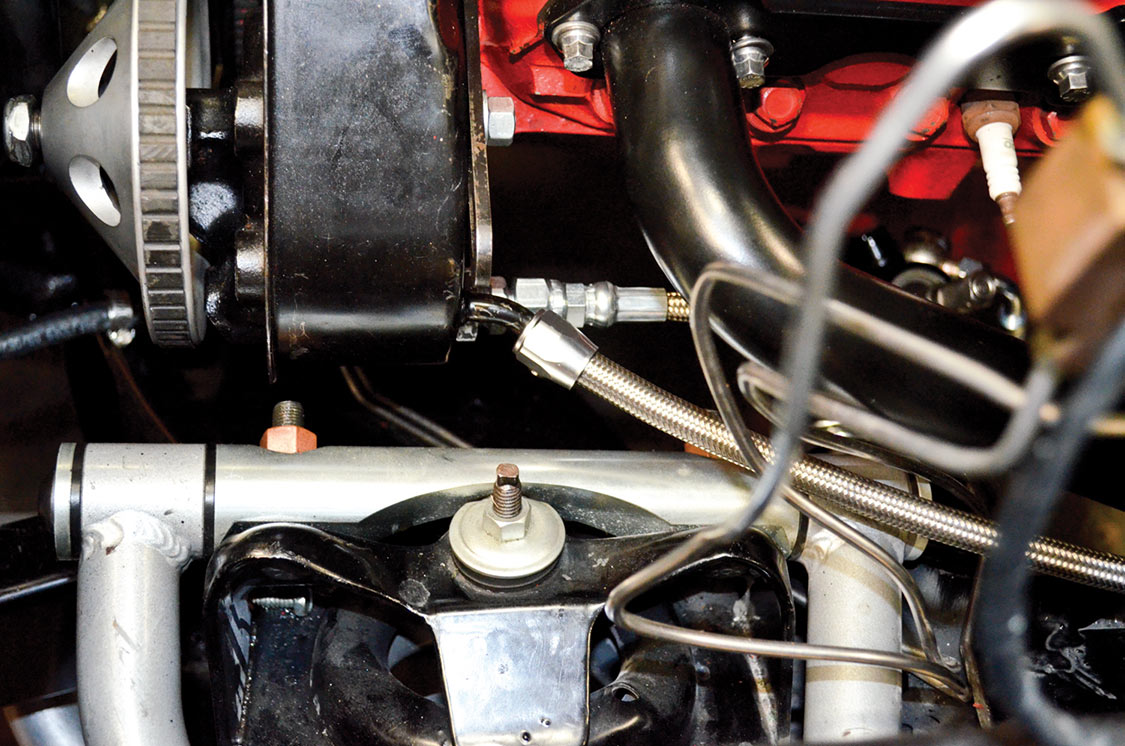
21. Install the power steering hoses between the rack and the power steering pump. (See the uni-steer instruction sheet, Step 6, to identify the pressure and return ports on the rack.) Fill the system with power steering fluid and start the engine. Turn wheels from left lock to right lock, and check for leaks.

What you will need:

  • Danchuk P/N 12572 or 12572A rack-and-pinion kit
  • Danchuk P/N 15405 Patriot headers (or header with similar tube configuration)
  • Danchuk P/N 12573 or 12573A steering column U-joint kit (depending on which column you’re using)
  • Danchuk P/N 12574 power steering hose kit
  • Danchuk P/N 10148 power steering pump (or equivalent 1,100-psi, ½-gallon per minute flow rate pump) and suitable power steering pump brackets, etc. to fit your installation
  • Danchuk P/N 10178 or 10179 steering column floor mount (if you’re planning to modify and using the original column)


You may also like this