 MARK OJA
.
September 18, 2023
.
Feature Stories
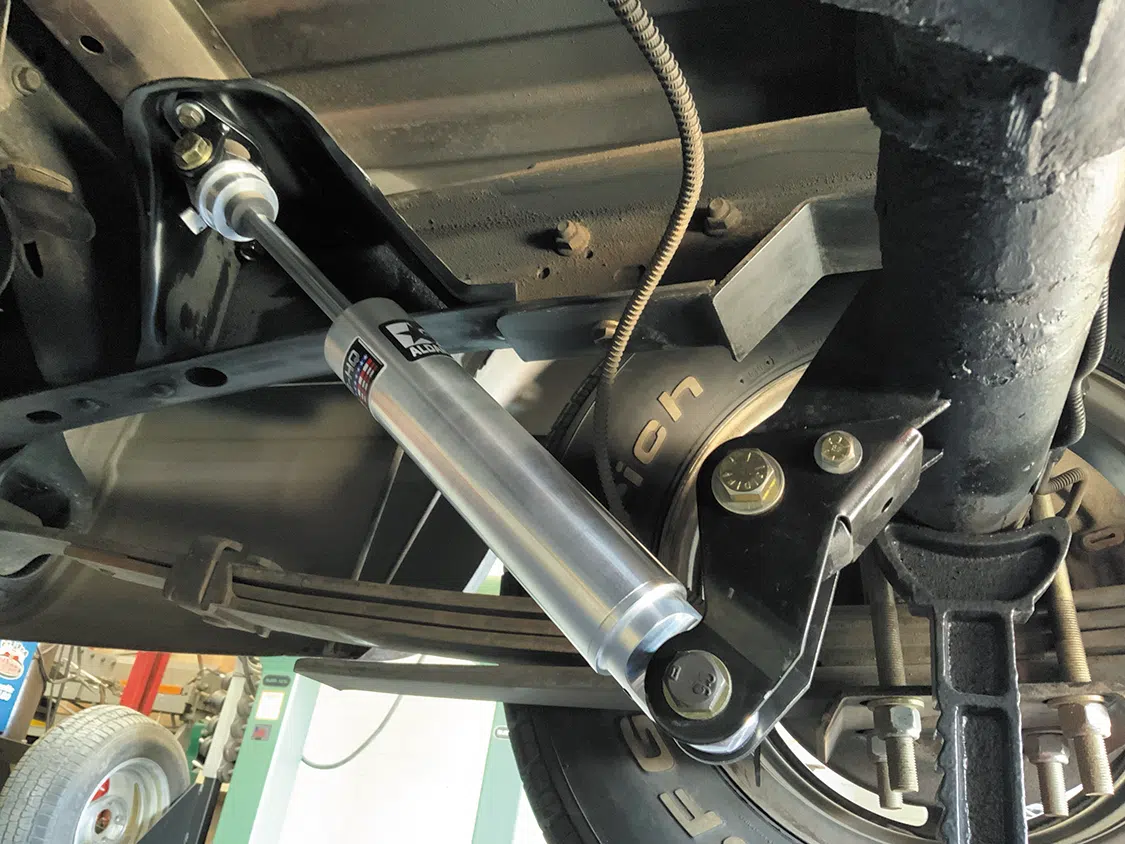
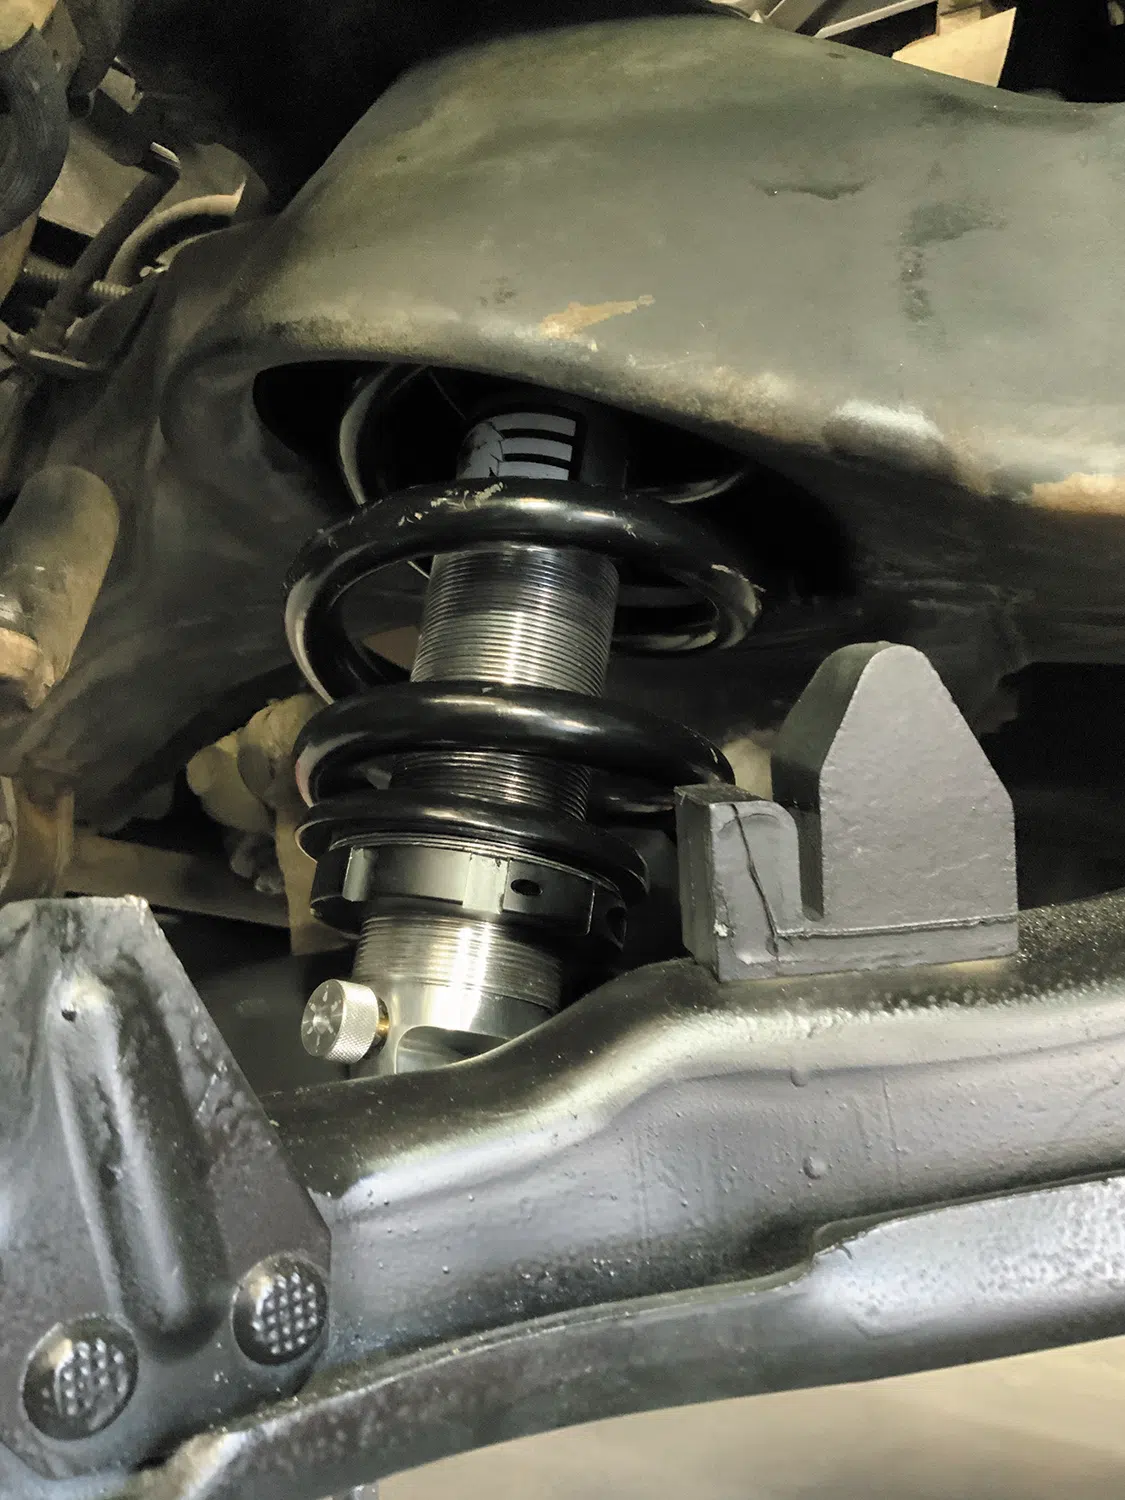
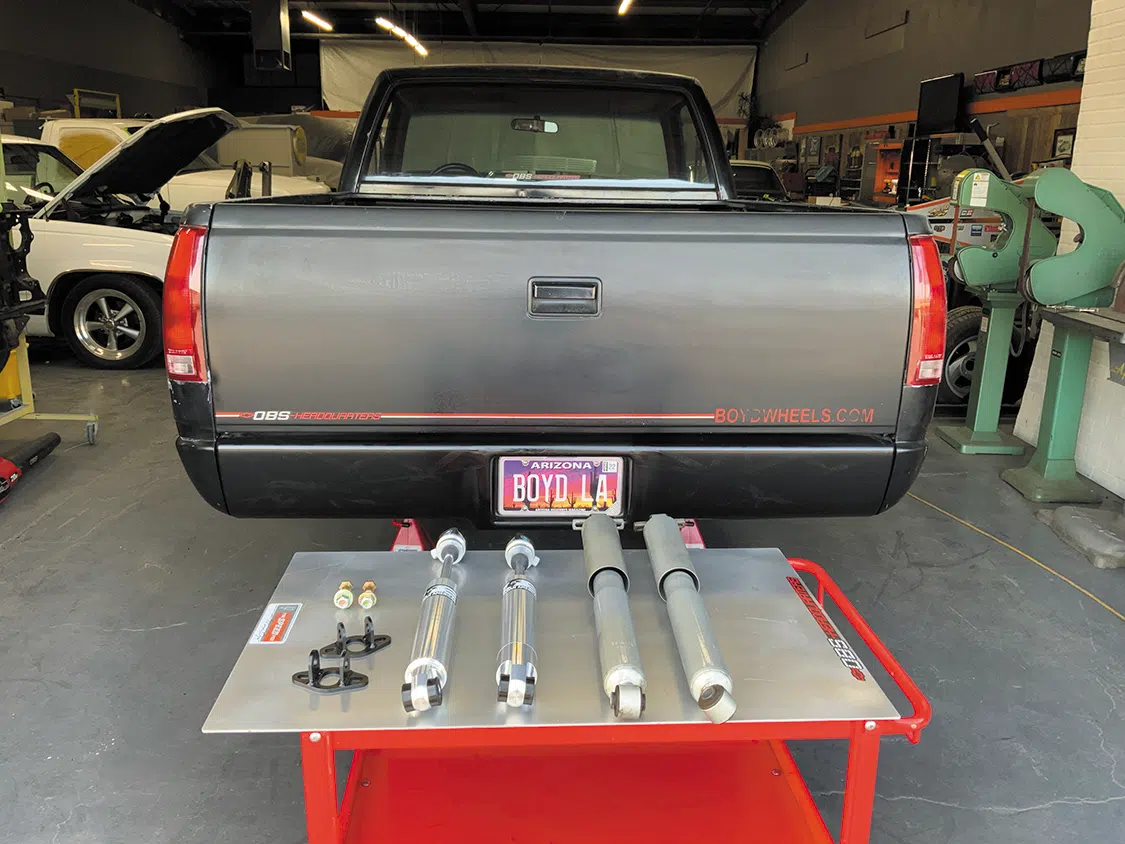
A coilover conversion offers numerous benefits for an OBS pickup, providing enhanced adjustability, improved handling and stability, and customization potential. By replacing the stock suspension components with coilover, truck enthusiasts can achieve a more dynamic driving experience tailored to their preferences. Reduced body roll, improved cornering stability, and improved overall handling performance provide a more controlled and confident driving experience.
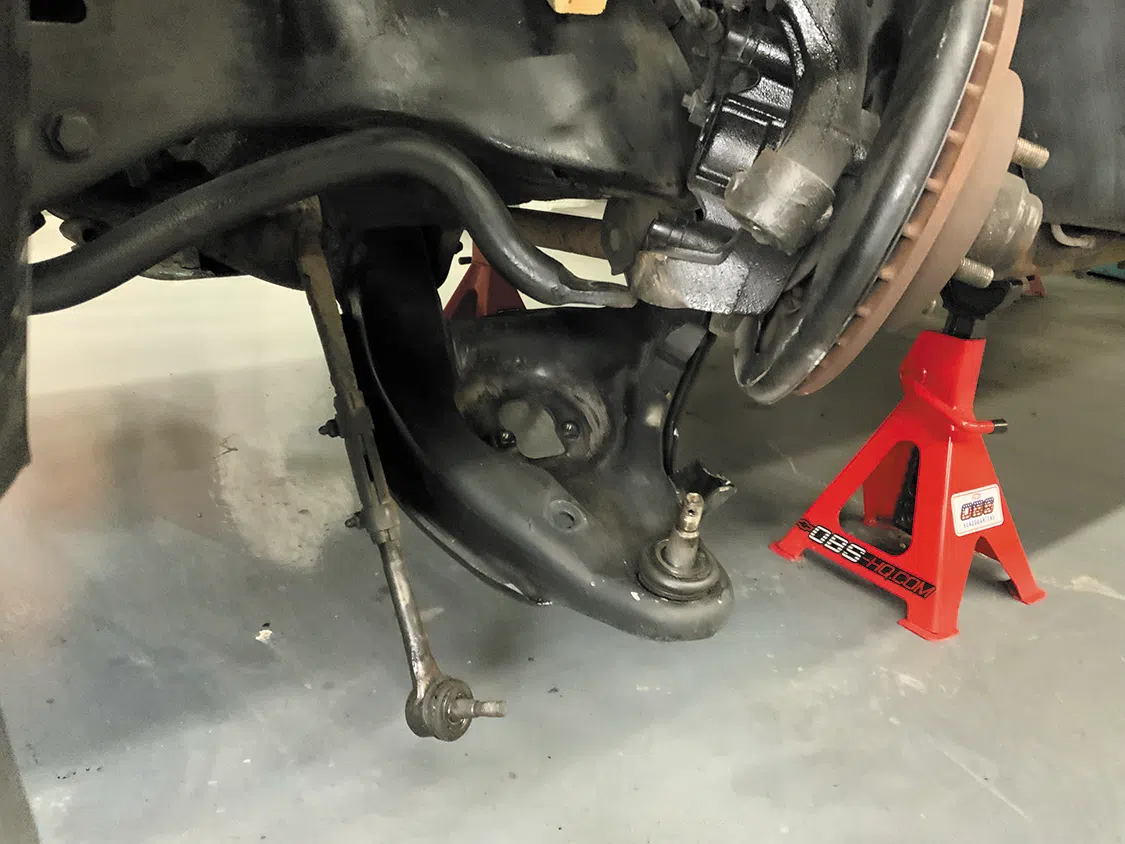
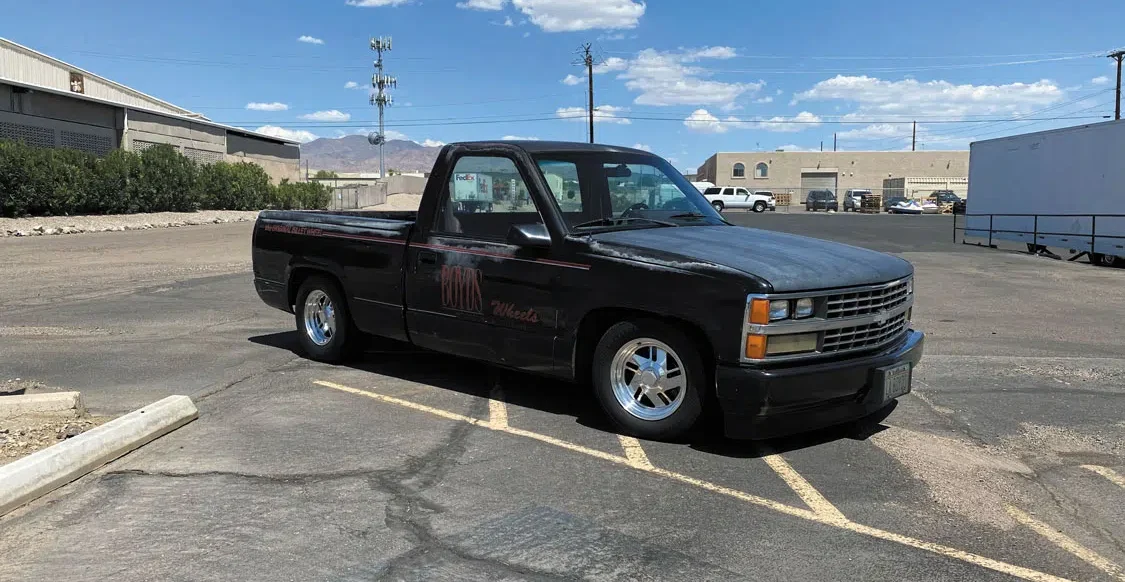
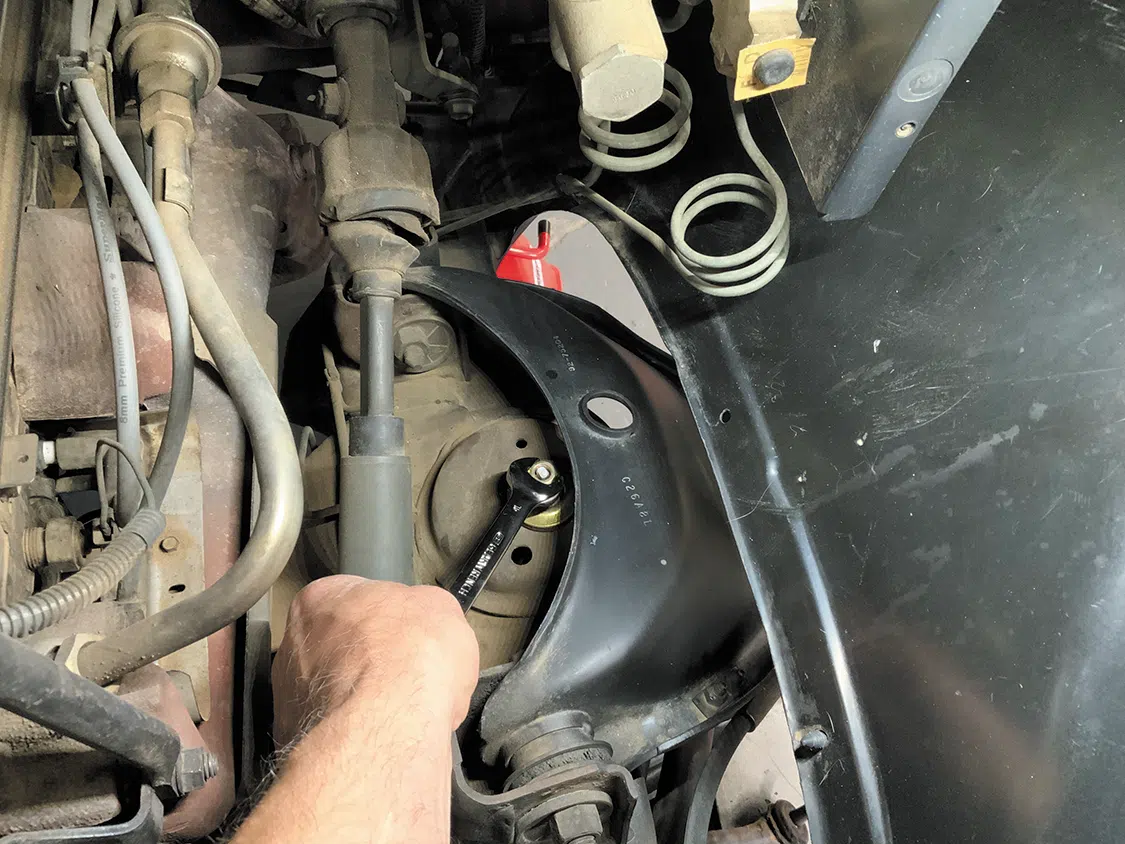
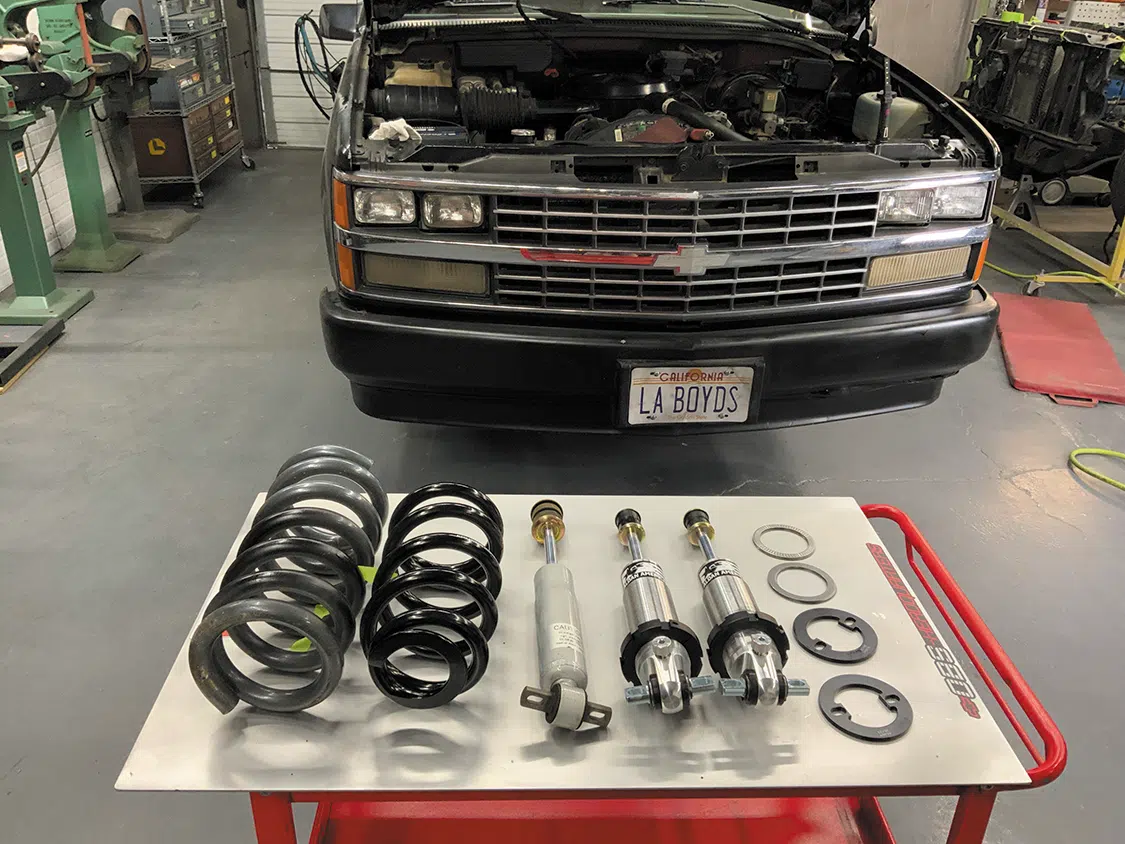
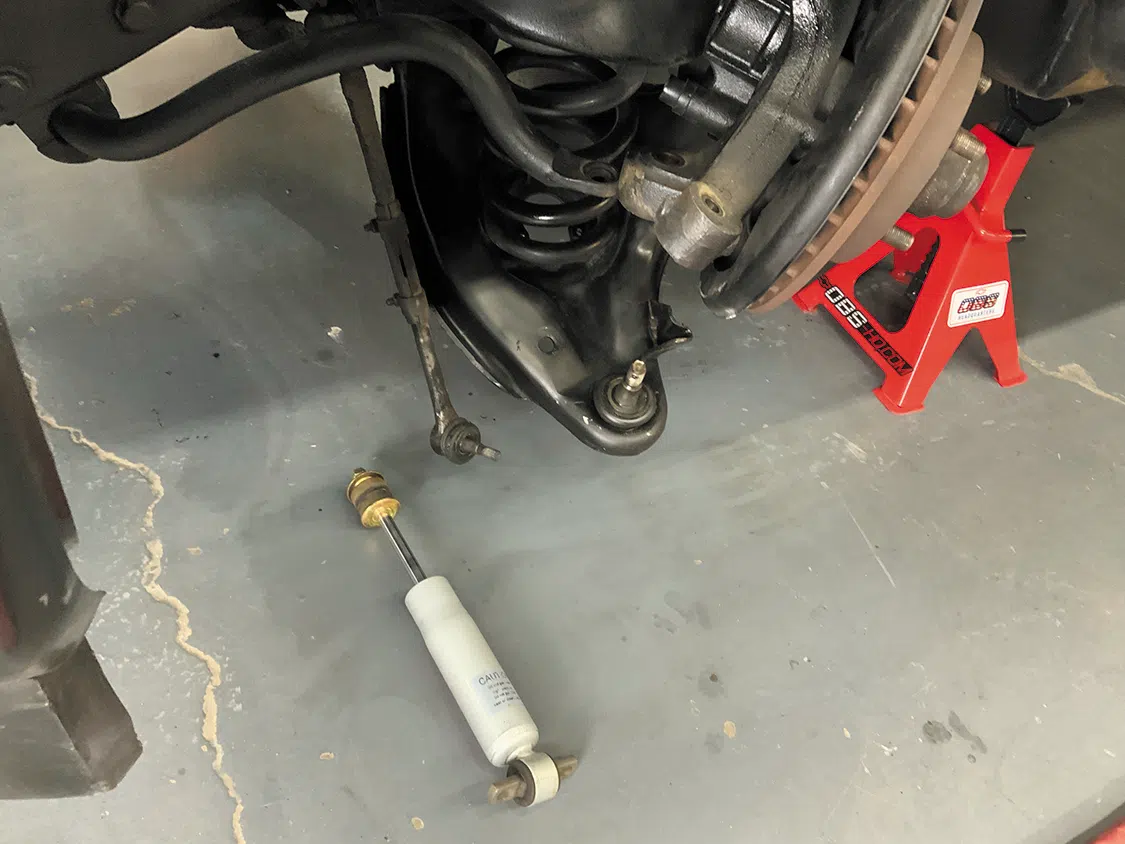
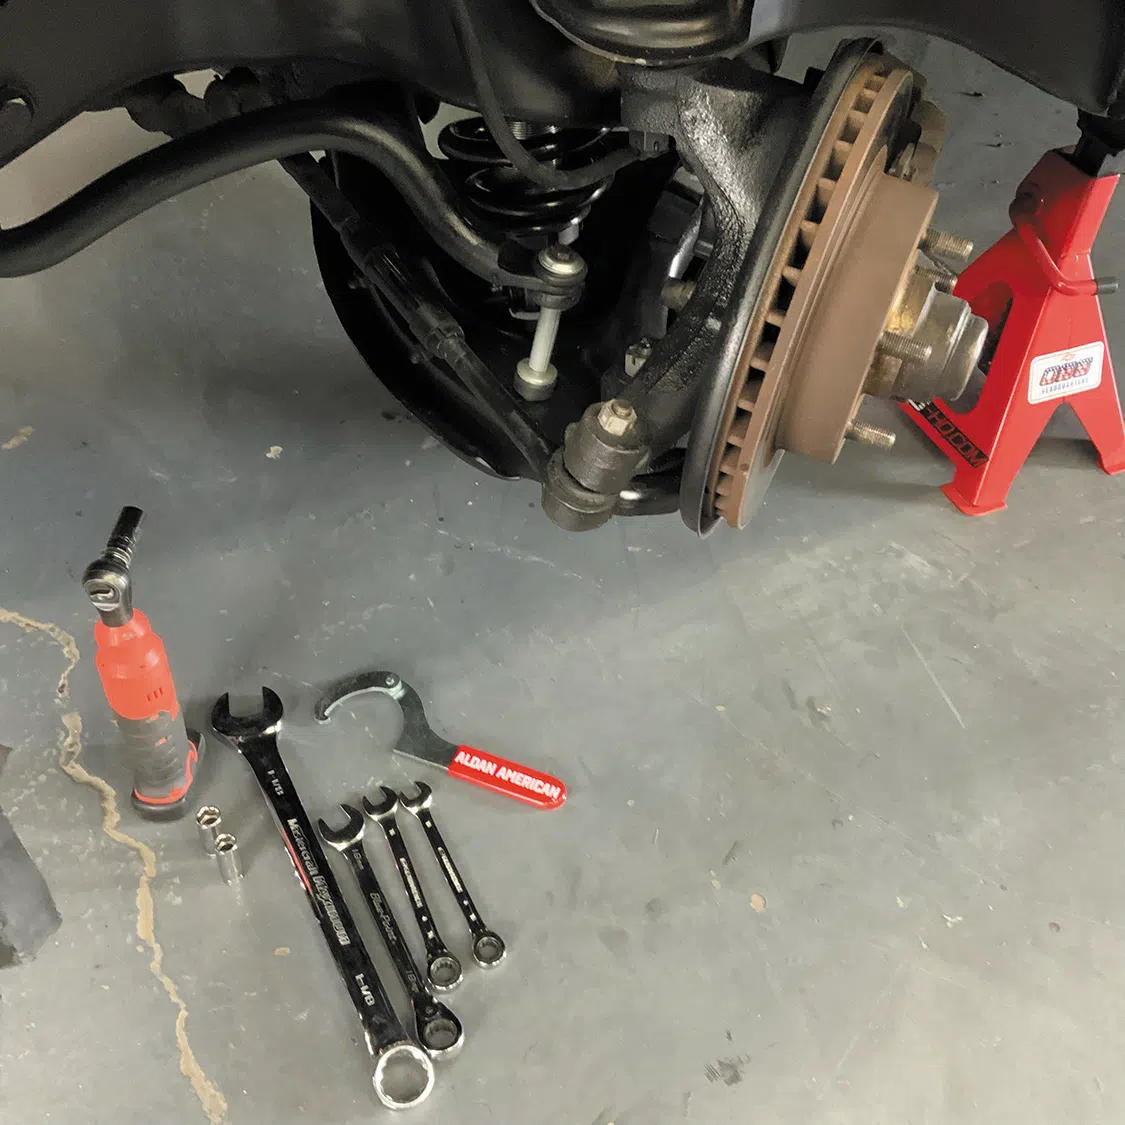
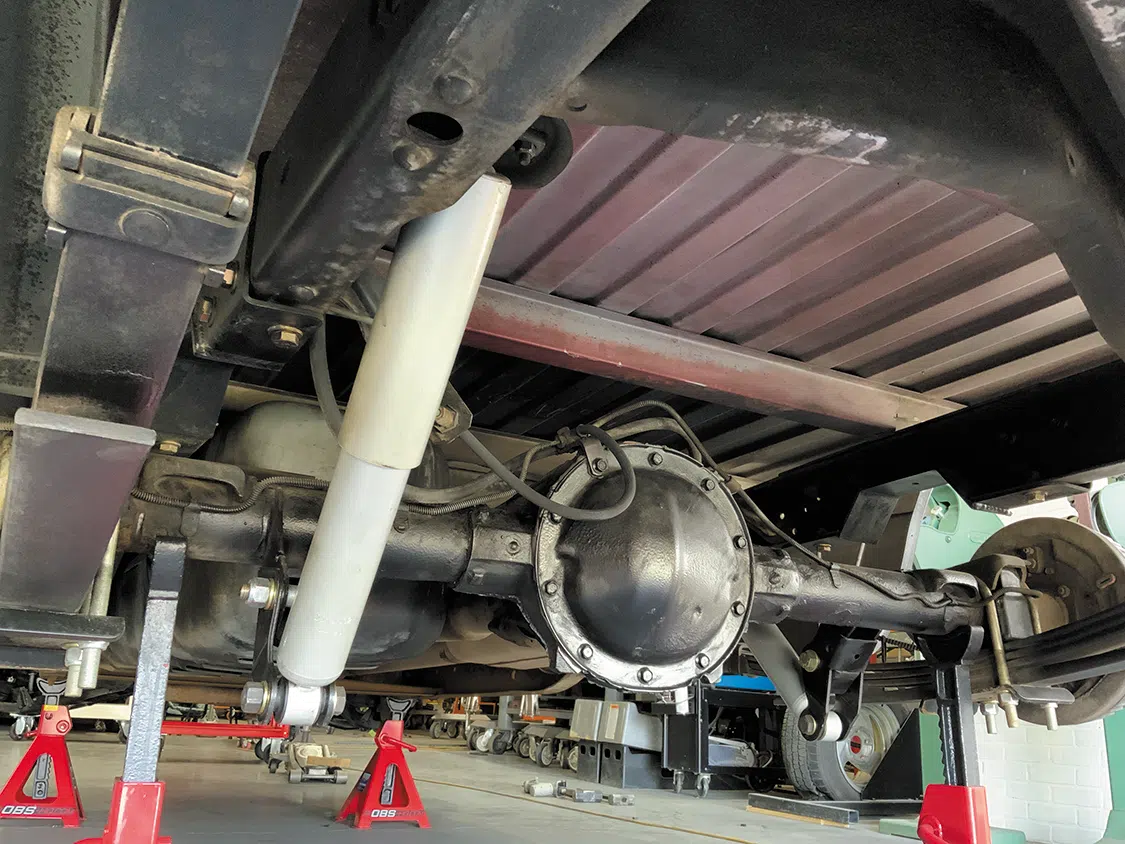
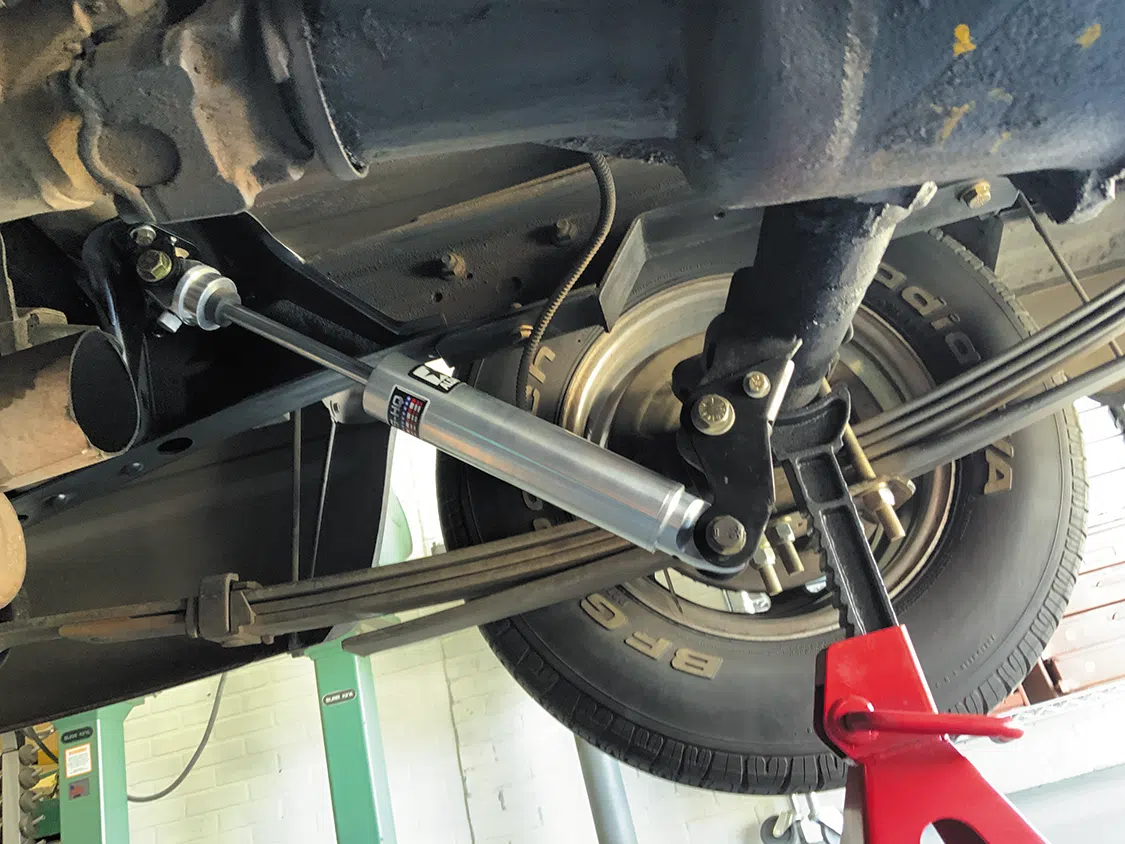
We are continuing to upgrade our shop project, the 1988 shortbed, the “Billet Beater.” We are leaving the exterior in its original paint but improving the suspension, drivetrain, and interior. It’s a perfect platform for an Aldan American coilover conversion kit.
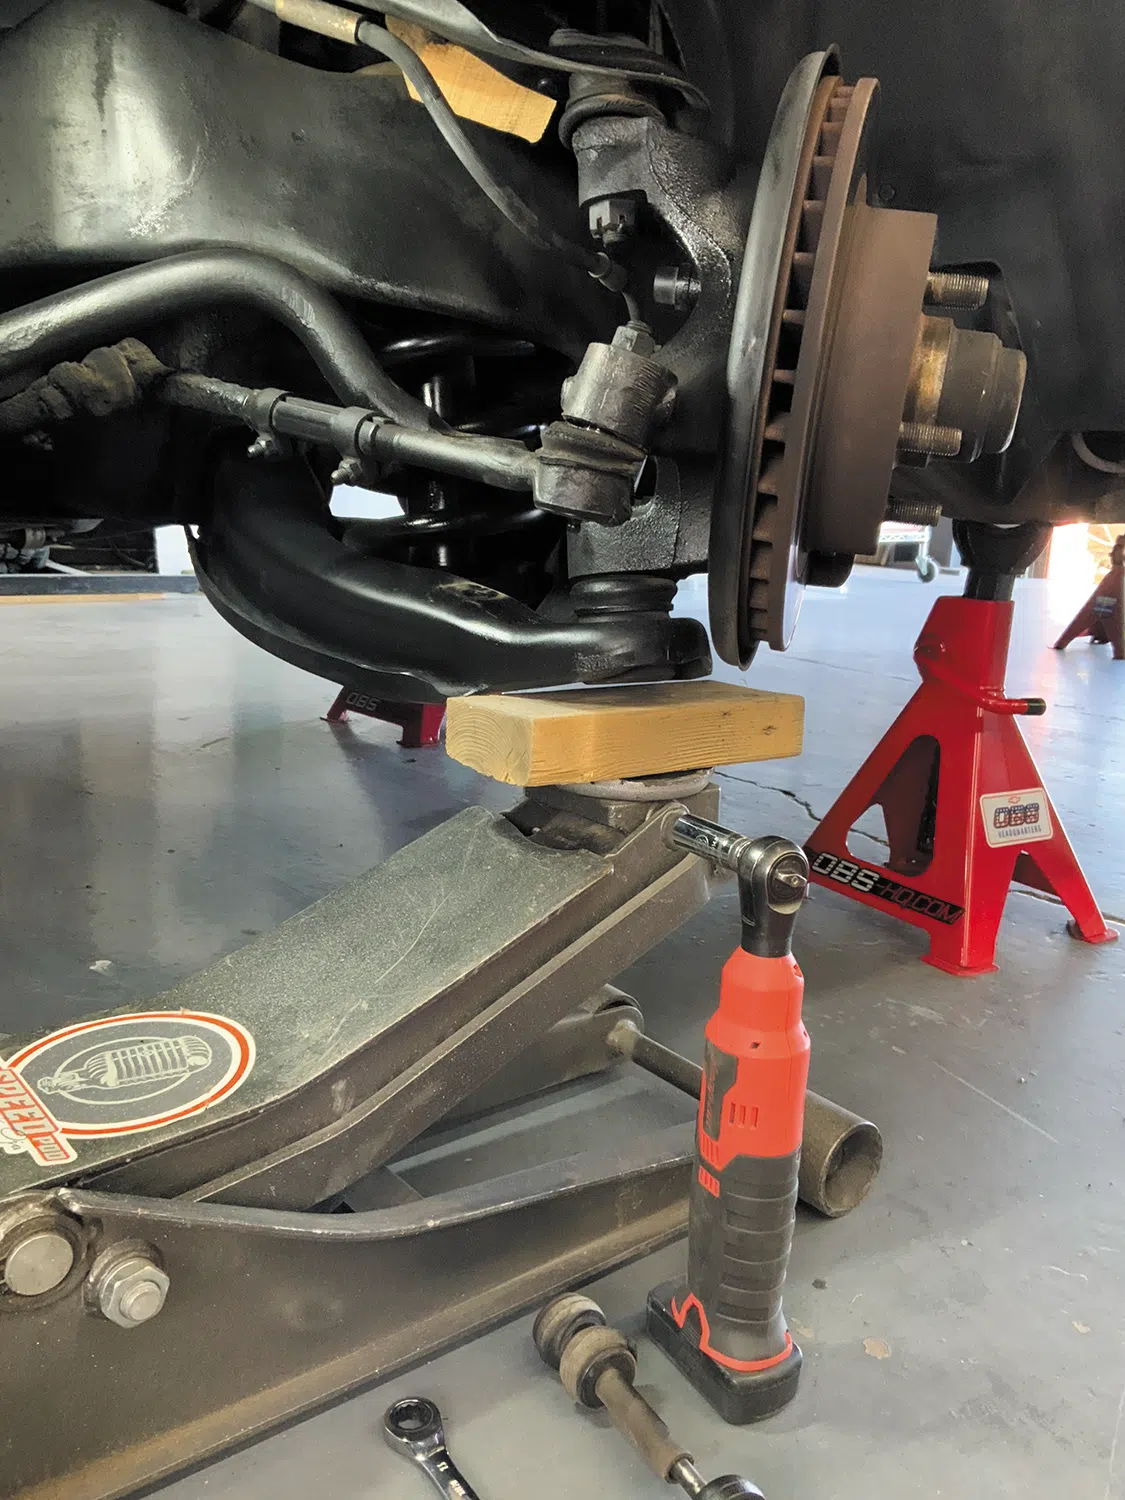
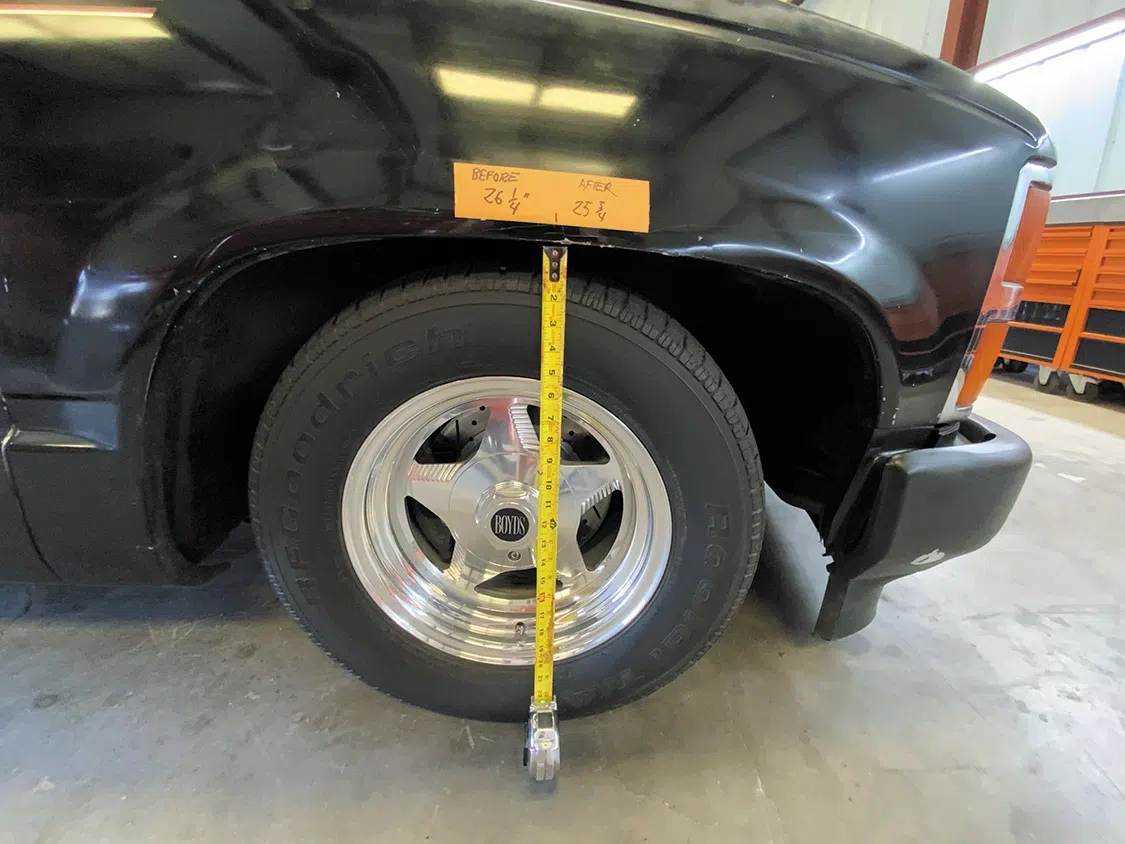
Established in 1981, Aldan American’s products are designed, tested, and made in the USA. The Road Comp Series is designed for a OEM-like fitment that offers greater tune-ability and up to a 2-inch front height adjustment. A true bolt-on design, it’s easy to tune, a smoother ride on the street, fully rebuildable, and offers a lifetime warranty. Take the time to get a new frontend alignment, too, to save those tires. Let’s go!



Aldan American
310-421-0685
aldanamerican.com
We use cookies to enhance your browsing experience, serve personalized ads or content, and analyze our traffic. By clicking "Accept All", you consent to our use of cookies. Visit our Cookie Policy for more info.
Notifications
Share Link