 BRANDON BURRELL
.
August 16, 2024
.
Feature Stories

Nowadays, when you buy a brand-new truck, the interior is always luxurious, the audio is leaps and bounds better than what we had when we were kids, and just about every option you could want is available. So, what do you do when you want more than what the manufacturer offers?
Without the ability to change the head unit on modern vehicles—every aspect and most control of the vehicle as well as HV/AC are integrated into the factory screen—most people feel upgrading audio is impossible. Factory leather is standard in most non-base trucks, too, so most people feel that is all they will every need. But for us gearheads who are addicted to custom trucks, those factory options are never enough.




In this instance, I purchased a 2023 GMC Sierra Elevation, which was well equipped. It had black leather seats, woodgrain trim, upgraded audio, and a pretty nice interior. The audio that came with the truck was actually impressive. My first thought was, “Maybe I should leave the factory speakers and be content.” Then instantly, it switched to, “Let’s see how loud we can make this trucks stereo and still keep a clean, factory look.”
Knowing the plan was to add an upgraded sound system, I couldn’t stop there and leave the interior factory. The all-black interior was boring, so I had to add some color. The original plan was to redo the seats and add a of couple small matching details, but just like any build, those plans changed, and it turned into a full-blown upgrade.
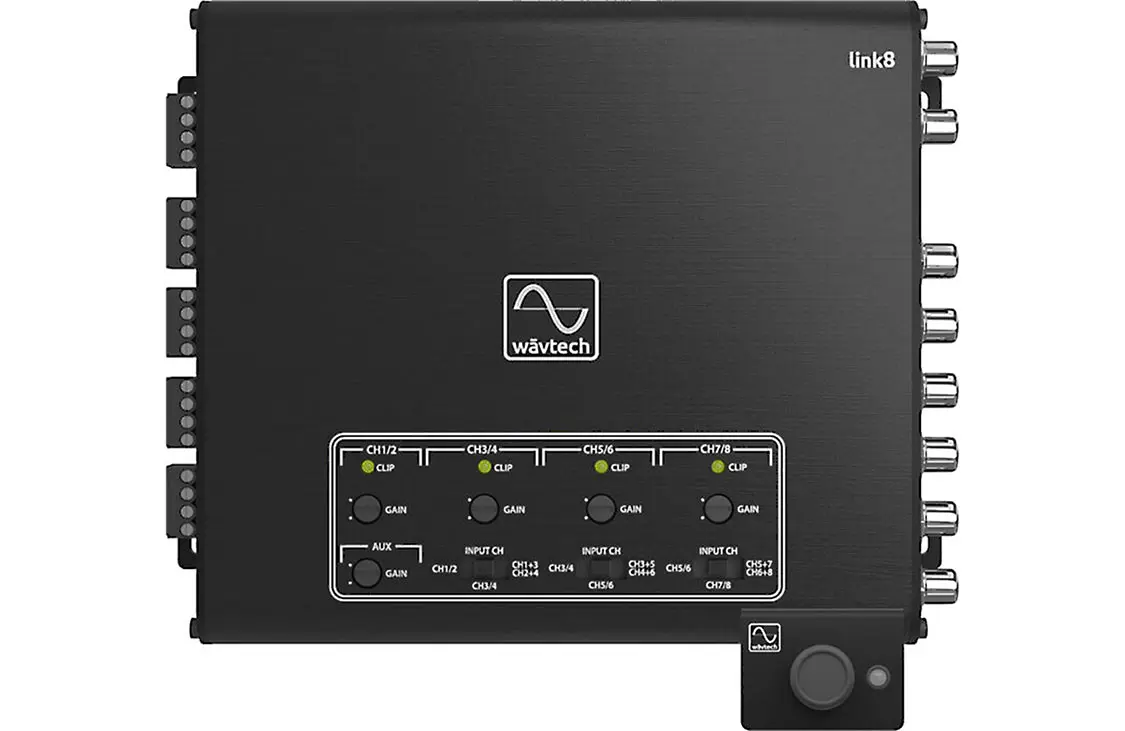
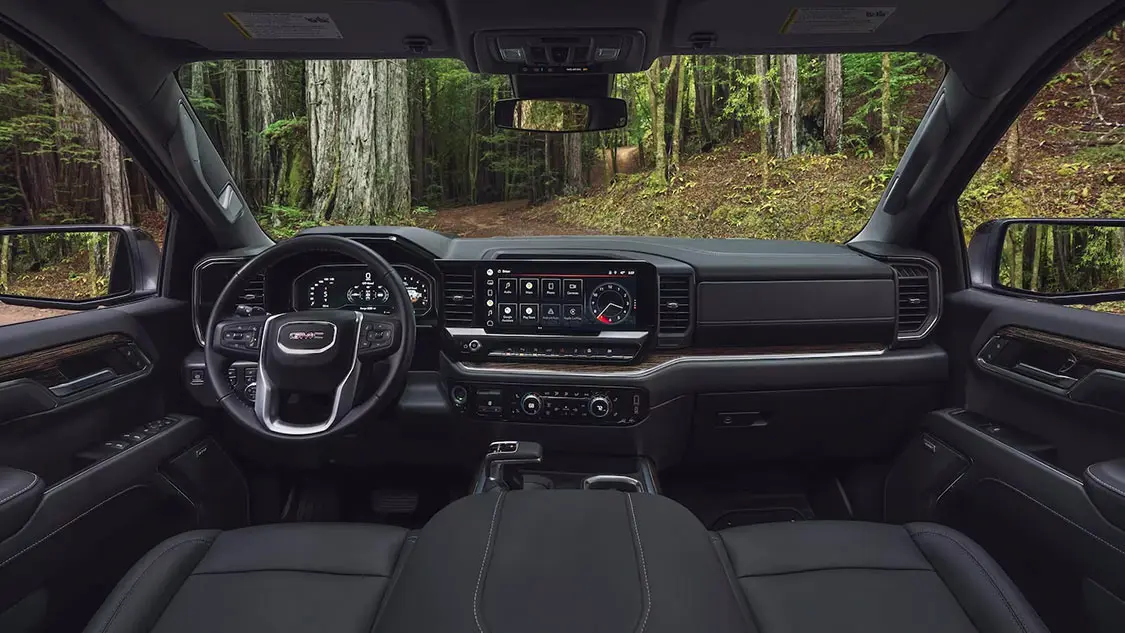
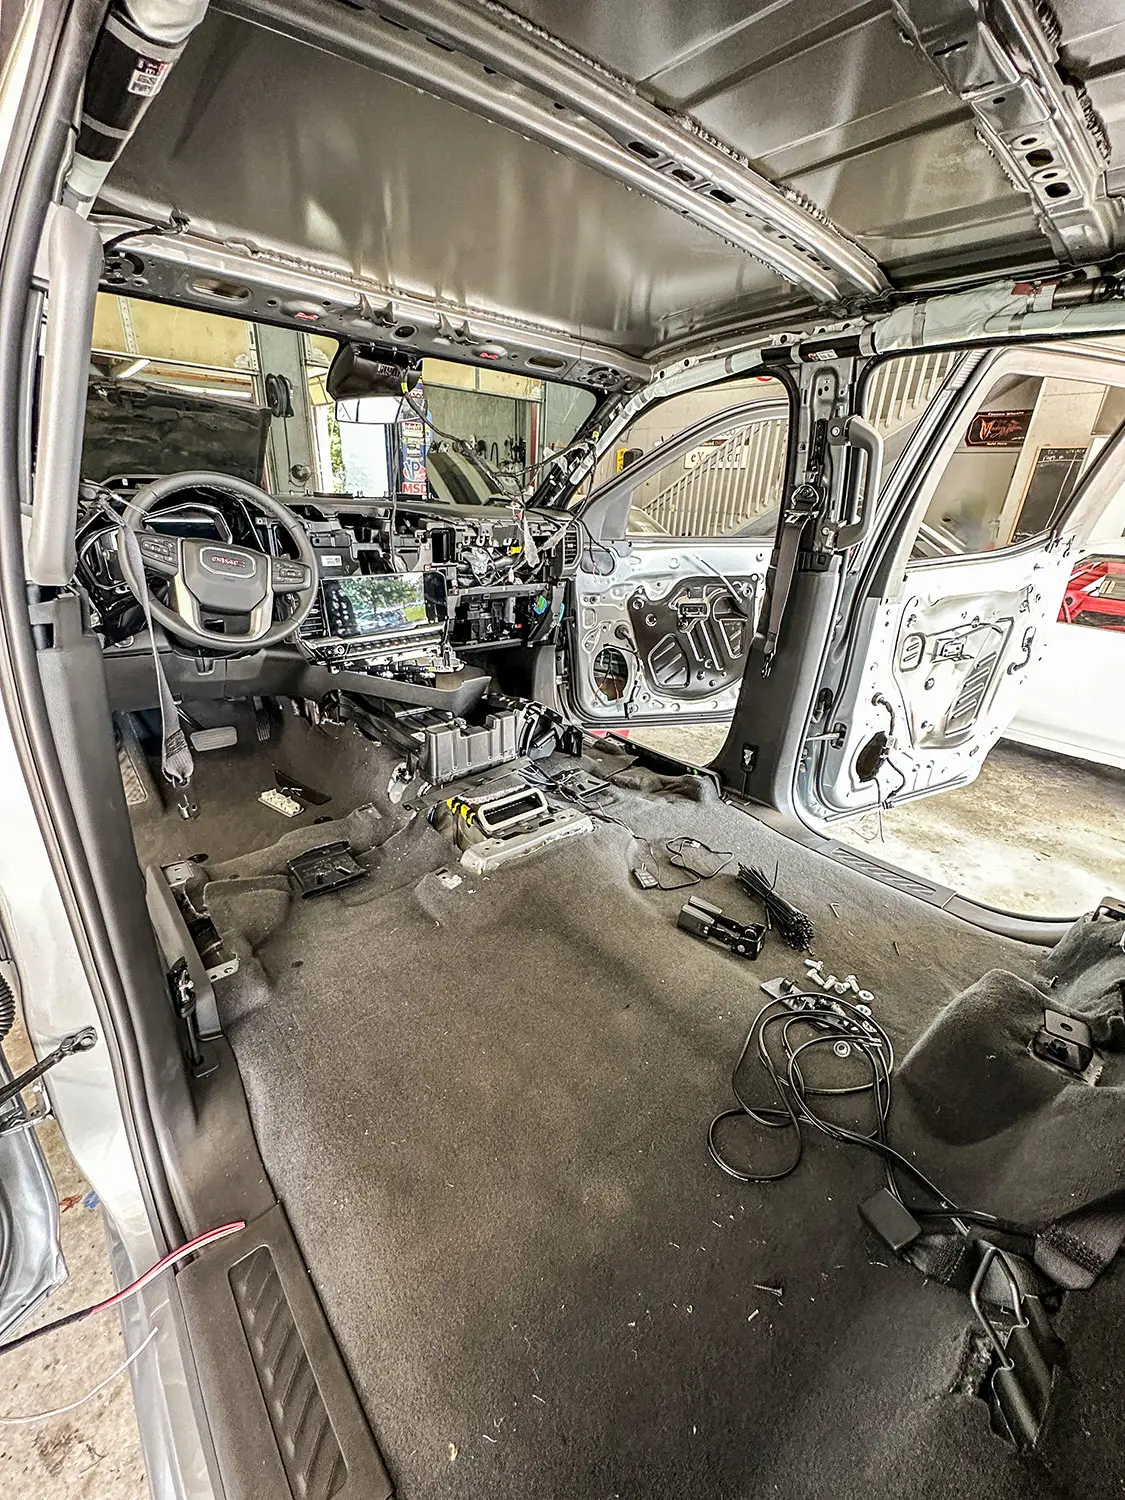
While this article isn’t meant to show the install process and how to wrap panels and build boxes or wire amps, it’s to show you, the reader, what is involved in transforming an already nice truck interior into a showstopper. Even with the fully integrated dashes in every new truck out there, you can easily upgrade the audio and interior and keep the dash working like it did when it was stock.
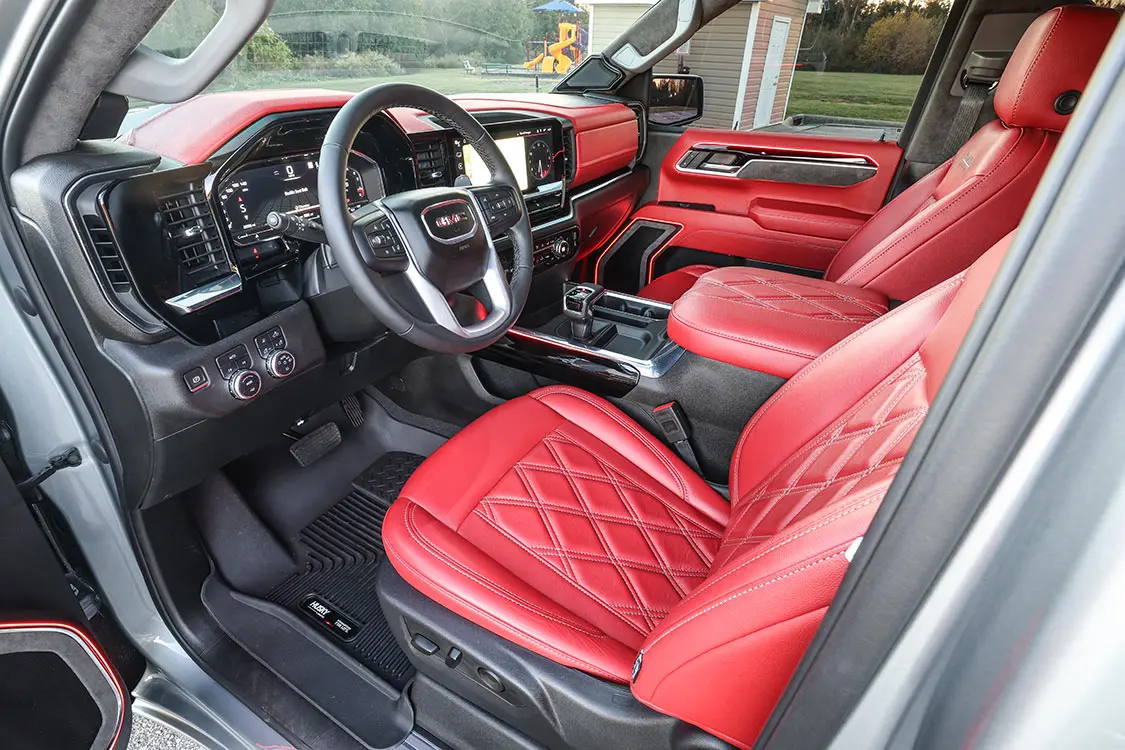
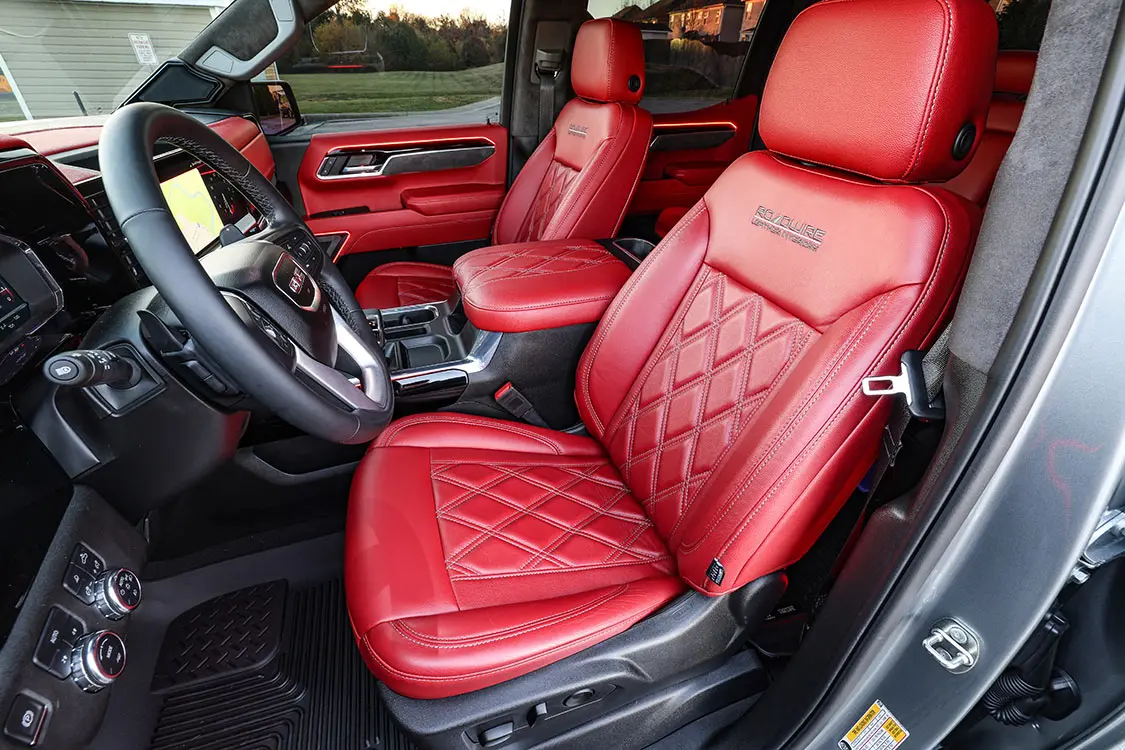
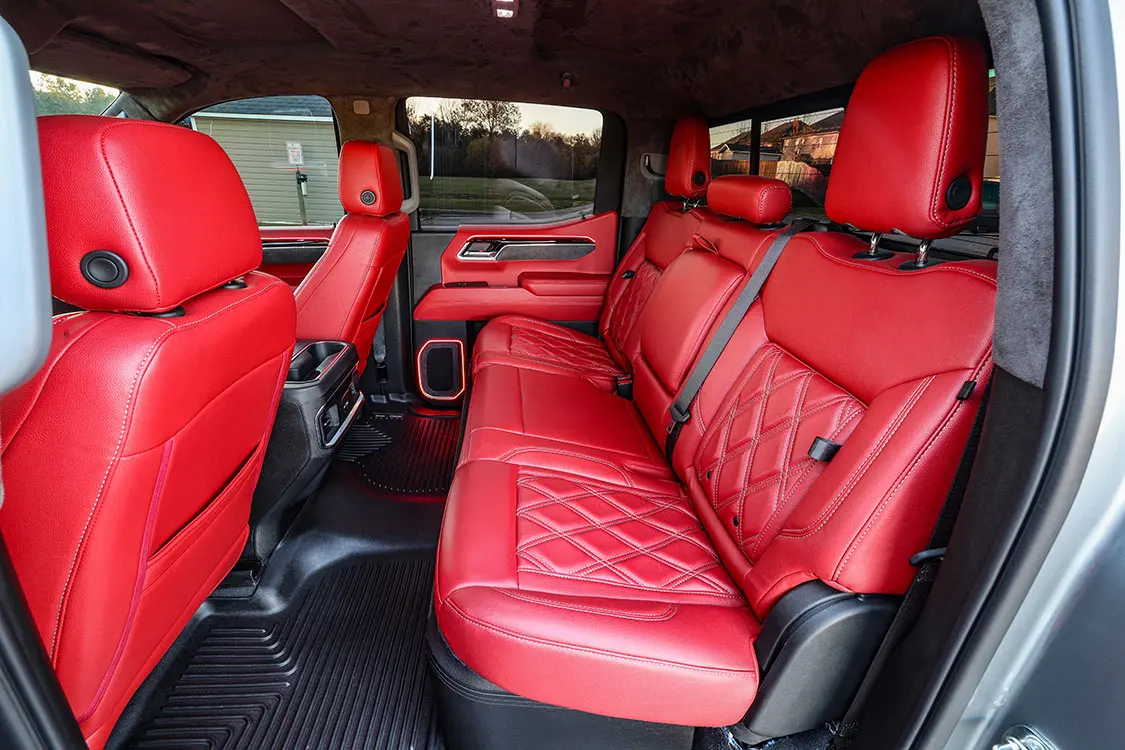
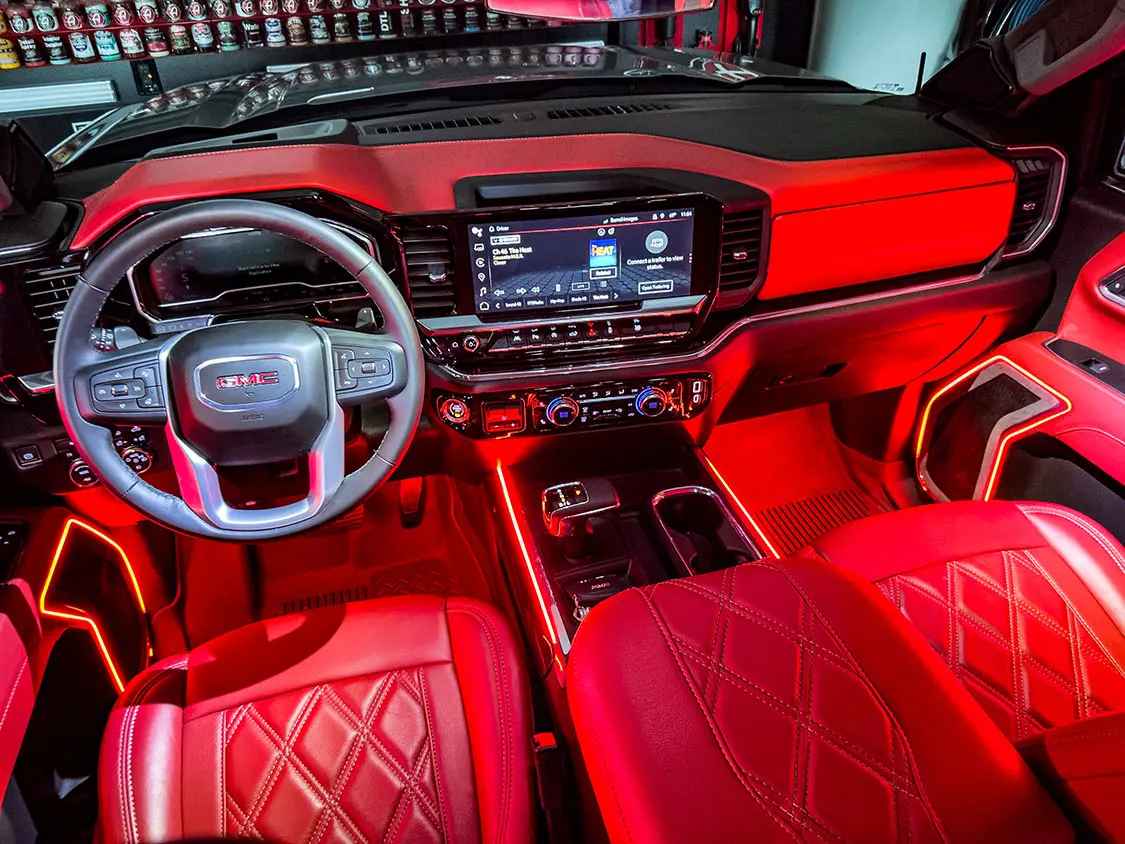
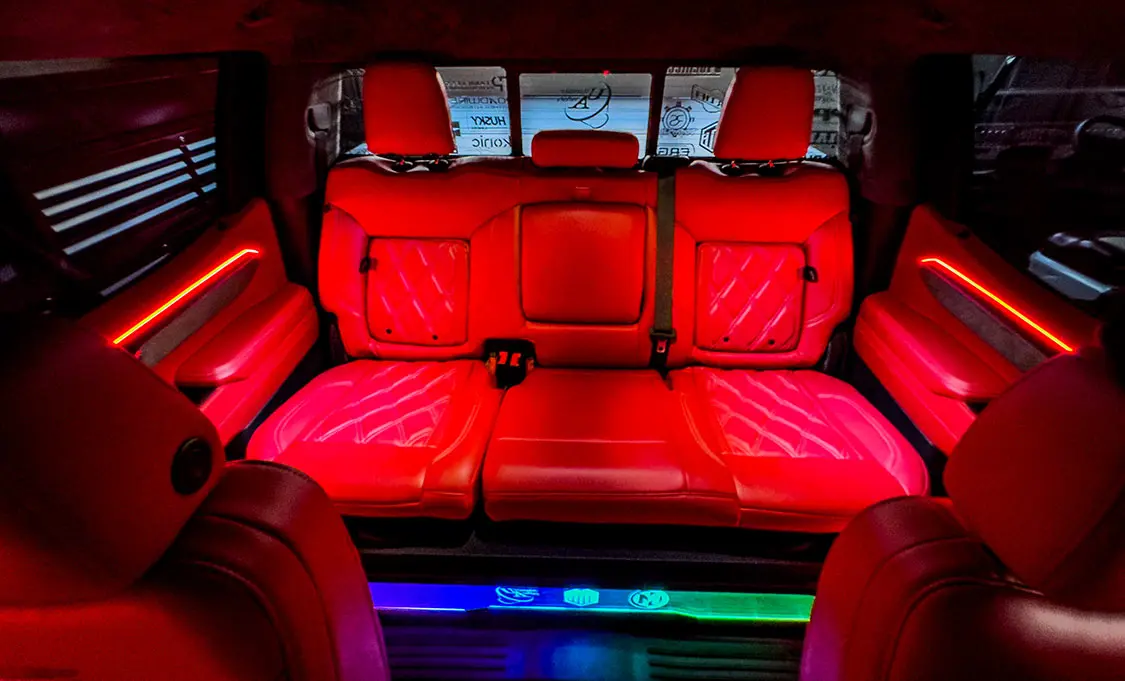
The first thing was to ditch the black leather seats for something a little flashier. Classic Soft Trim in Charlotte, North Carolina, installed Roadwire Leather seat covers and matching center console cover in full red leather with diamond stitching to match the exterior color. This instantly changed the interior look, but I felt it needed more.
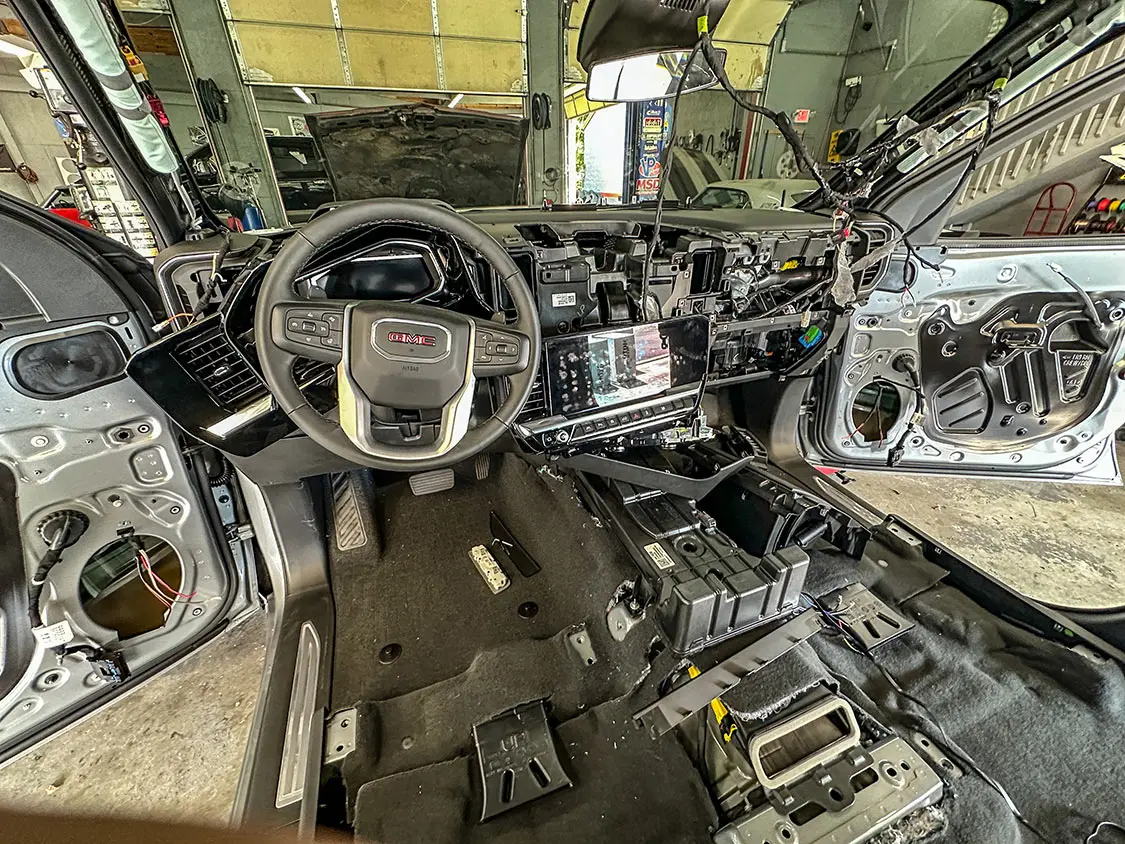
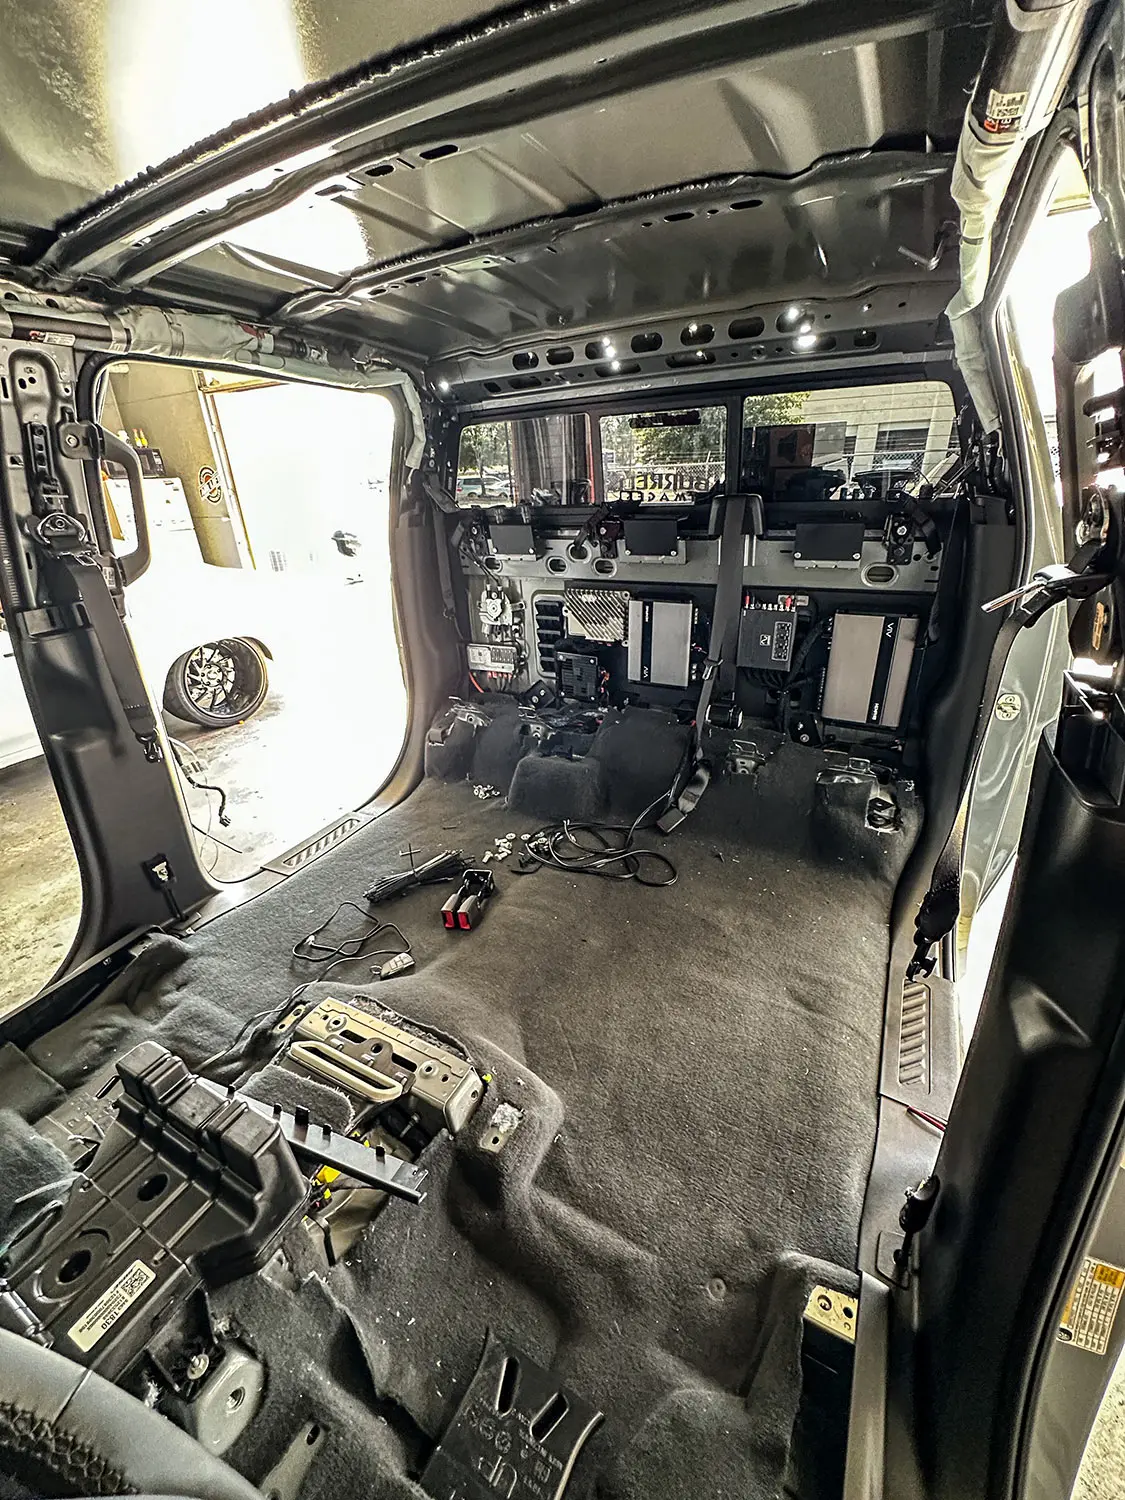
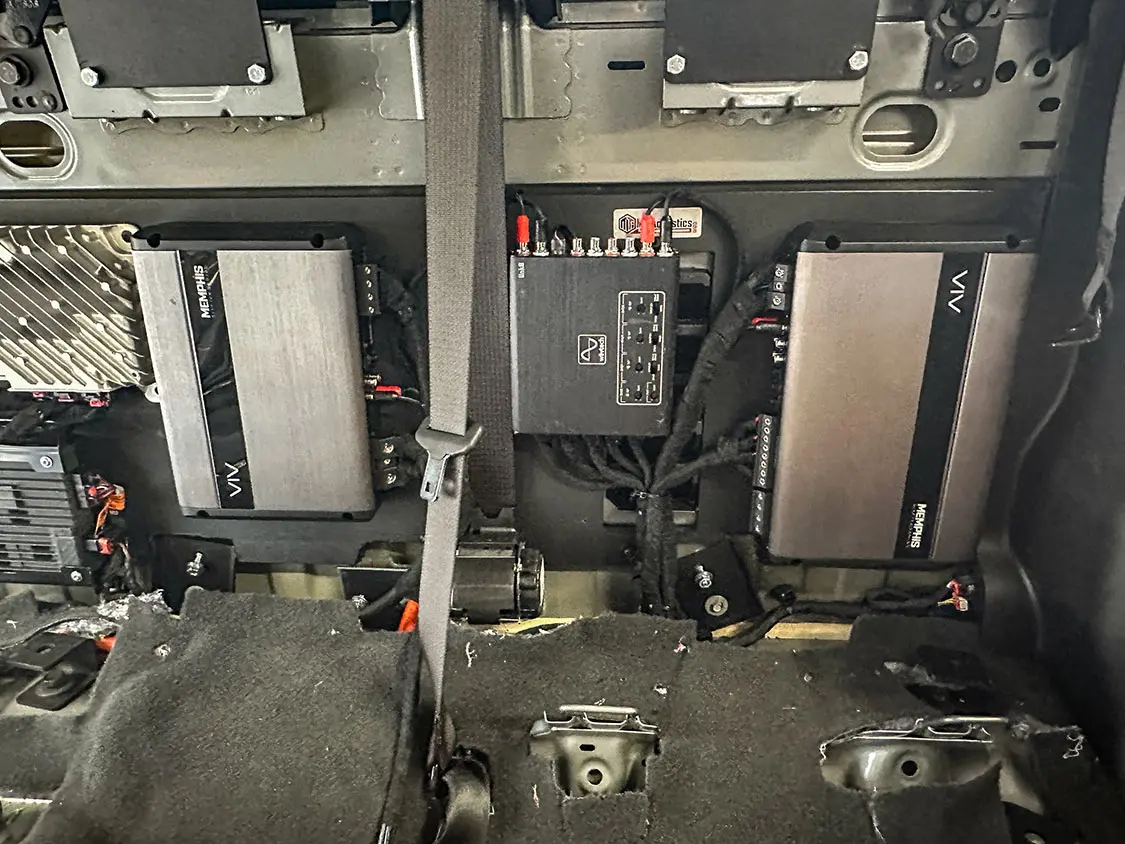
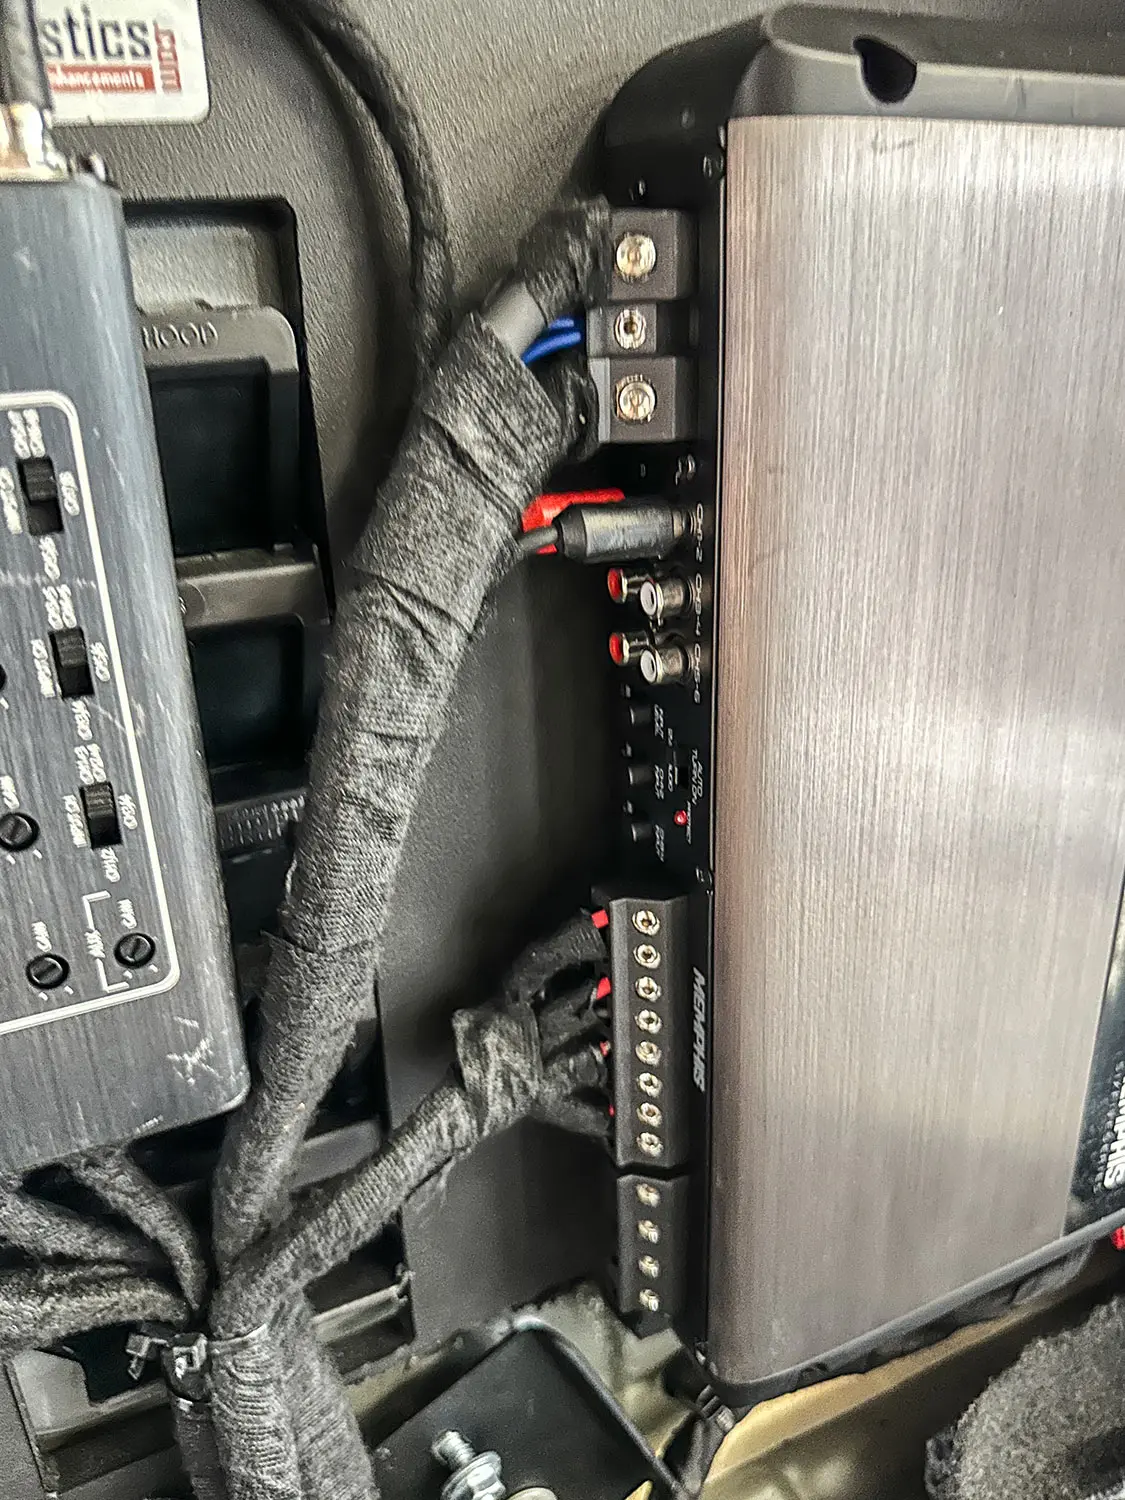
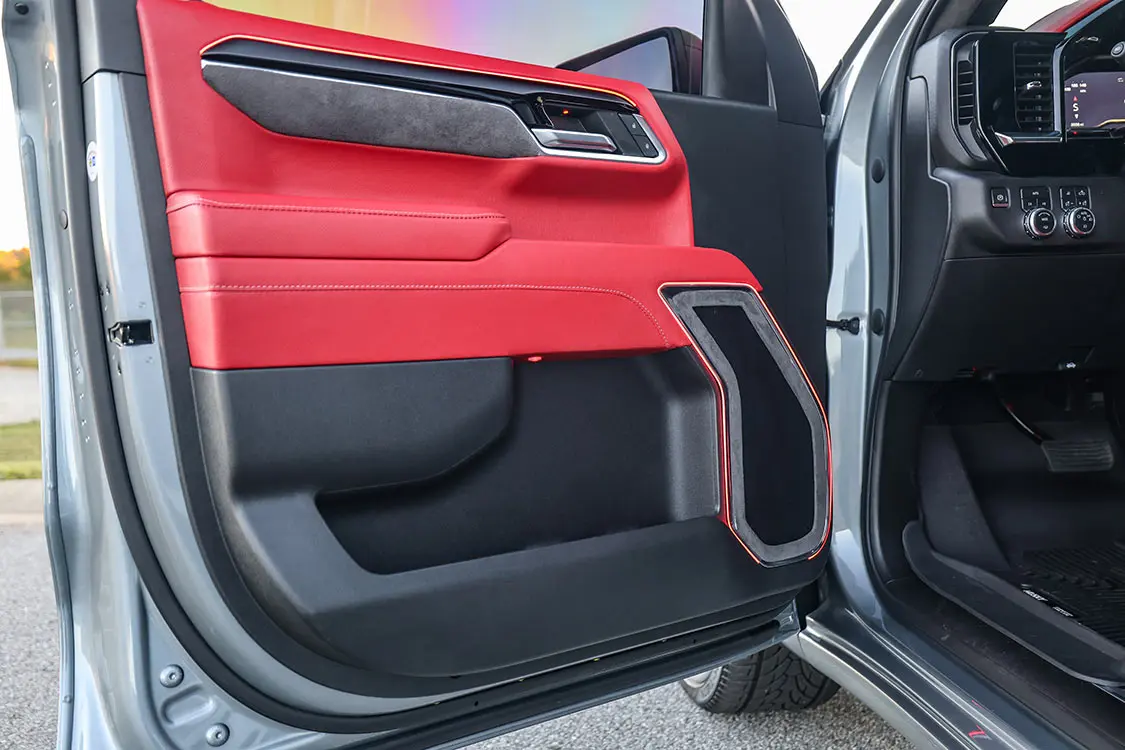
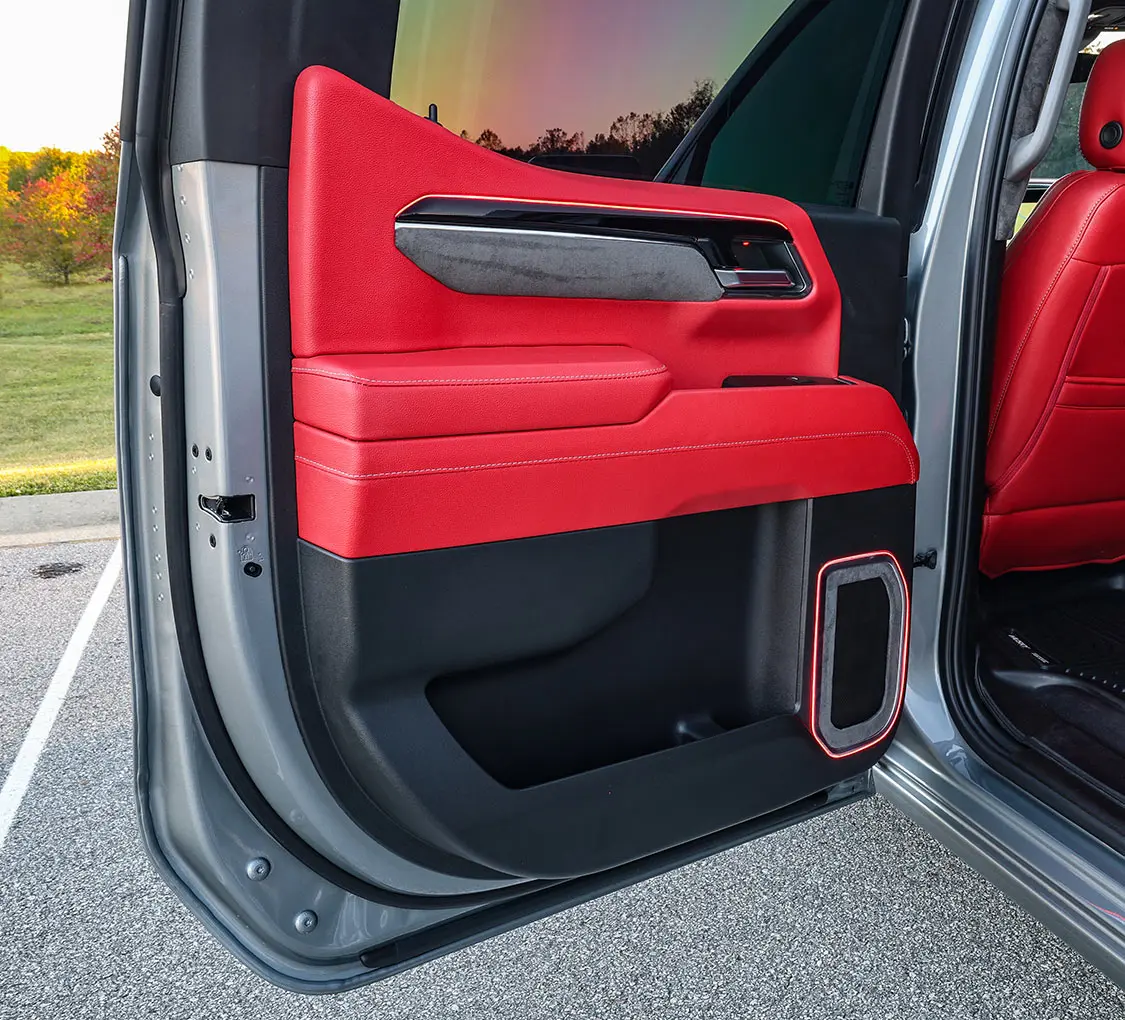
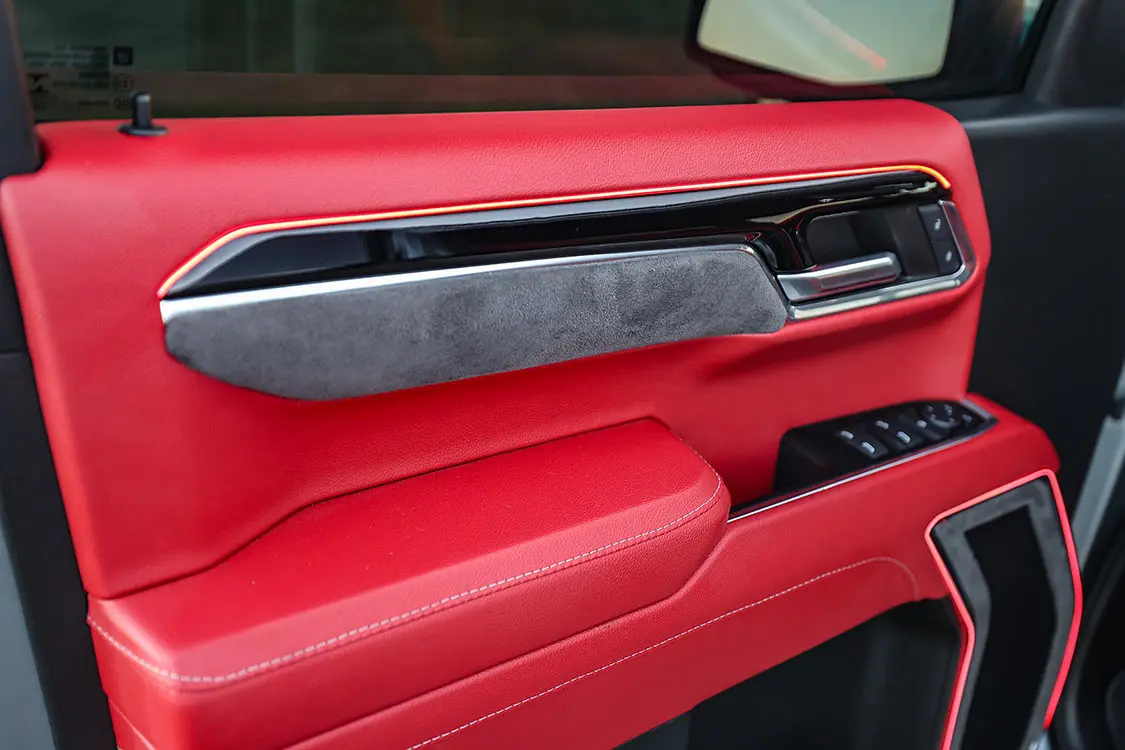
To do this transition, I reached out to our friends down at Ultimate Audio in Lexington, South Carolina. I have used them on all my SEMA builds since 2015, so I knew they would be able to handle the level of upgrade I was after. Knowing that an all-black interior with red seats wouldn’t cut it, shop owner Shawn Arnold and I sat down and came up with a game plan. Most of each door panel would receive the same red treatment to match the seats as well as part of the dash.
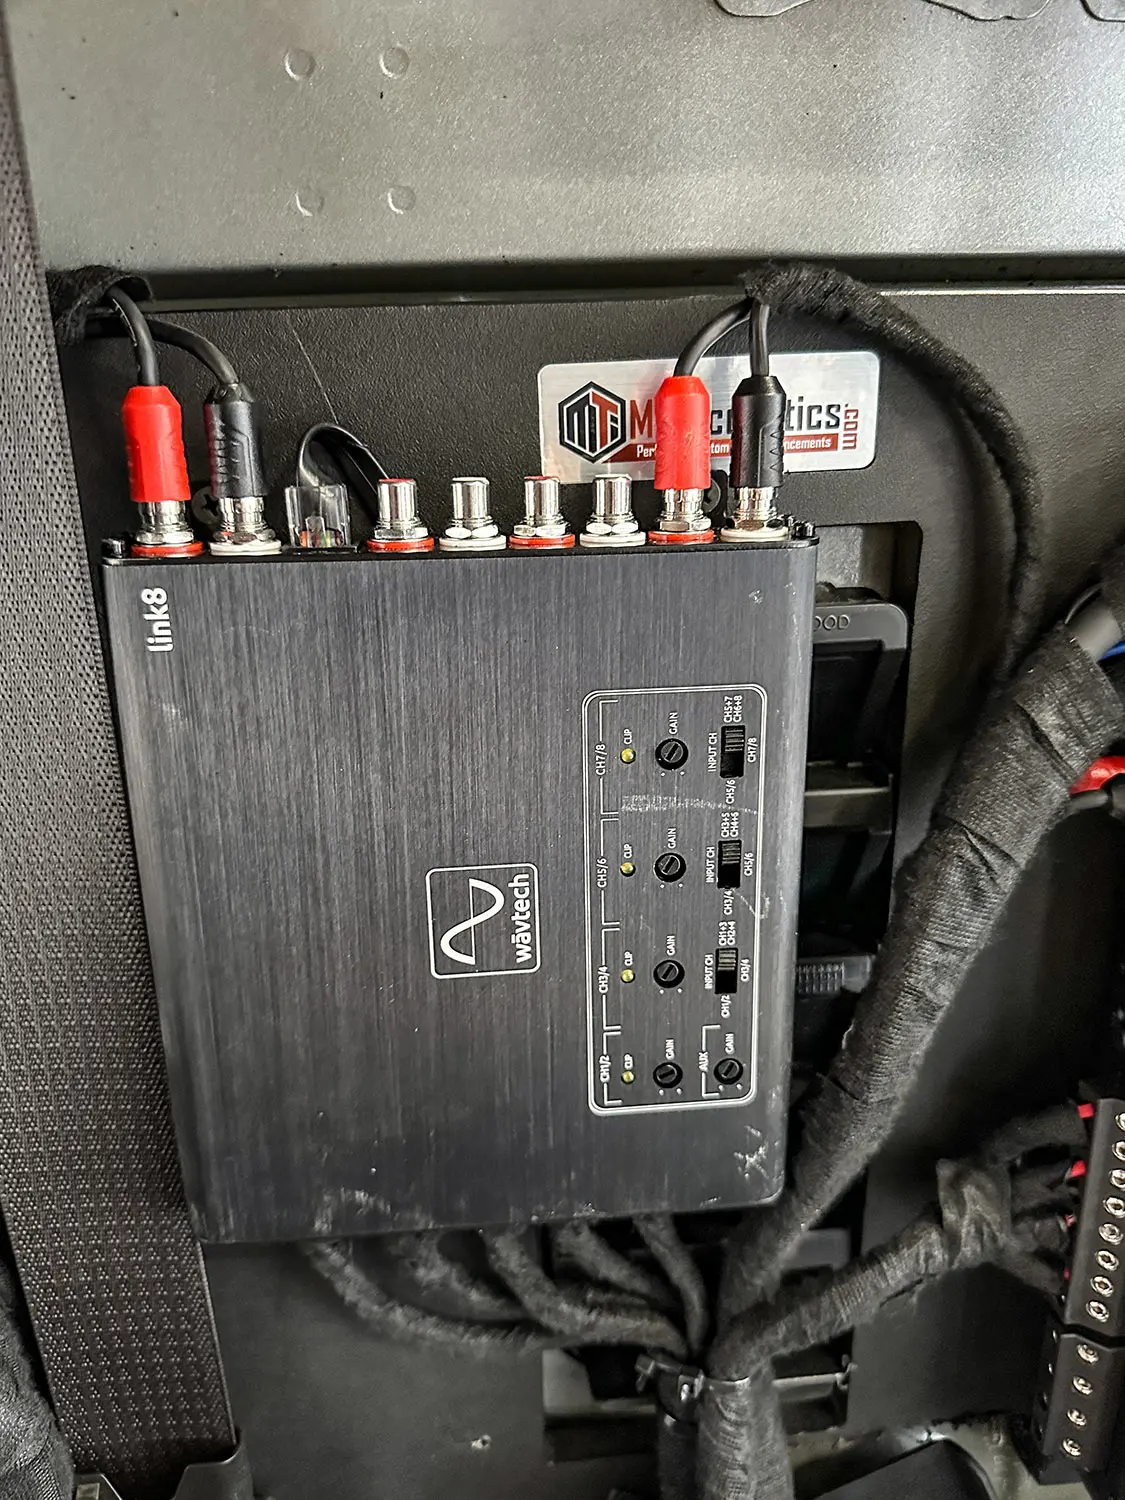
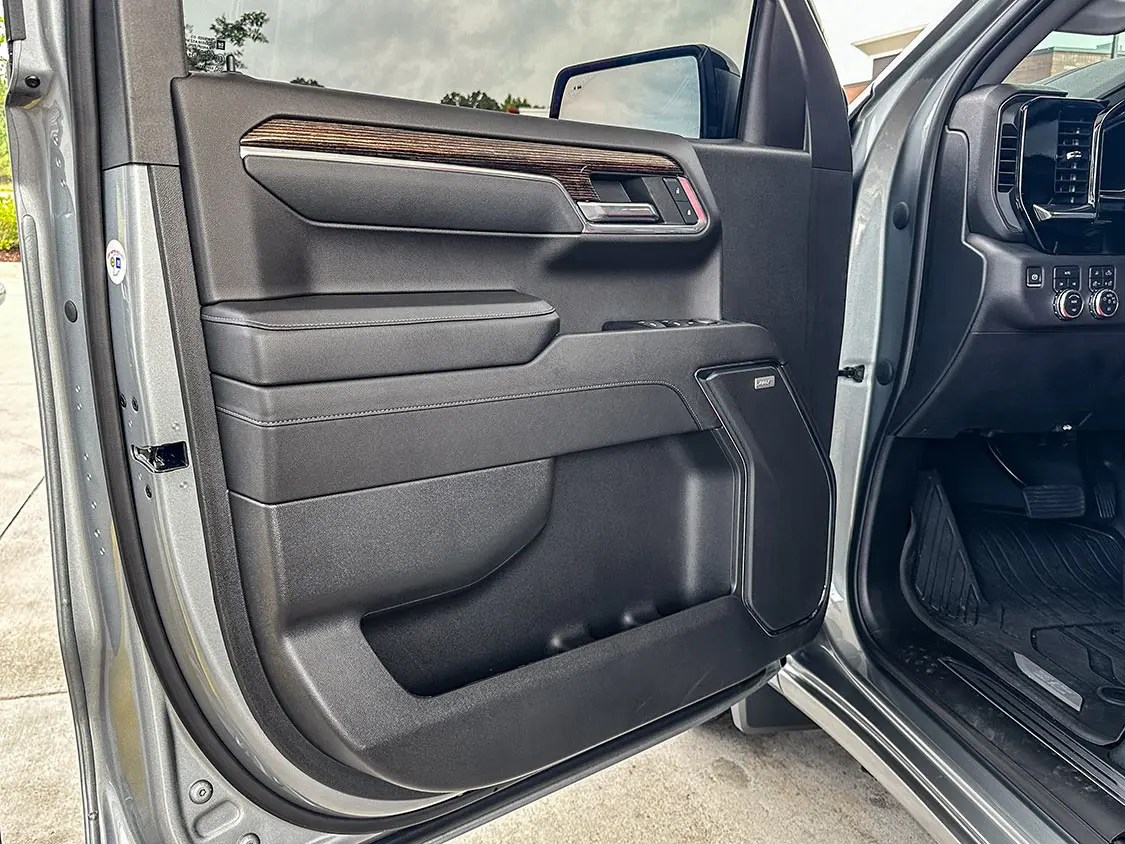
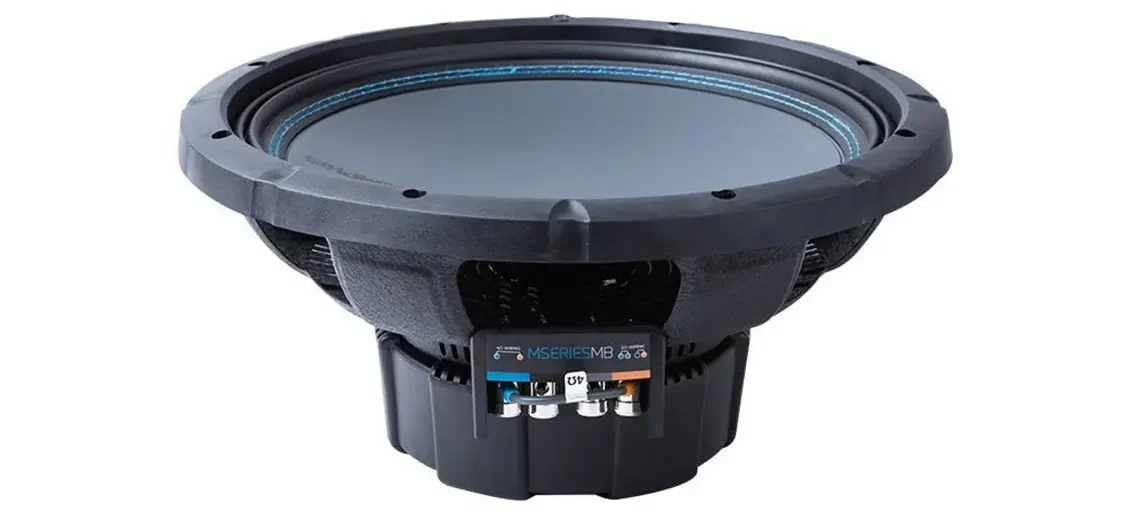
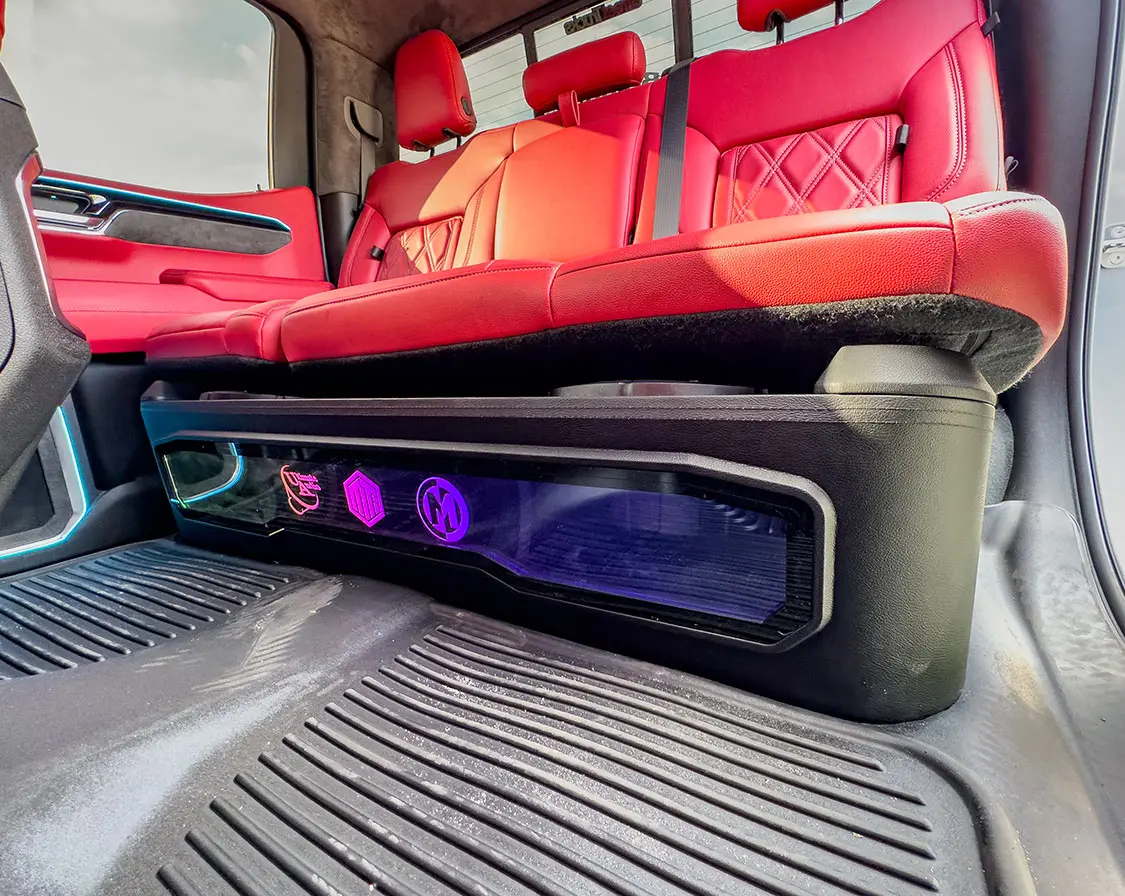
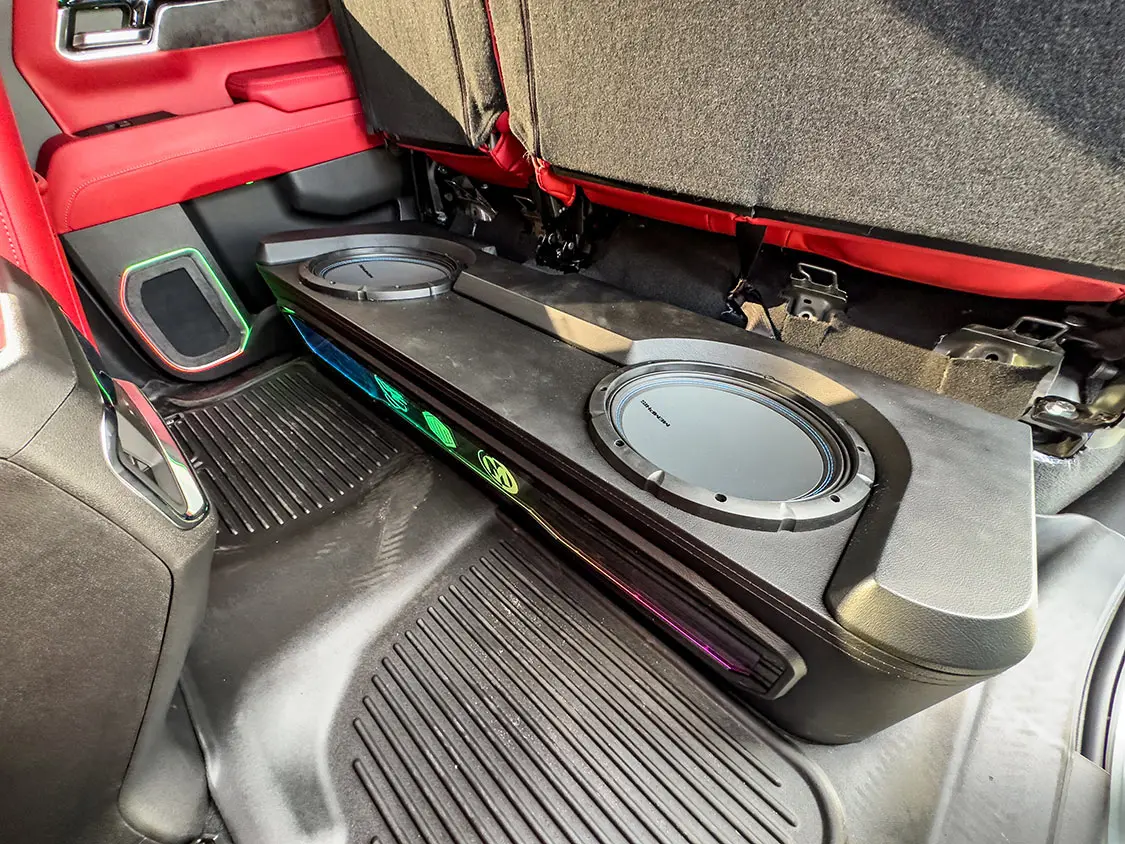
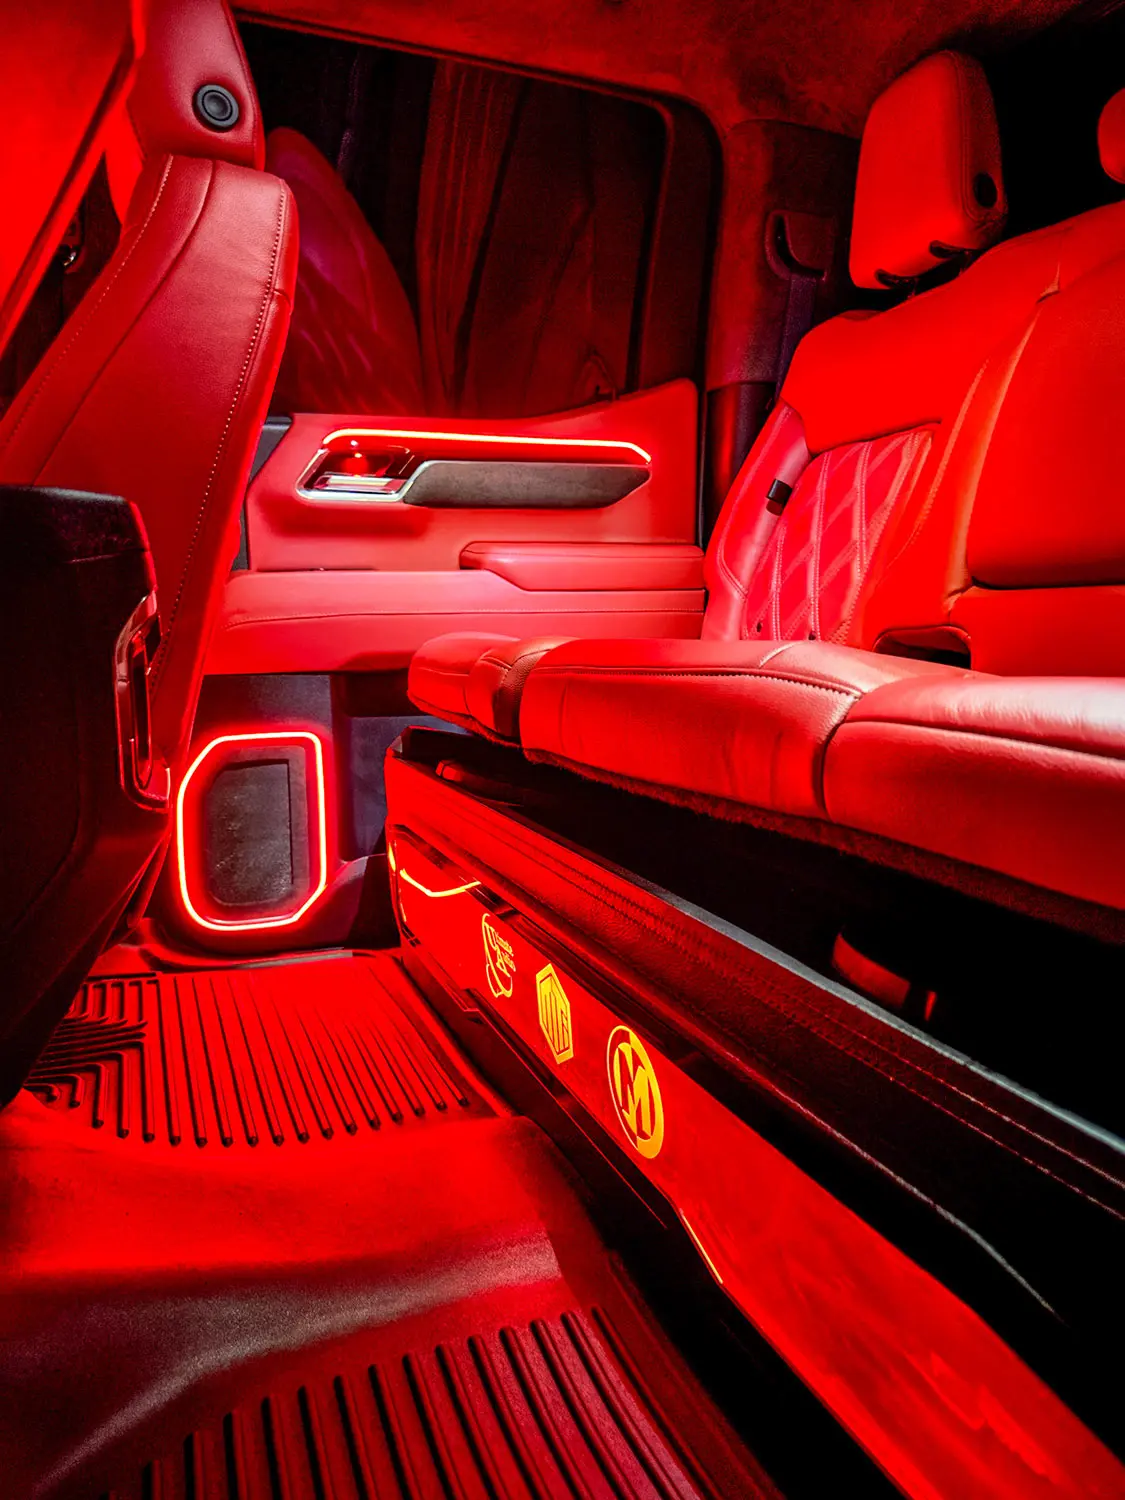
Noticing that the factory brown woodgrain would look out of place with all the red, it was all pulled and sent to Trey Steele at TS Paint Shack to paint it all piano black to match the factory dash bezel. I was also having the 3rd brake light color-matched, but to do so, the headliner had to come out. Since it was out, I decided to wrap it and the pillars in gray suede to up the luxury look even more. In the doors, custom speaker grills were built to retain the factory speaker pockets that now house a 6.5-inch Memphis Audio mid and matching tweeter. MTI A-pillar pods were added to hold the Memphis Audio 3.5-inch mid and tweeter on each side. MTI also built an under-seat sub box to hold two 12-inch Memphis Audio MB subs. The rear seat had to be raised 2 inches to give enough air space for the subs. While all the panels were apart, a multicolor Racesport Lighting kit was added, which gives the new interior a cool look at night. We also added a set of Husky Liner floor liners to protect the floor and from daily dirt and water.
Following though the photos, you can see how involved a job like this is. The truck is pretty much completely gutted, torn apart, and reassembled. Tearing apart a brand-new vehicle isn’t for everyone, but if you are as custom driven as we are here at Street Trucks, go for it!

Share Link