Motortopia - EVERYTHING Automotive!
Close

From Stock to 700hp: Turbo and Manifold Upgrade

Tucker Harris . August 12, 2024 . Diesel World
Save ArticleLogin to save it

Getting Closer to Reaching 700hp!

Welcome back to another installment of “Stock to Not,” where we take our 1994 Ram 2500 and go from, well, stock—to not! We are well on our way through this build after completely going through this engine and drivetrain over the last few months to make sure that our 700-whp goal is able to hold up for a little beating after we’re finished with upgrades.

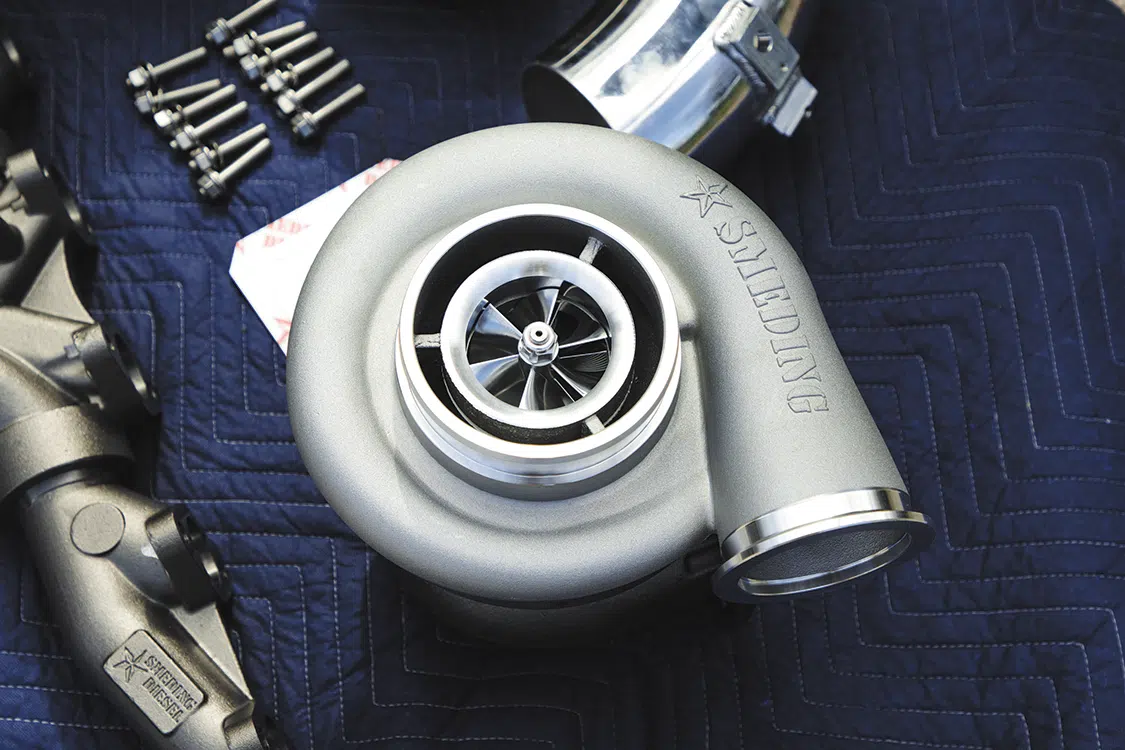
We have been over-fueling our last turbocharger (Smeding Diesel S362) quite a bit for the first iteration of this build, so today we are going to turn it up a notch and change from our previously stated 300 frame charger and stock T3 manifold to a Smeding Diesel S467 and a three-piece T4 manifold. We are also going to install Smeding’s stainless manifold bolt kit. Let’s get to it!

Shout out to Davy, Ricky and the whole team at Smeding Diesel for supporting this build since the beginning and keeping it supplied with great parts and customer service. They have a ton of options for every diesel platform no matter what power range you’re going for.
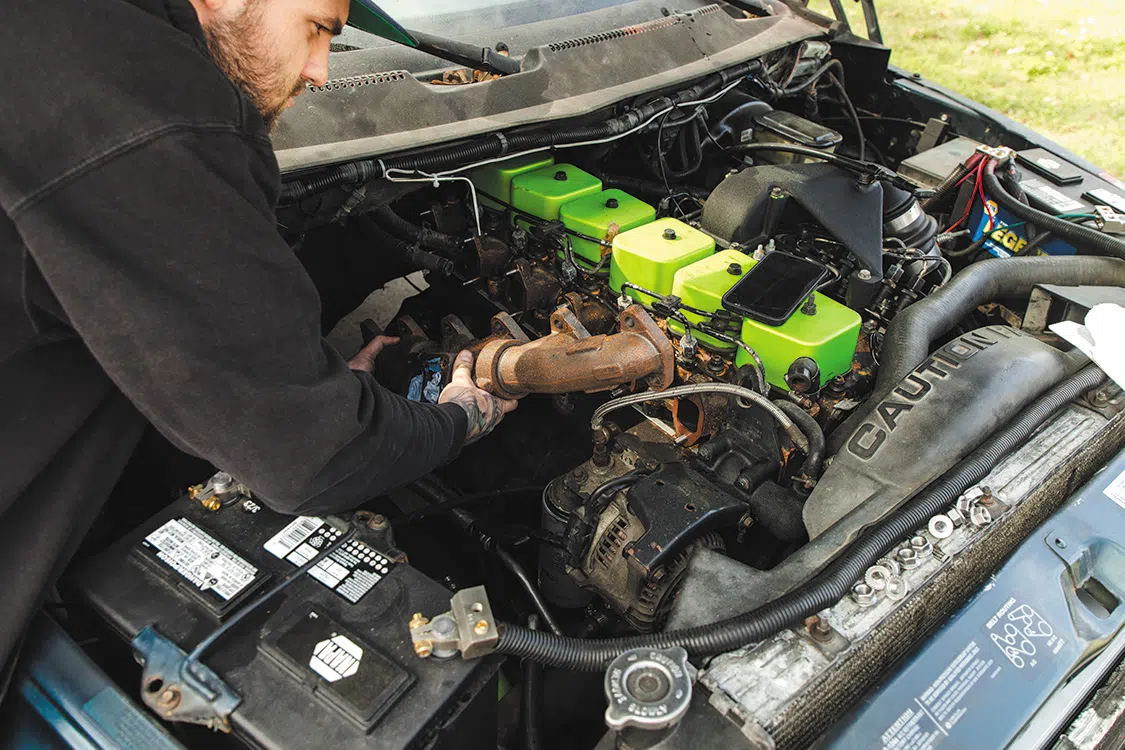
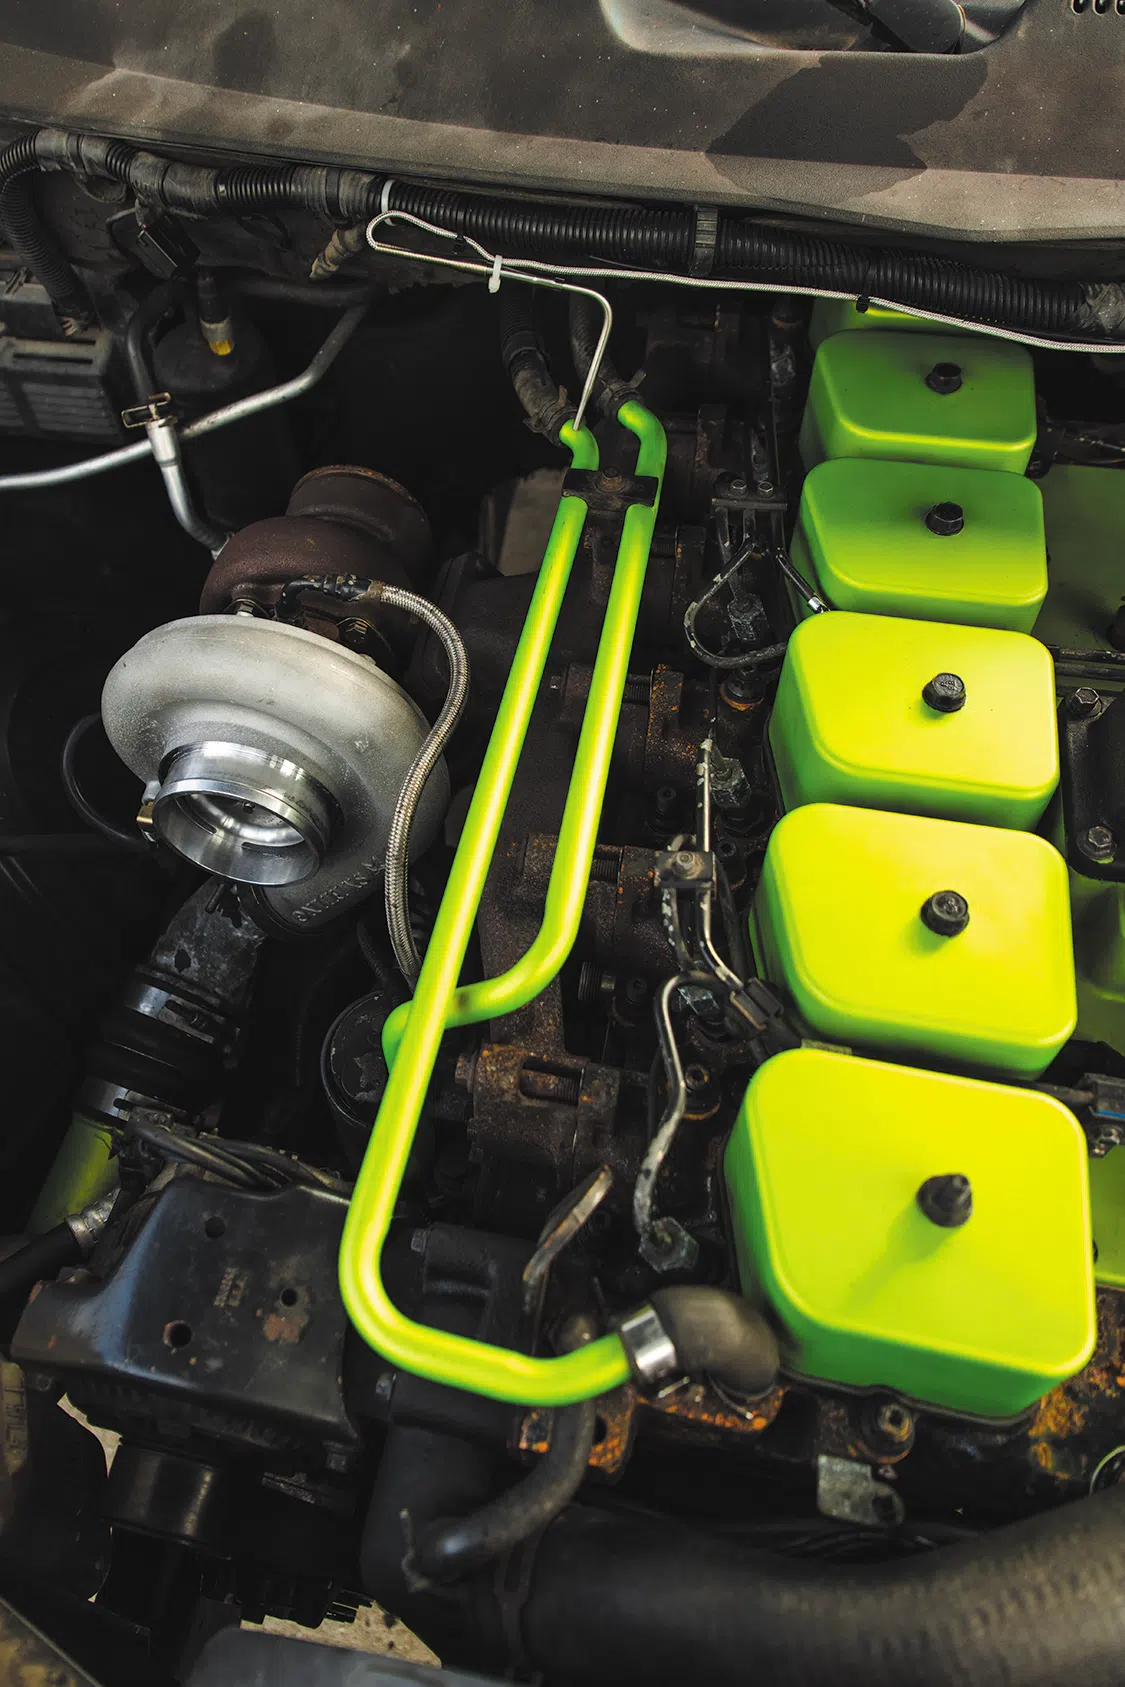
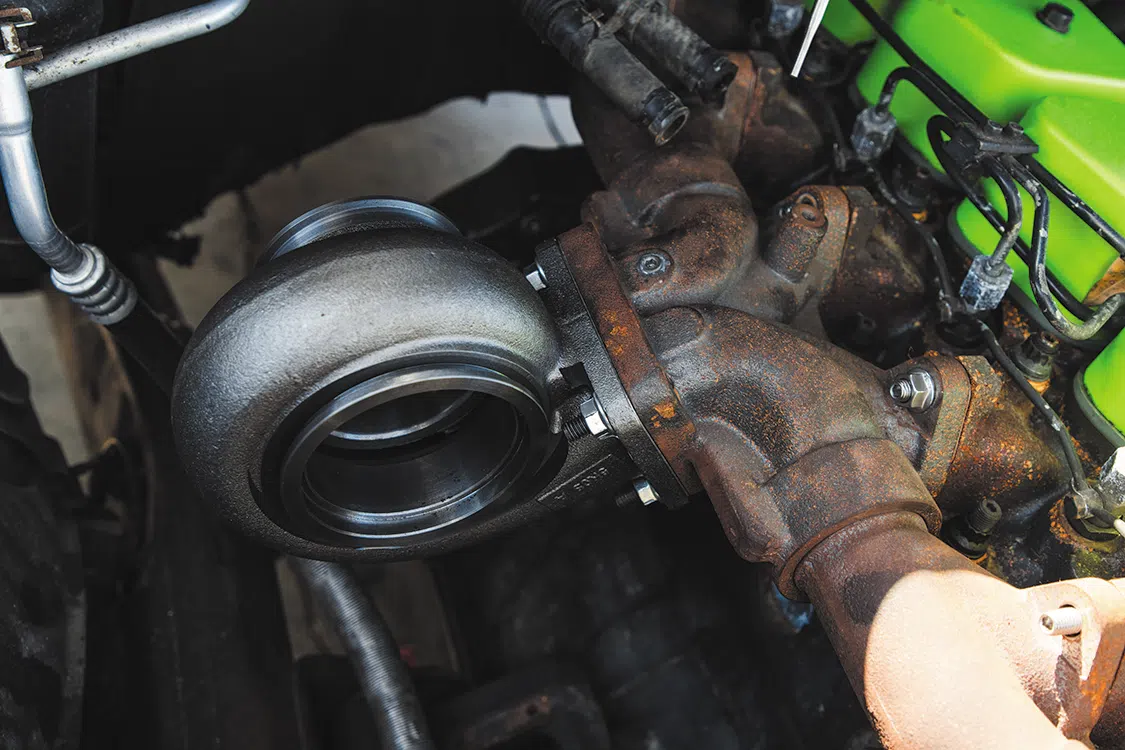
As you can see, our stock manifold goes right along with the rest of the 30-year-old truck (old, rusty and crusty) but that charger looks good on there! Time to get rid of that.

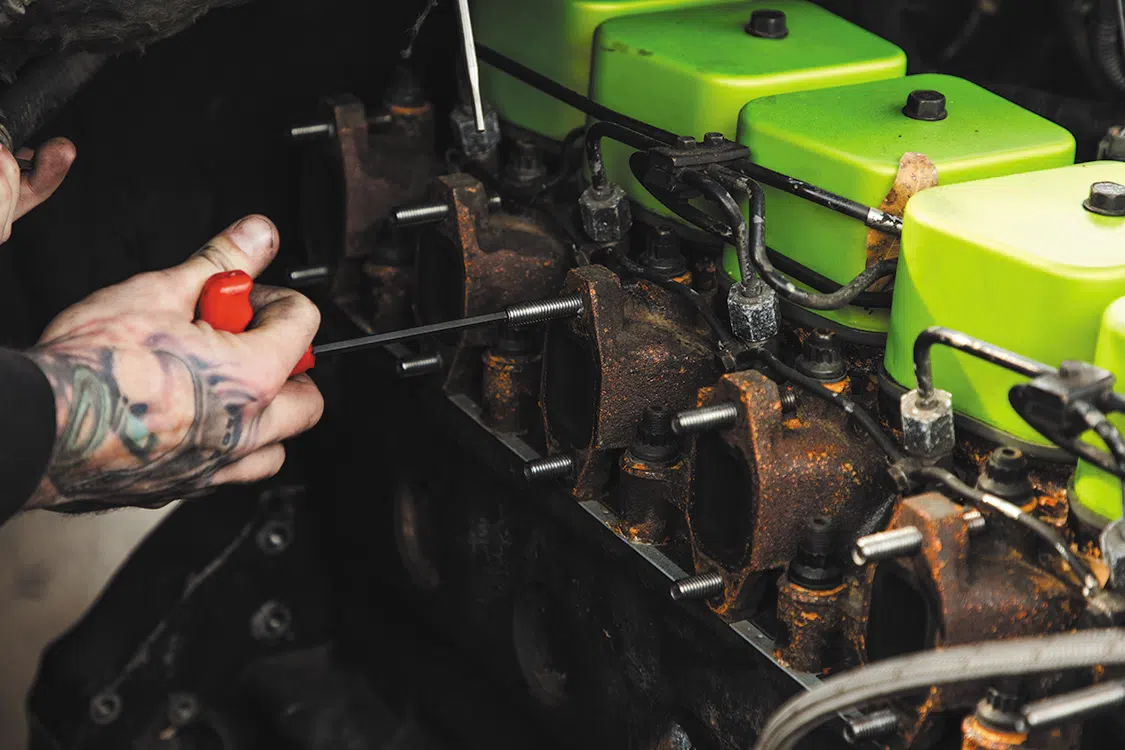
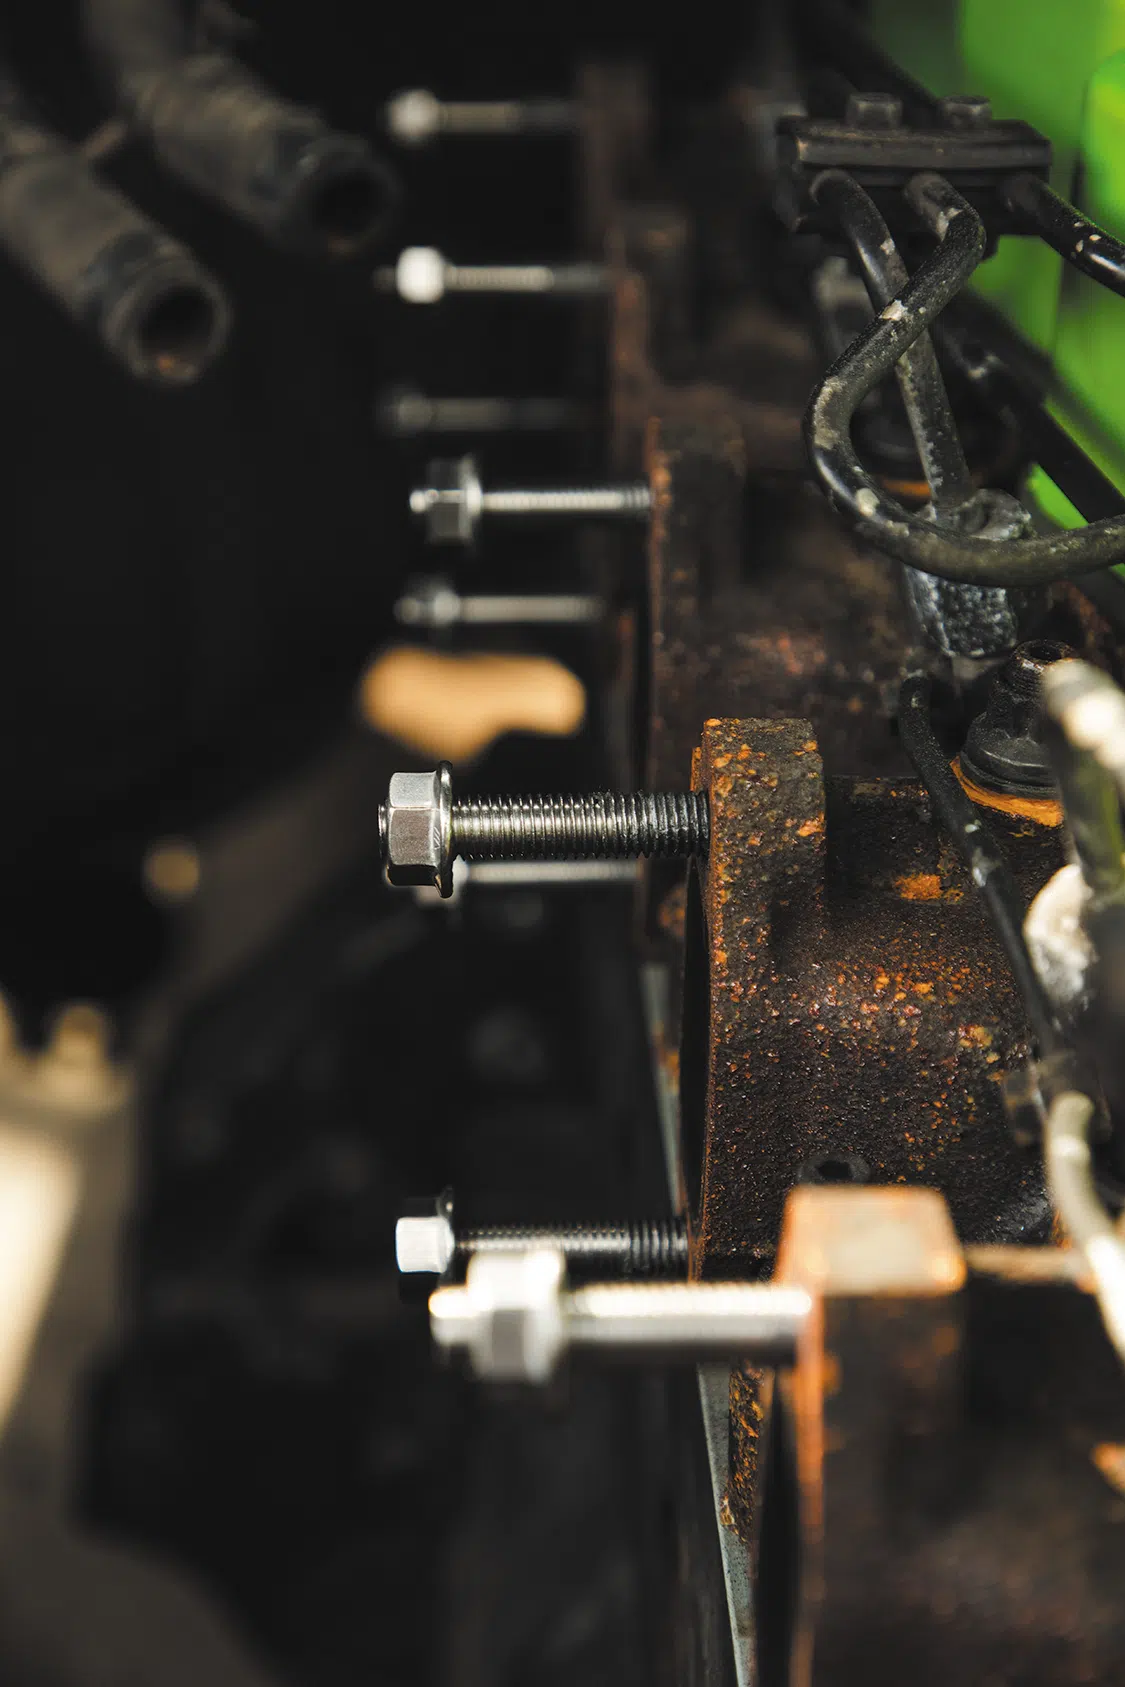
Now that we’ve removed the old manifold and charger, we’re going to get these stainless manifold bolts in. Definitely make sure to get enough of the stud threaded into the head because you’re about to put a lot of weight on them. You don’t want to only have a couple threads in there holding everything up. Also, don’t forget the anti-seize!

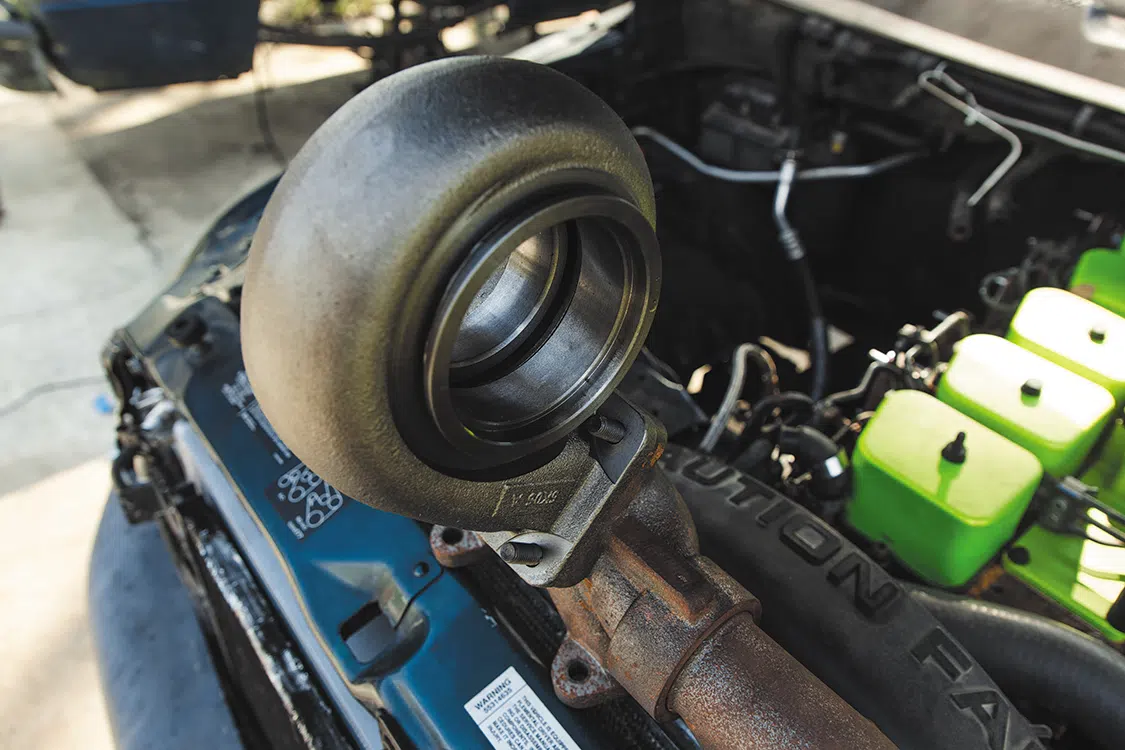
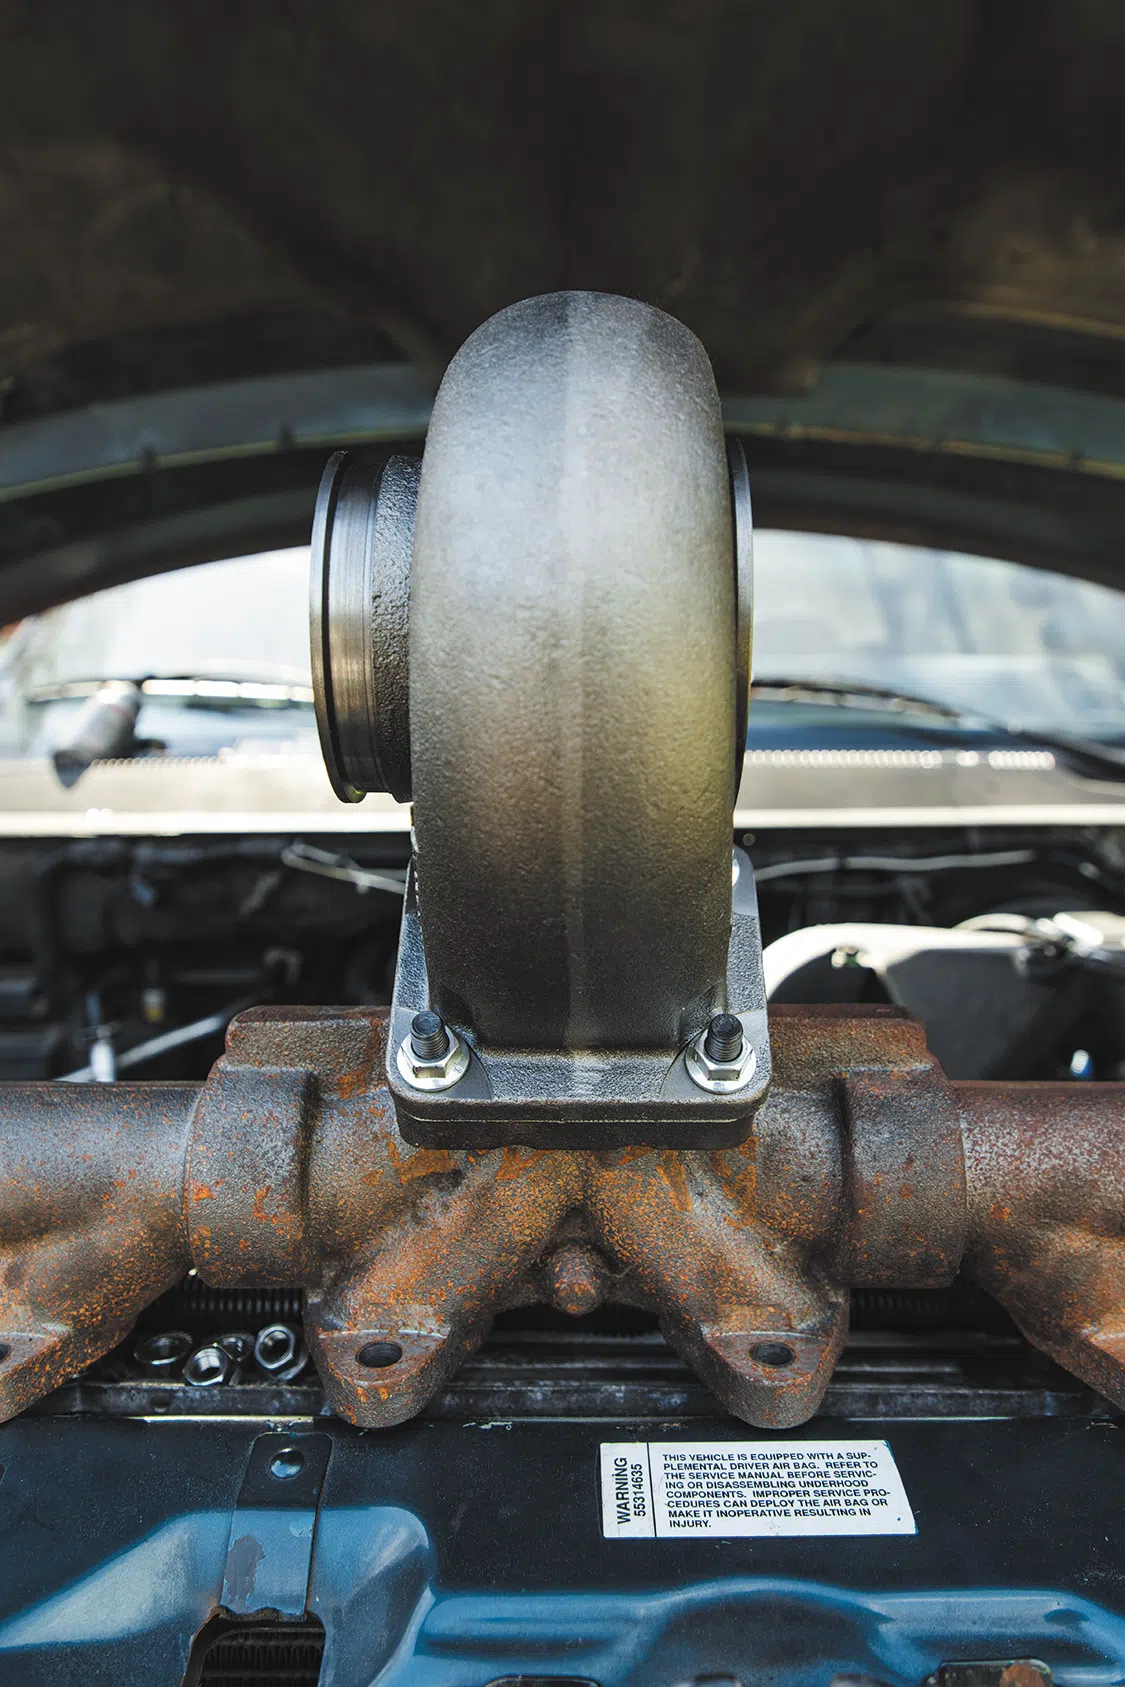
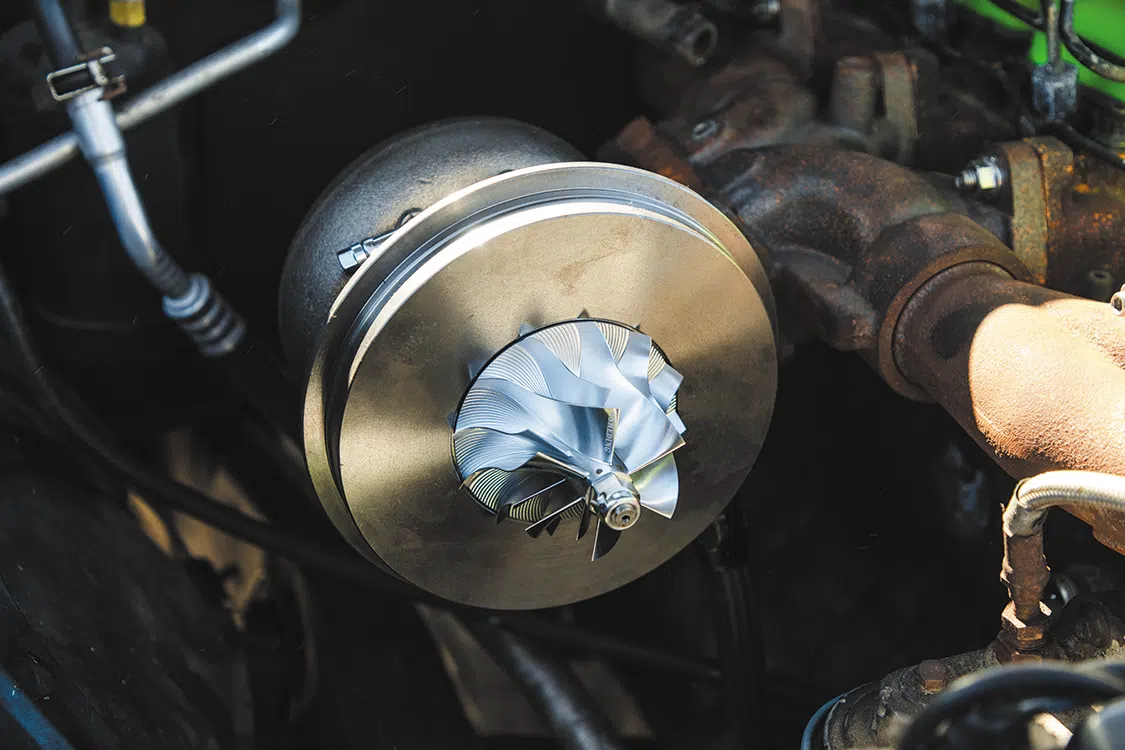
Normally I like to put the charger on the manifold before it goes into the engine bay. Doing this makes it a little easier to get a good grip on the back of the turbo bolts to make sure they’re tight. V-banded turbos like this Smeding Diesel S467 also make putting this in so much easier because assembly/disassembly is way easier as you can see in these photos., Only the hot side is on the manifold so there isn’t a whole turbo in the way.

Time to get this manifold on! Make sure your manifold gaskets are on and set on the studs. Readjust your studs as needed and get the nuts on there and tighten down like you would a set of lug nuts (not in clockwise order). I went back and forth from left to right of the charger for every nut I tightened down and went back over them after they were all snugged up.
Reassemble your turbo, being sure to be very cautious of the compressor wheel when putting it back together. Tighten your clamps down and angle your housing however you need to angle towards the intercooler.
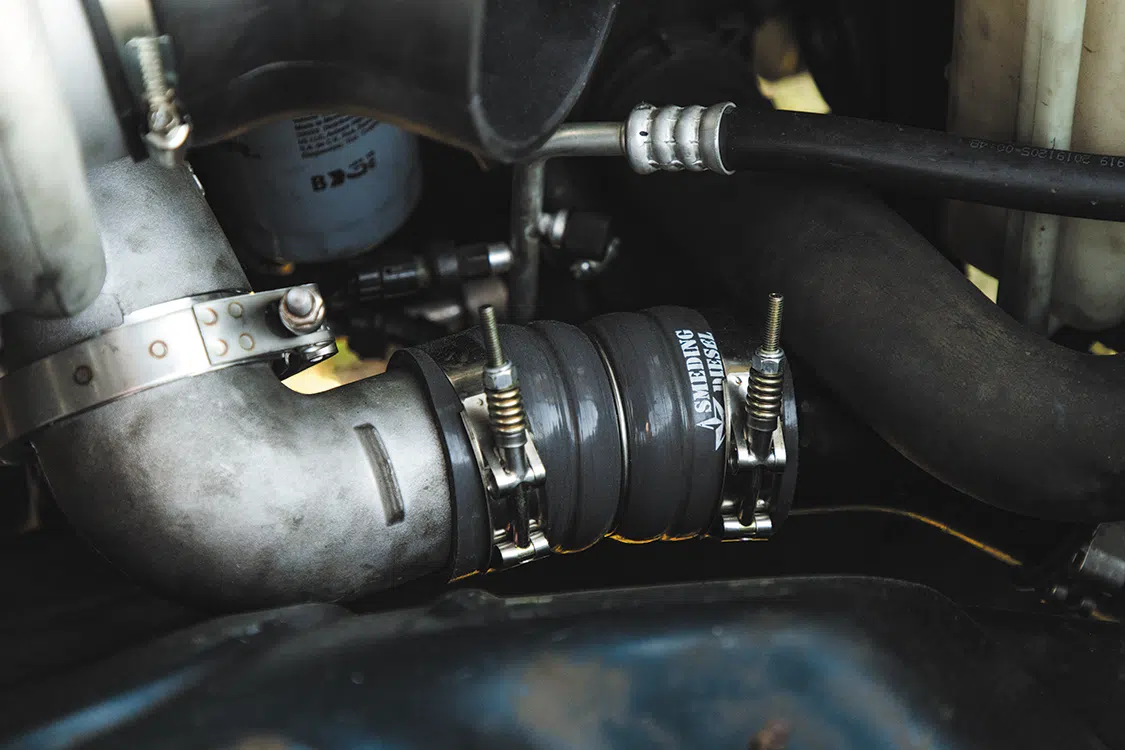
We haven’t gotten the opportunity to get a custom pipe made for this yet, so we cut the stock intercooler pipe right above the top rib where you clamp the boot down.  We also did some extra rotating, and this thing fits like a dream. We will be going to a cleaner, V-banded setup soon.
This turbo drives way better than I expected it to.  This is my first 400 frame turbo so I’ve  definitely got some learning to do, but I’m excited to get to know this truck a little better, get it tuned to our 700HP goal in the next few weeks and report back to you all!


You may also like this