 BRANDON BURRELL
.
January 02, 2025
.
New Products
BRANDON BURRELL
.
January 02, 2025
.
New Products

Having the right gear on your rig when you take it off-road is important. Whether you are doing some hardcore rock crawling, playing in the mud, or just out for an overlanding camping trip, having the correct equipment can keep you out of trouble. One of the best and easiest things you can do to your rig is add a winch. This can not only pull you out of a sticky situation, but it can also assist those with you in need.
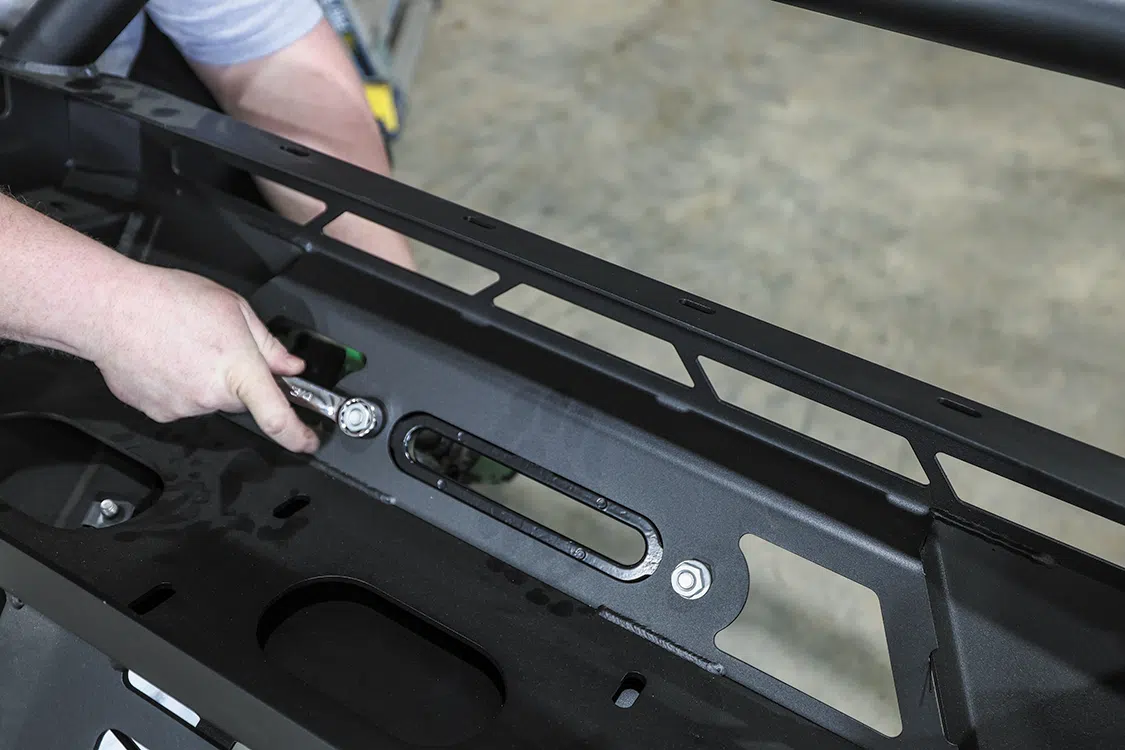
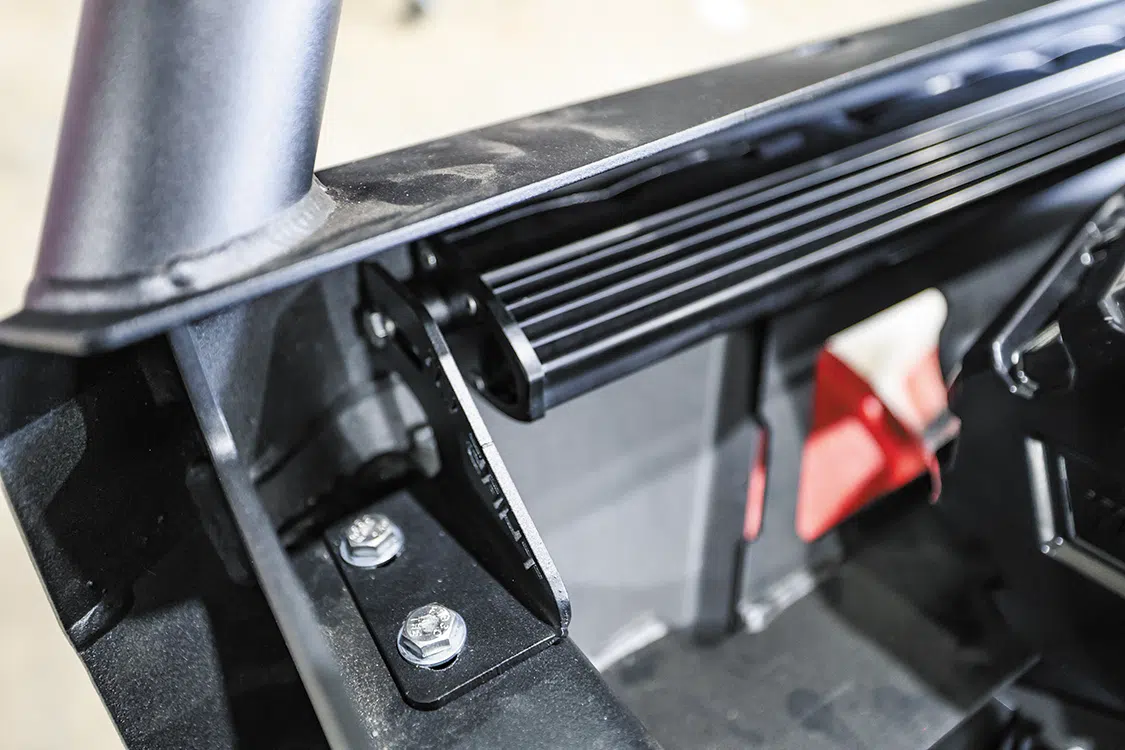
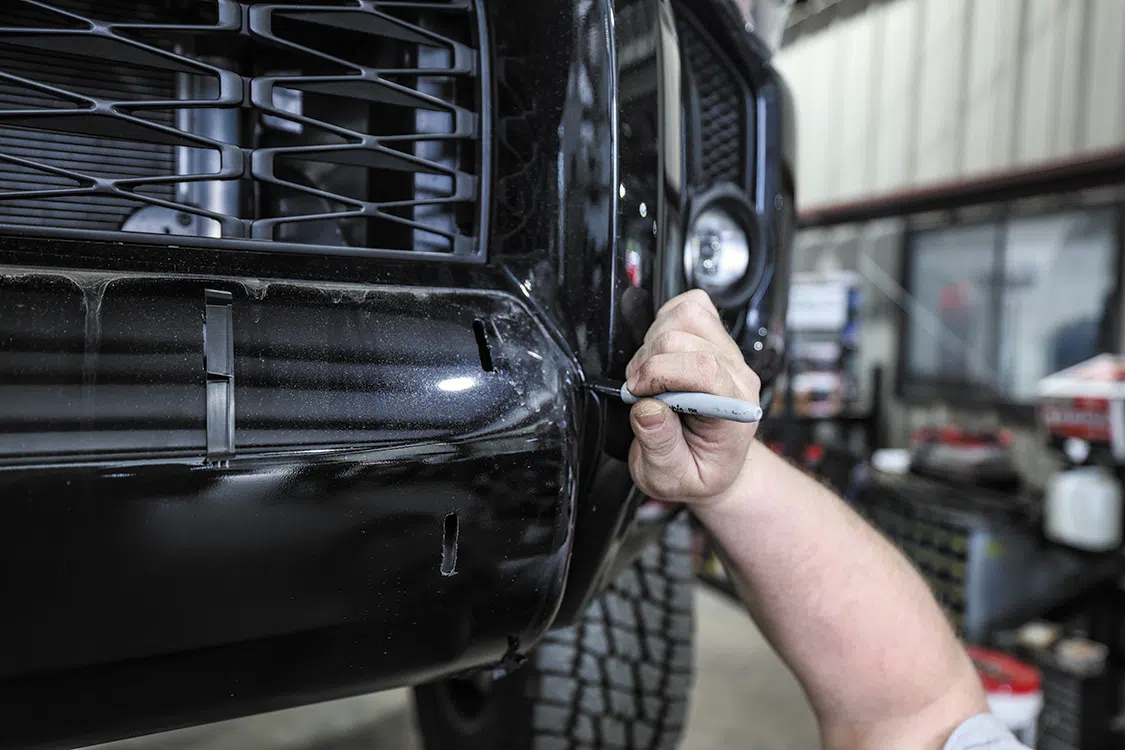
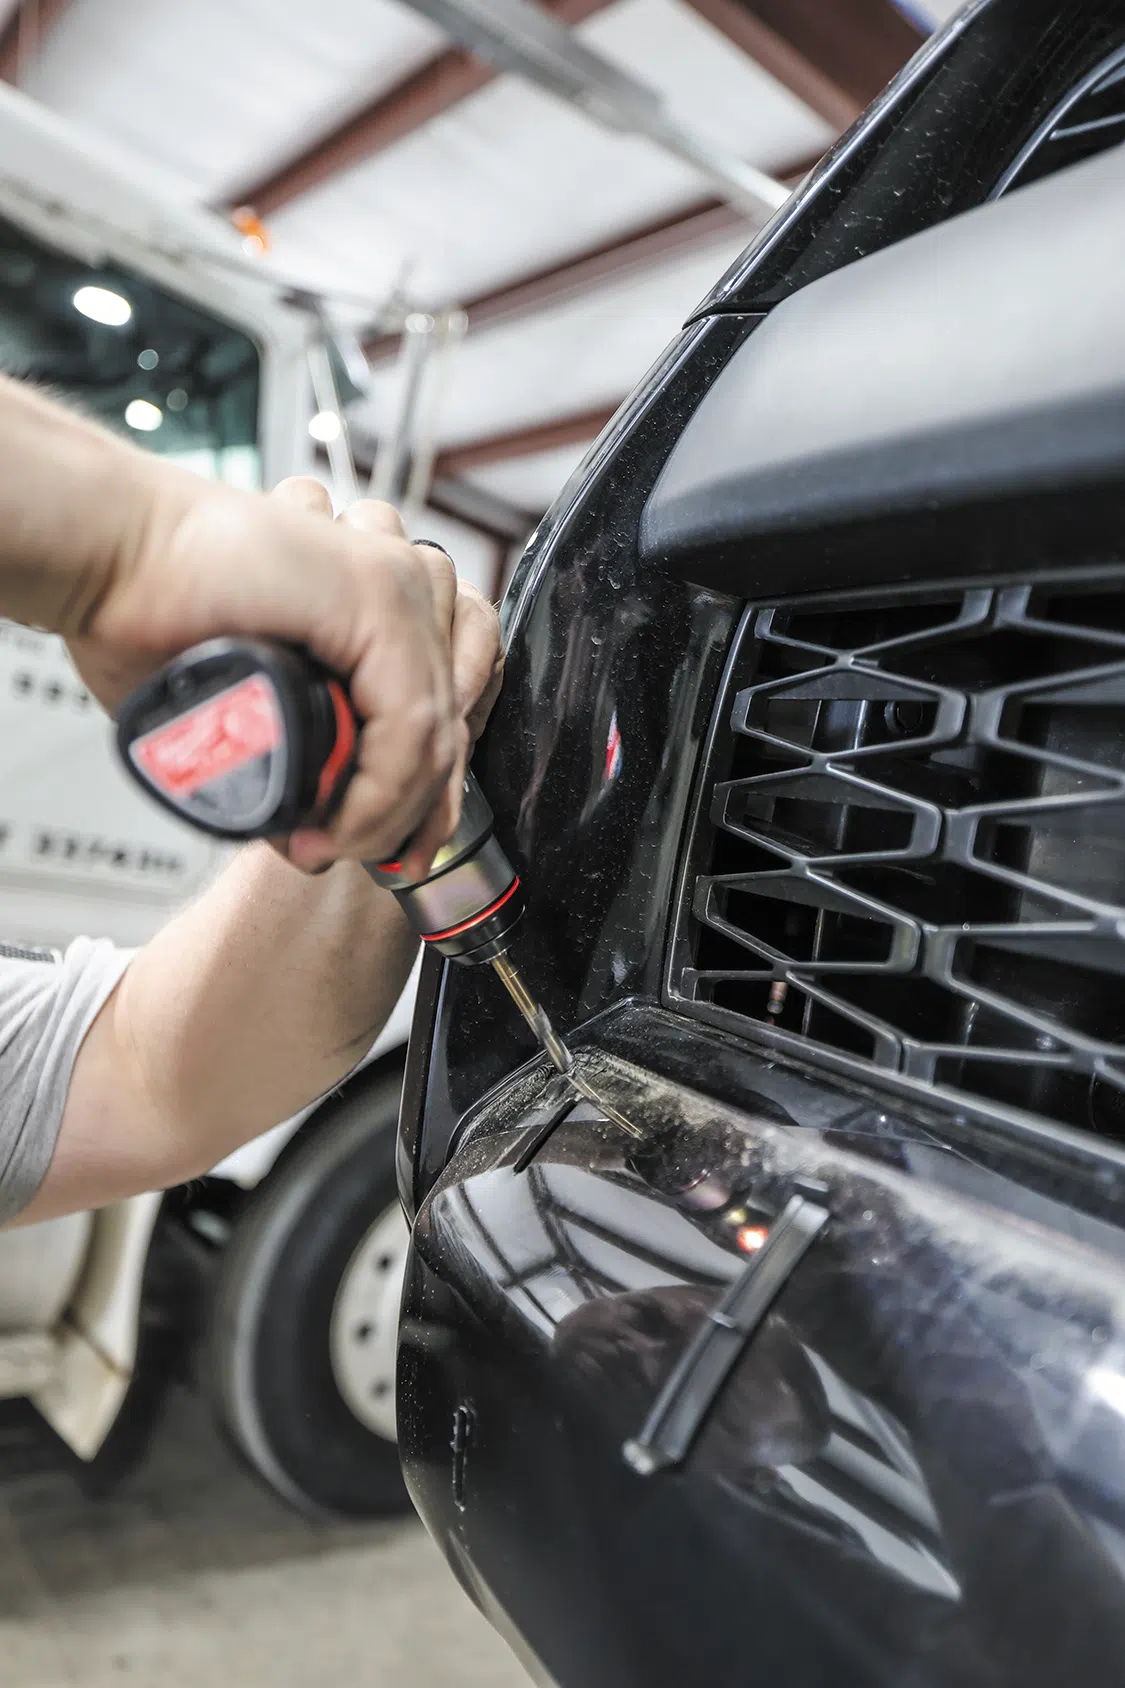
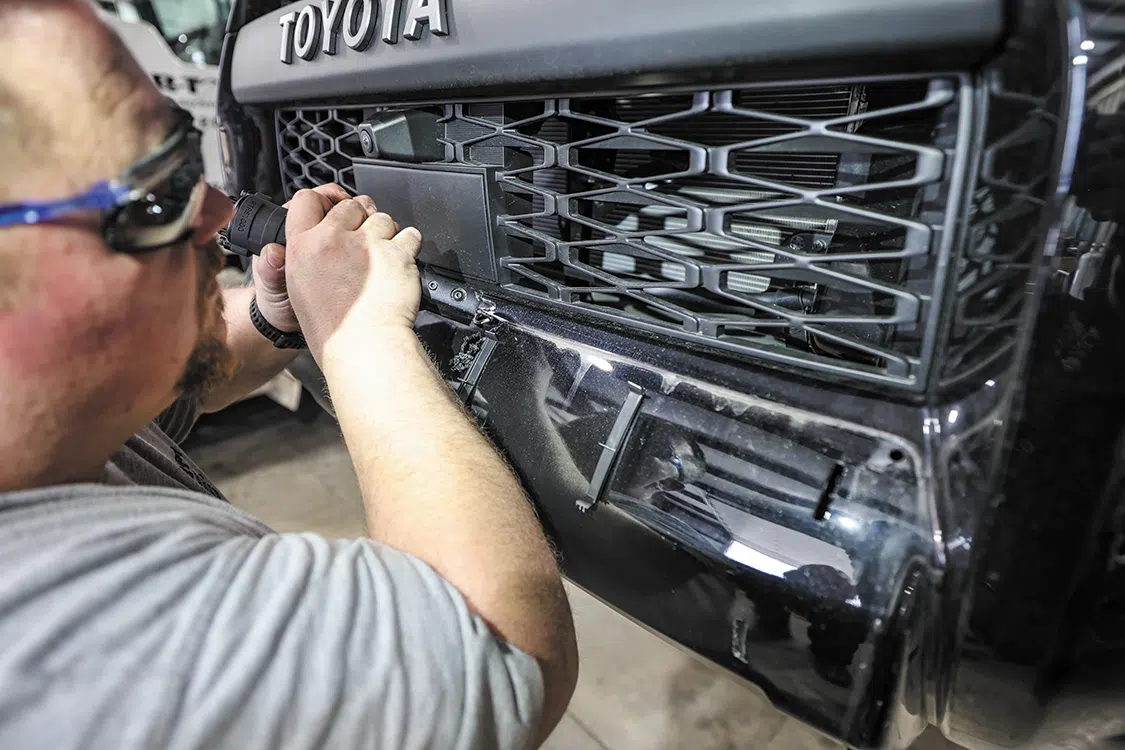
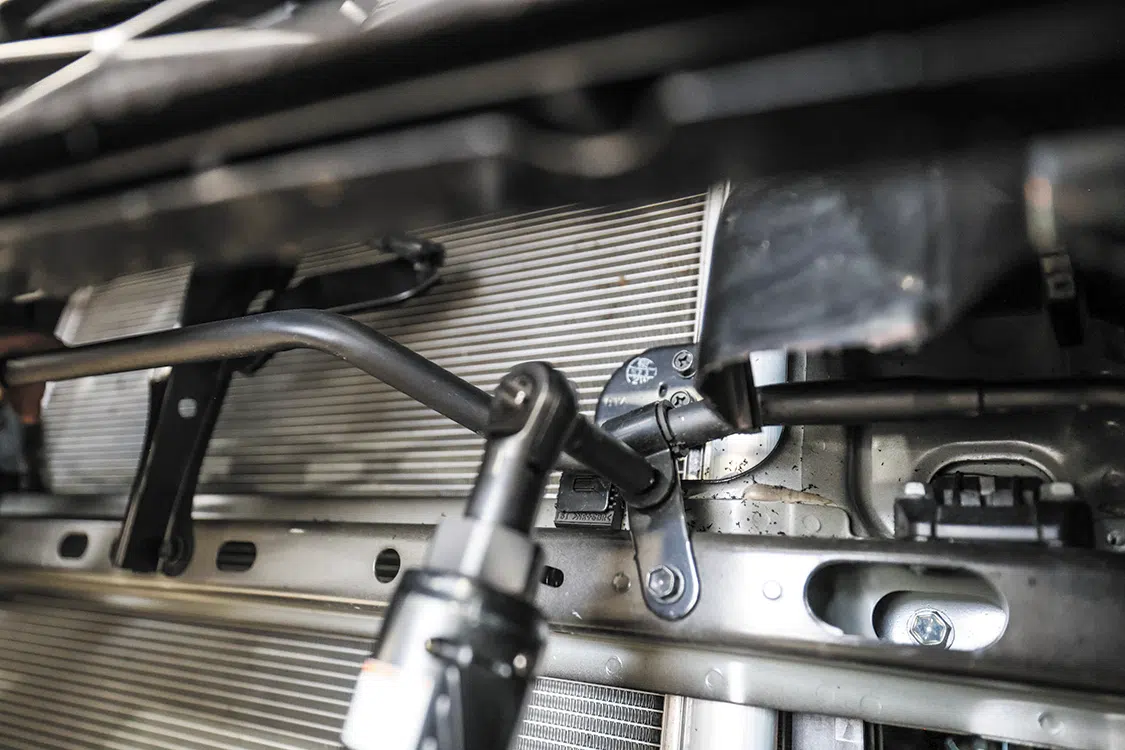
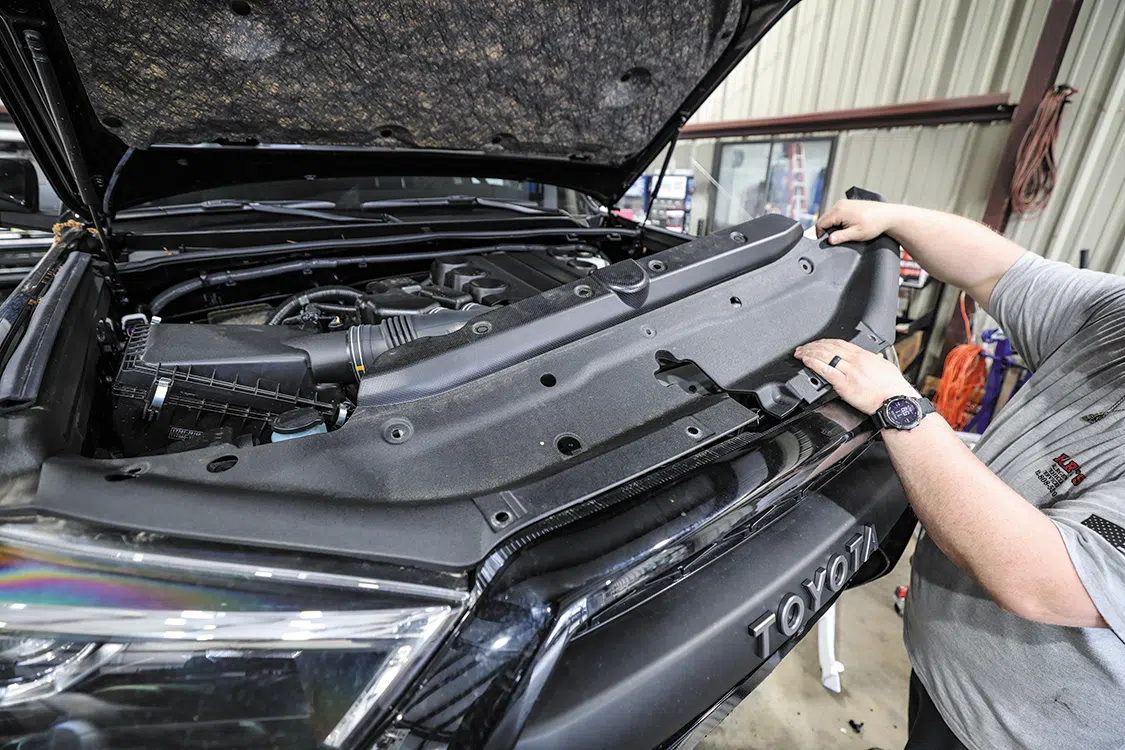
There are tons of options when it comes to winches and their accessories, as well as different mounting configurations. For this installation on a 2023 Toyota 4Runner TRD Pro, we opted for a new front bumper center section that included a winch mount as well as a light bar mount and push bar. This particular vehicle has the adaptive cruise option, so we had to make sure to order the right bumper that wouldn’t interfere with that function with the front camera. While some people choose a full front bumper replacement with the way these new 4Runners are built, adding a new center section made better sense for our needs. Installing a bumper like this is a simple job if you are comfortable with basic hand tools, and it can be done in your garage or driveway without a lift. We happened to have access to a lift so we utilized it (mostly to make taking these photos easier), but also to get the vehicle eye level and keep us from crawling on the ground. The install only took a few hours so it won’t eat up too much of your time.
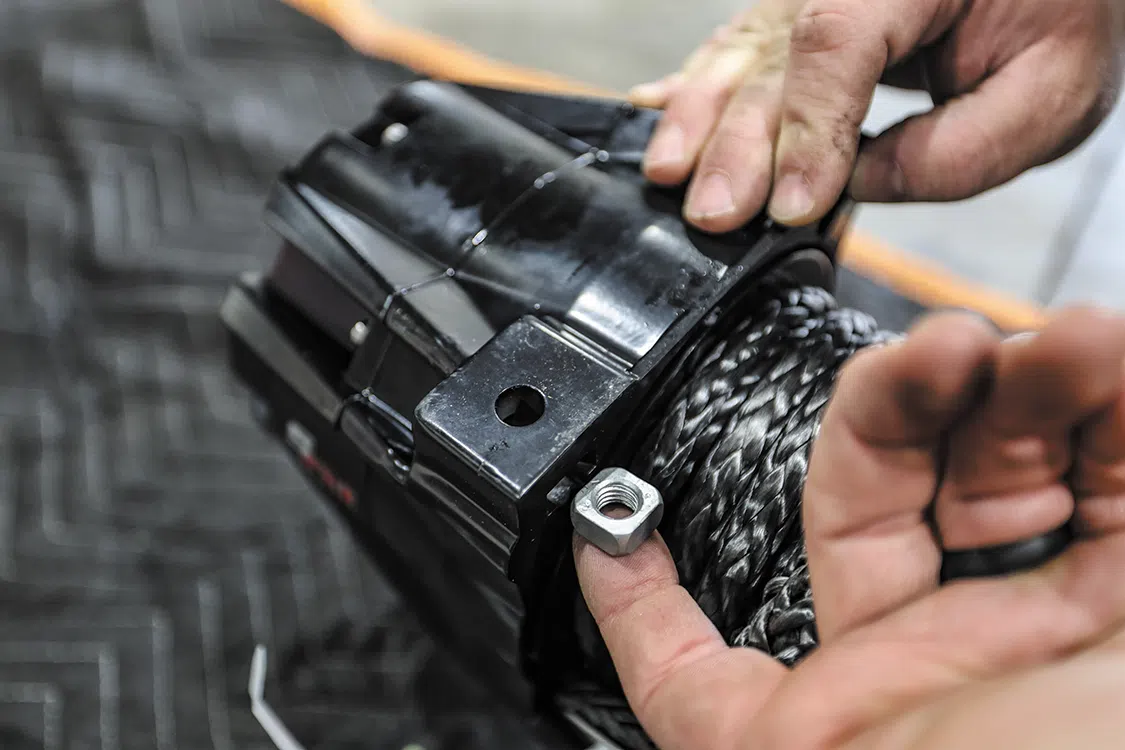
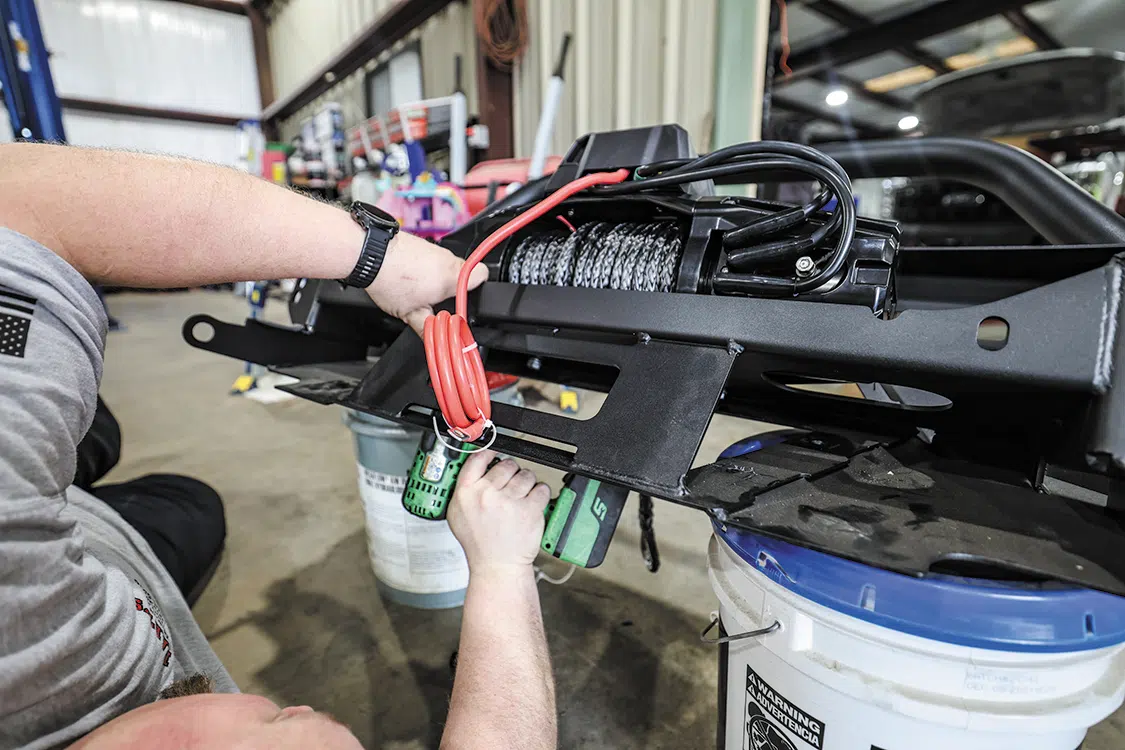
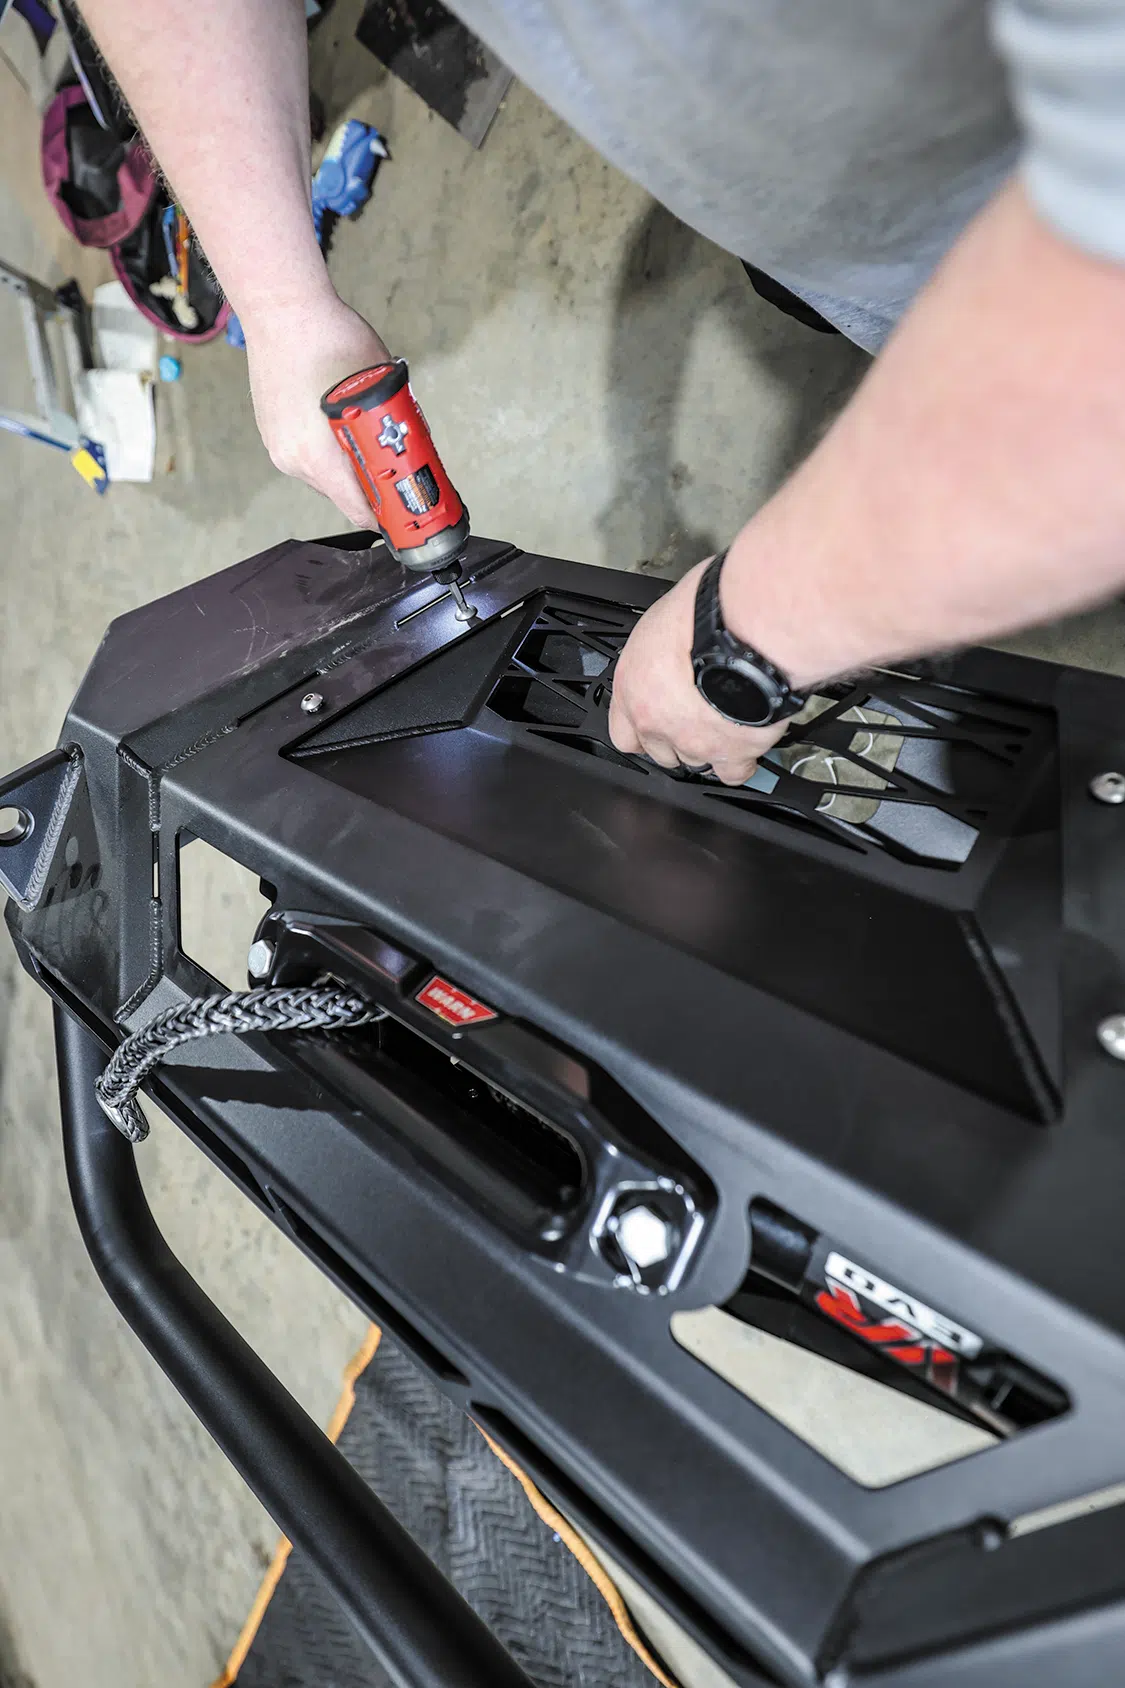
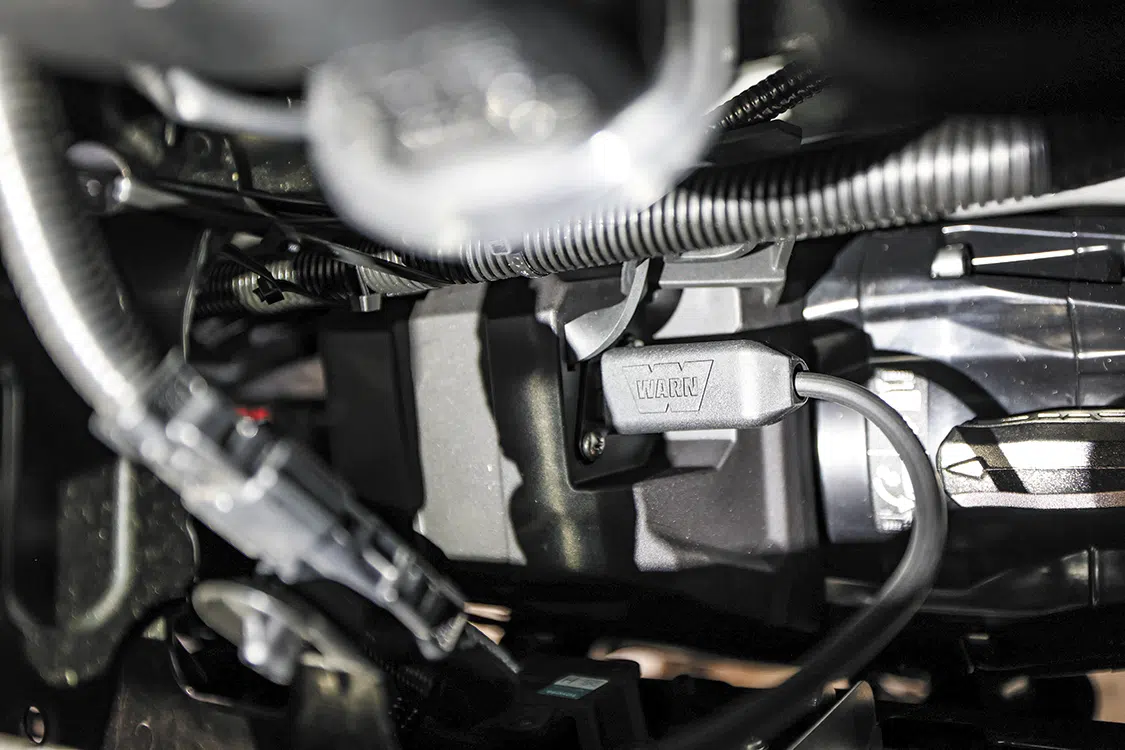
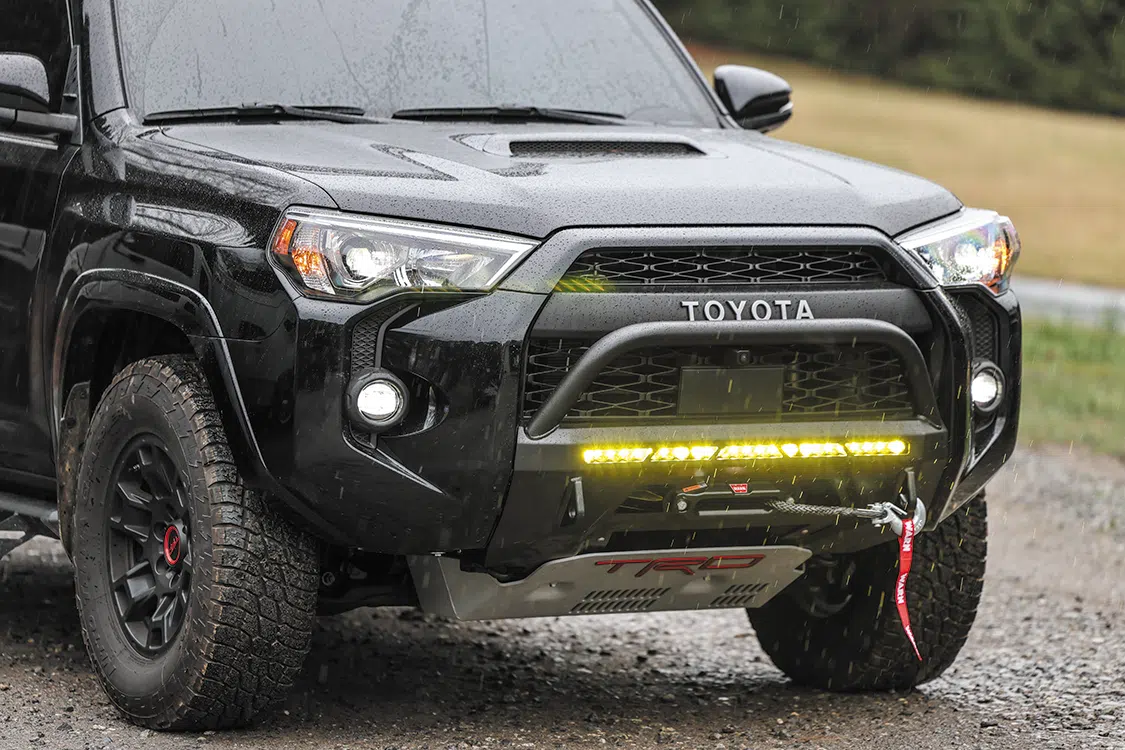
The bumper chosen was the Covert Baja front bumper from CBI Offroad Fab and comes with a $950 retail price. It comes already powdercoated, so it’s ready to install but does require you to cut the lower center section of your factory front bumper. It comes with a universal winch mount, and we chose the Warn VR EVO 10-S winch, which has a $865 retail price. This winch has a plug-in remote control and comes with a 90-ft 3/8-inch line. Since there was room for a 30-inch lightbar to be mounted behind the front bumper, we opted for a Baja Designs OnX6+ amber lightbar, with a $443 retail price. With the vehicle already having white forward-facing lighting, adding the amber light here will give more lighting options for various conditions.
Follow along with the process of installing these parts to see if it’s something you would feel comfortable doing yourself, or if you should trust it to the experts.


Hart’s Emergency Vehicle Service
828-808-1854
CBI Off Road
866-522-0697
www.cbioffroadfab.com
Warn
833-727-8784
www.warn.com
Baja Designs
760-560-2252
www.bajadesigns.com
Editor’s Note: A version of this article appeared in TREAD July/August 2024

Feature Stories
Adam and Melissa’s Super 70’s Second Gen We all have those vehicles that blast us right back to our childhoods. Even with one quick glance,… Continue reading
John Mata Jr. . July 07, 2025
New Products
RealTruck just raised the bar again. Their best-selling truck bed cover, the BAKFlip MX4, has officially leveled up with the launch of the Gen 3… Continue reading
Chris Hamilton . August 01, 2025
Tech
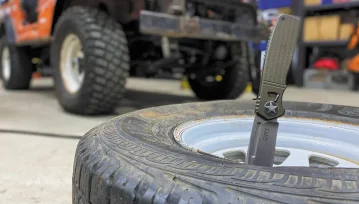
Trailside surgery when things go pear-shaped In the previous Backcountry Skills, we delved into tire CPR 101, reviewing techniques and equipment for repairing basic punctures,… Continue reading
CHRIS COLLARD . May 01, 2024
Jeep
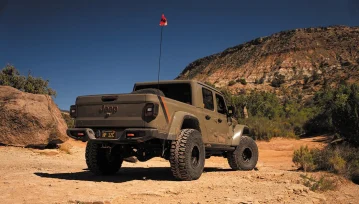
A Jeep Gladiator Mojave Built for the Long Haul Photos by BRAXTON KLAVIS While there are plenty of options to choose from within the midsize pickup… Continue reading
John Mata Jr. . March 15, 2024
Tread
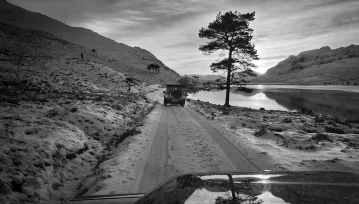
Often asked by those first learning about the hobby, I still hear the question asked today: So, what exactly is overlanding? By definition from Oxford… Continue reading
Kelly Nomura . November 17, 2023

OBS Builders Guide
If your truck is anything like ours, the dash is either faded, cracked, or has holes in it the size of softballs. Unfortunately, one of… Continue reading
OBS HEADQUARTERS . September 28, 2022


Mesquite Motor Mania Classic Car Show
Mesquite Motor Mania Classic Car Show Casablanca 950 West Mesquite Blbd Mesquite, NV 89027
Classic burgers 6th annual classic car show fundraiser
6525 Inyokern rd Inyokern, ca 93527
Whatcom County Cruisers
Whatcom County Cruisers Summer Car Show Series (Spring Car Show) Les Schwab Tires. 1731 LaBounty Dr. Ferndale WA 98248 (first event)
Park & Recreation
Broussard, LA
Classics With The Cardinals, Santa Barbara’s Premier Car Show
Bishop Diego High School - Football Field 4000 La Colina Rd
 Please wait...
Share Link