 ReVolt Systems Team
.
October 29, 2024
.
EV Builders Guide
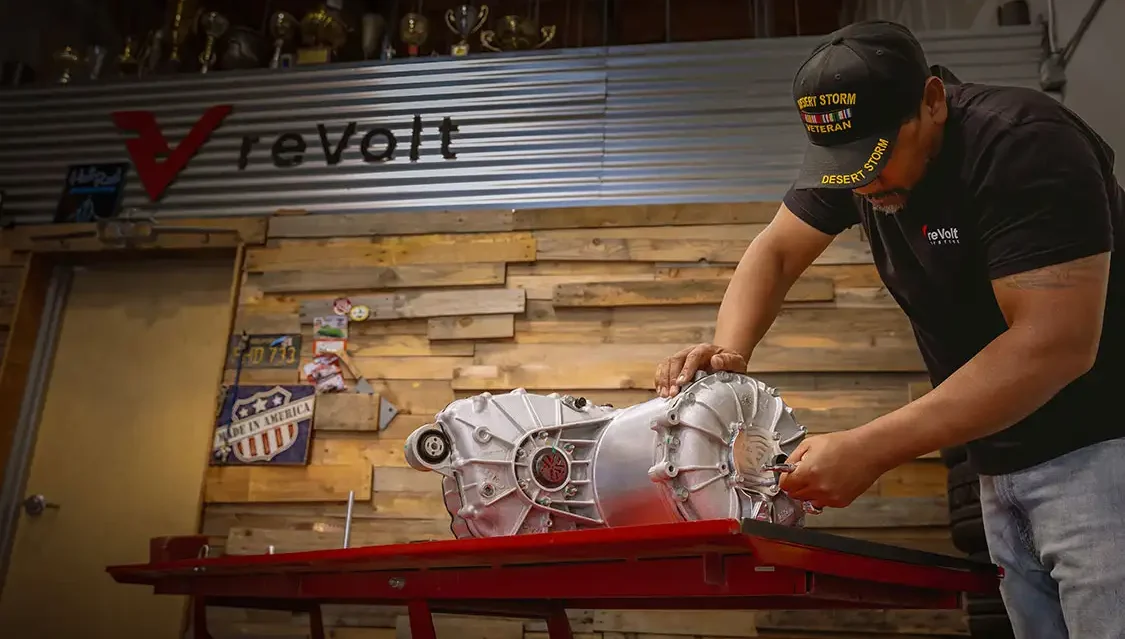
About four years ago, the team at ReVolt Systems noticed the rear seal failing in a few Tesla Model S Large Drive Units (LDU). Now it’s upwards to about 30+% and on the rise as these motors see higher mileage. A lot of these earlier models are now falling out of warranty and Tesla charges over $6K for a replacement, which also has the potential to leak. So ReVolt Systems developed a kit that addresses these notorious rotor seal issues present in all Tesla LDUs s , drastically extending the life of your motor.
ReVolt has seen the problem develop anywhere between 25k miles on up, so there’s a very wide window of failure, and if you have a Tesla LDU it’s not a matter of “if” it fails, but “when.”
The cause of these failures were due to the seal and sealing surface degrading, allowing coolant to leak into the stator windings and inverter causing isolation issues, inverter failure, and in some cases complete motor seizure. If the rotor seal has not yet leaked, this kit will eliminate all risk of rotor seal failure in the future. ReVolt calls the solution to this catastrophic issue the “Achilles Seal” fix, AKA the Coolant Bypass Kit.
Let’s walk through the installation process together.
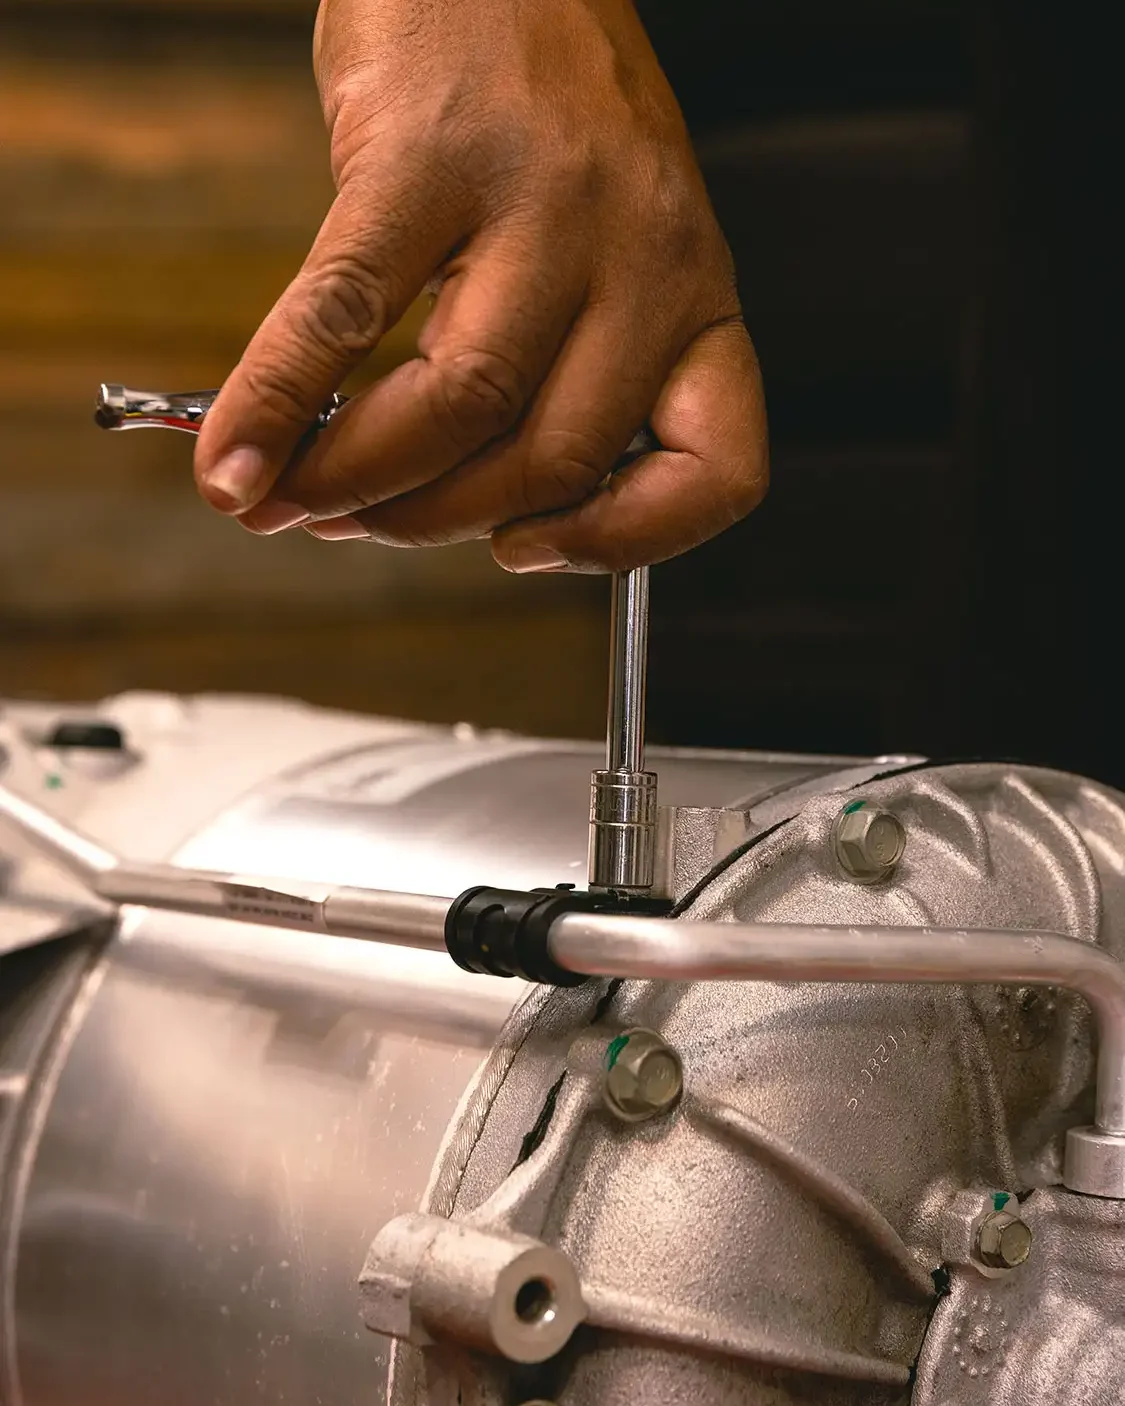
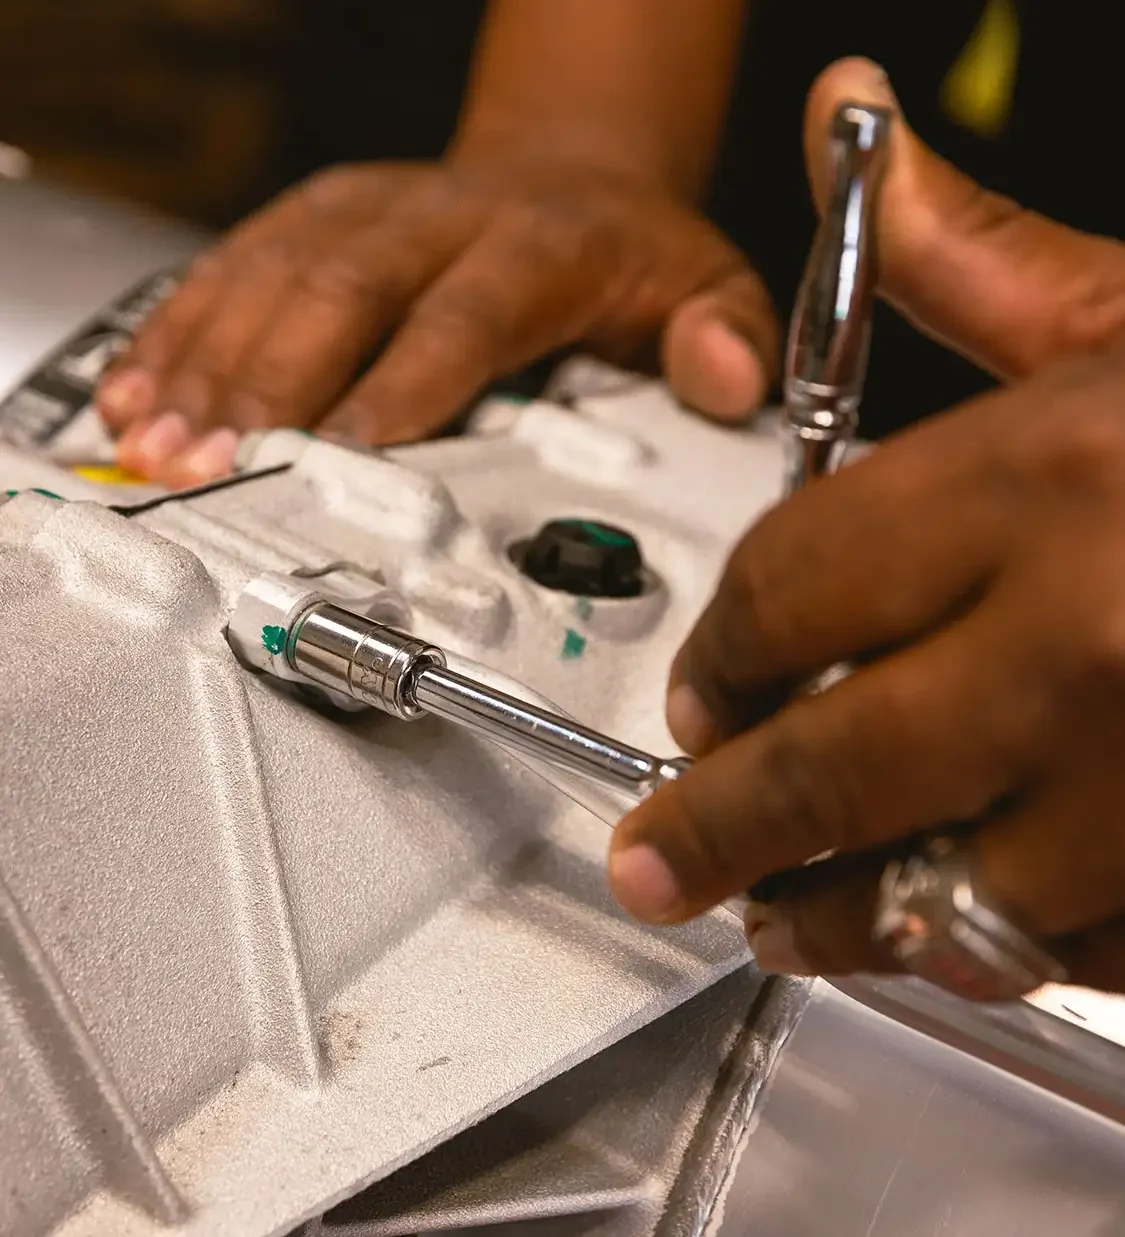
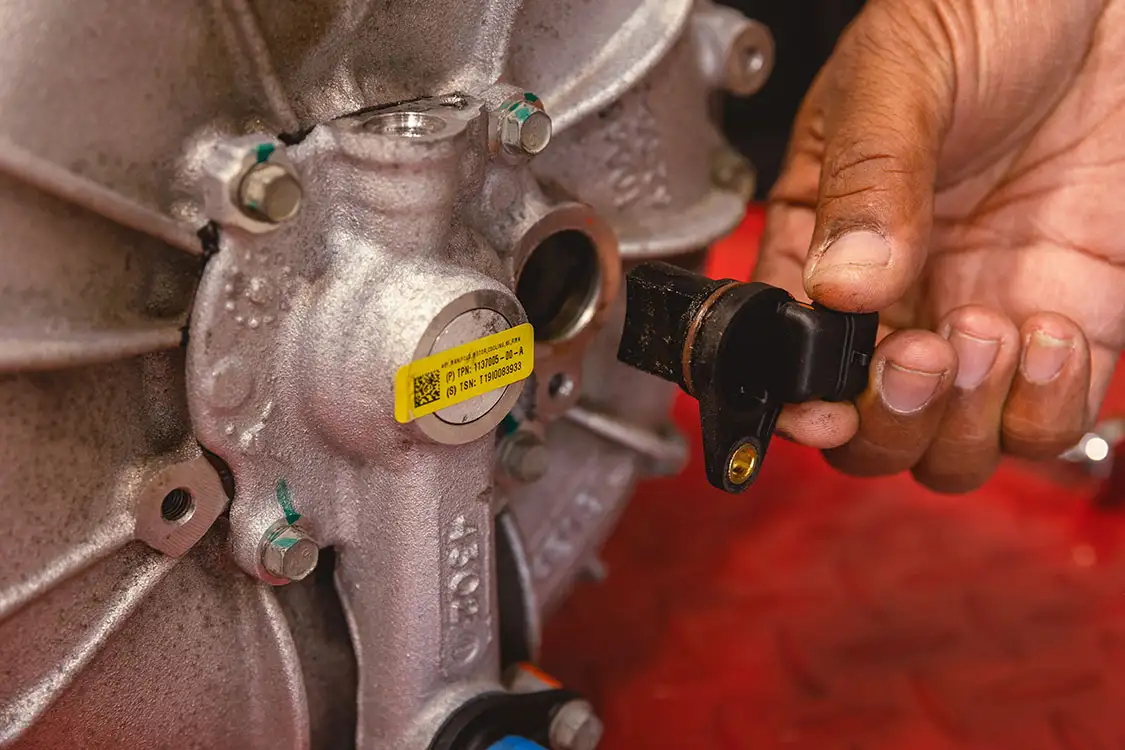
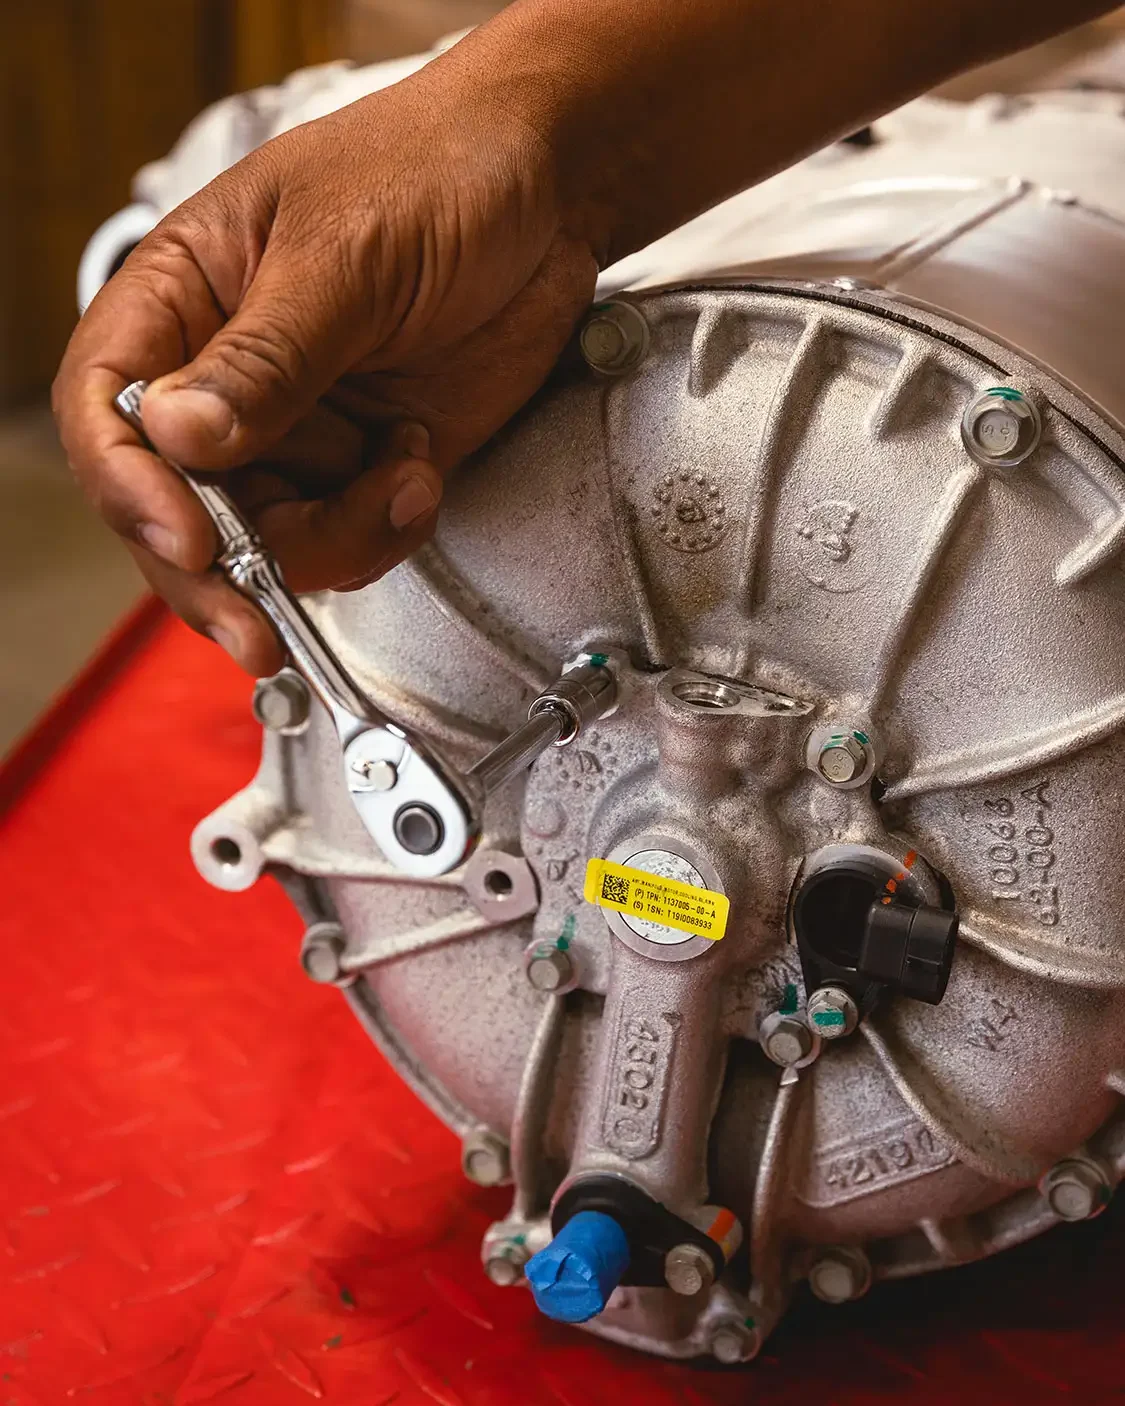
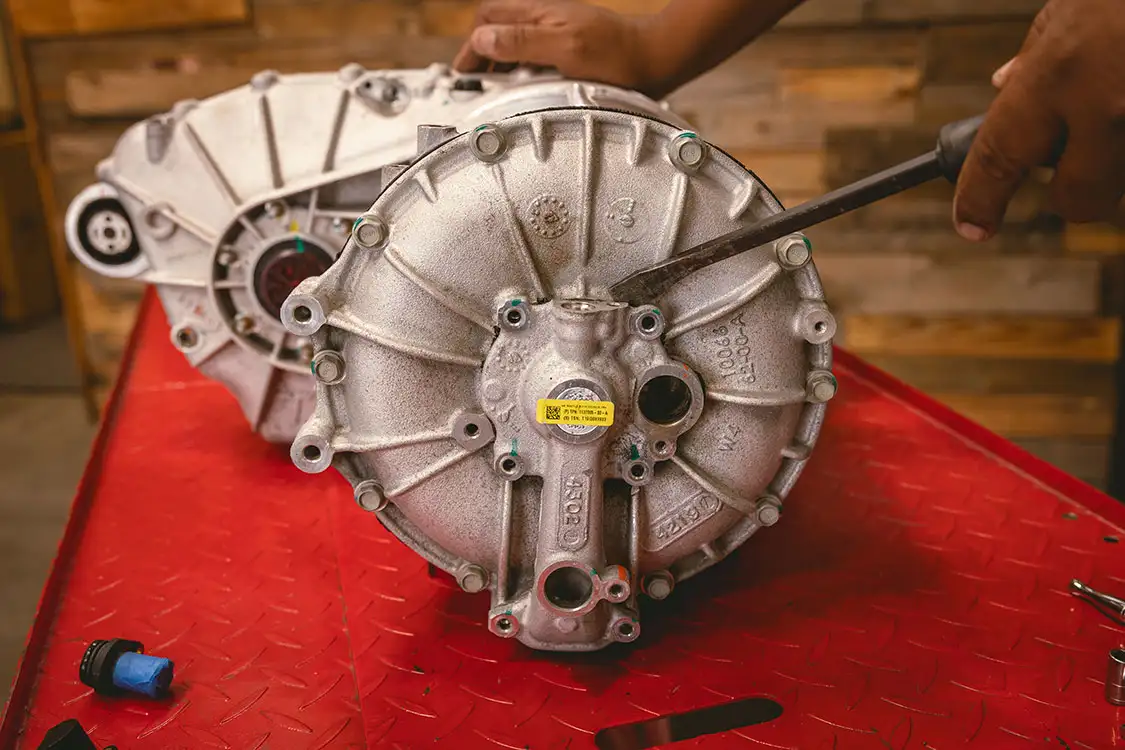
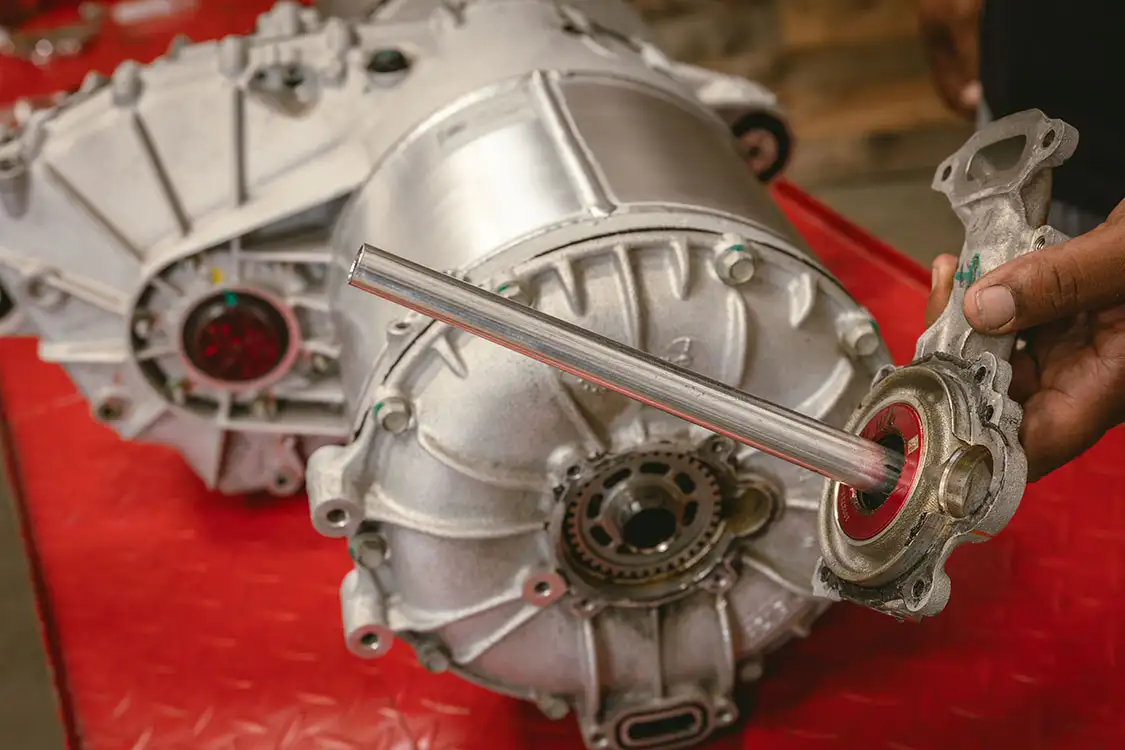
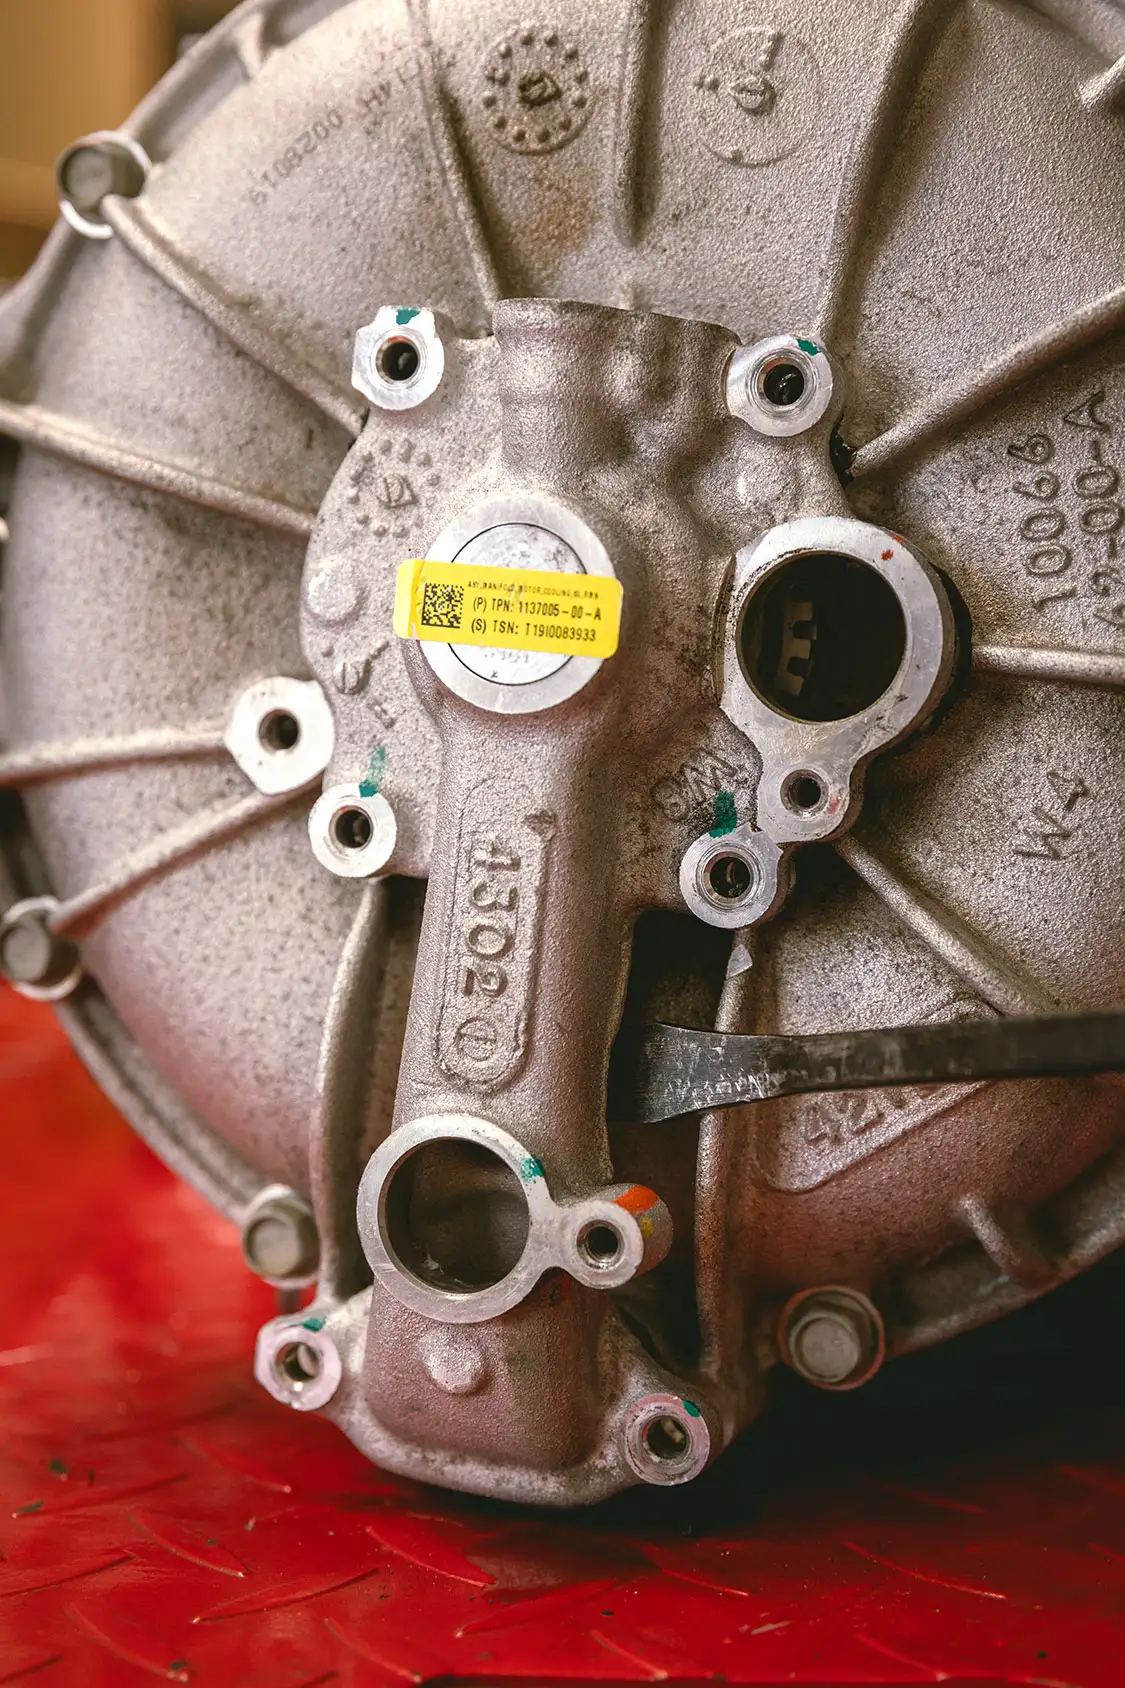
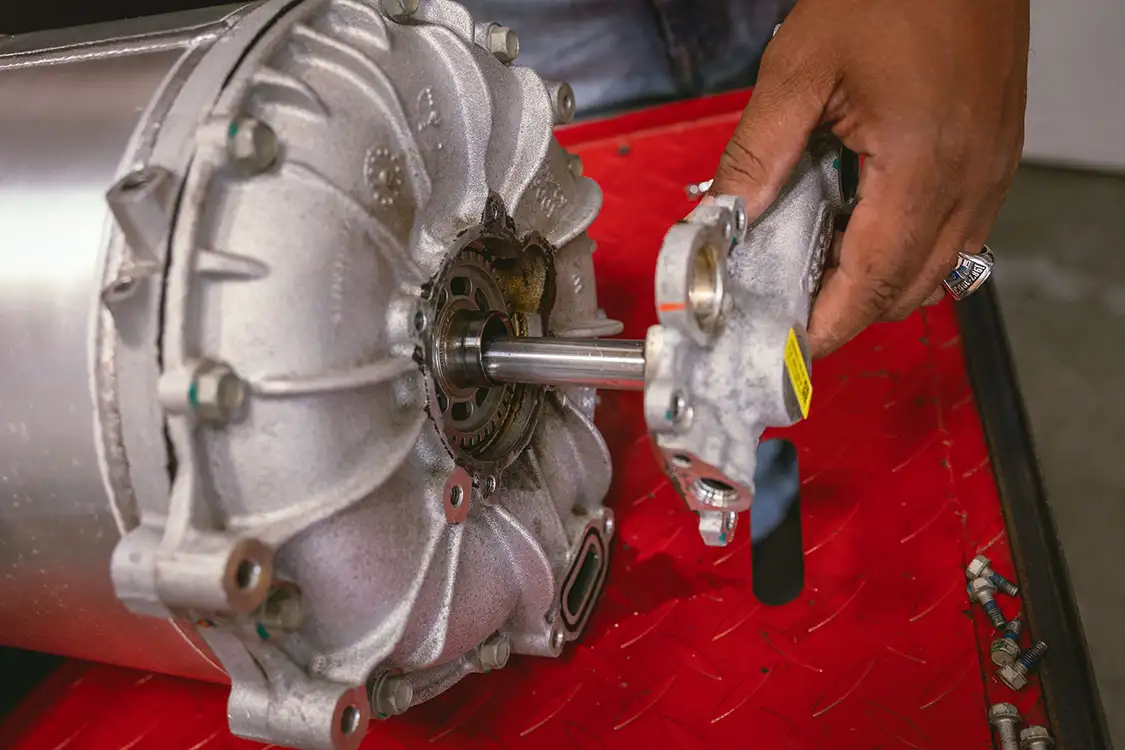
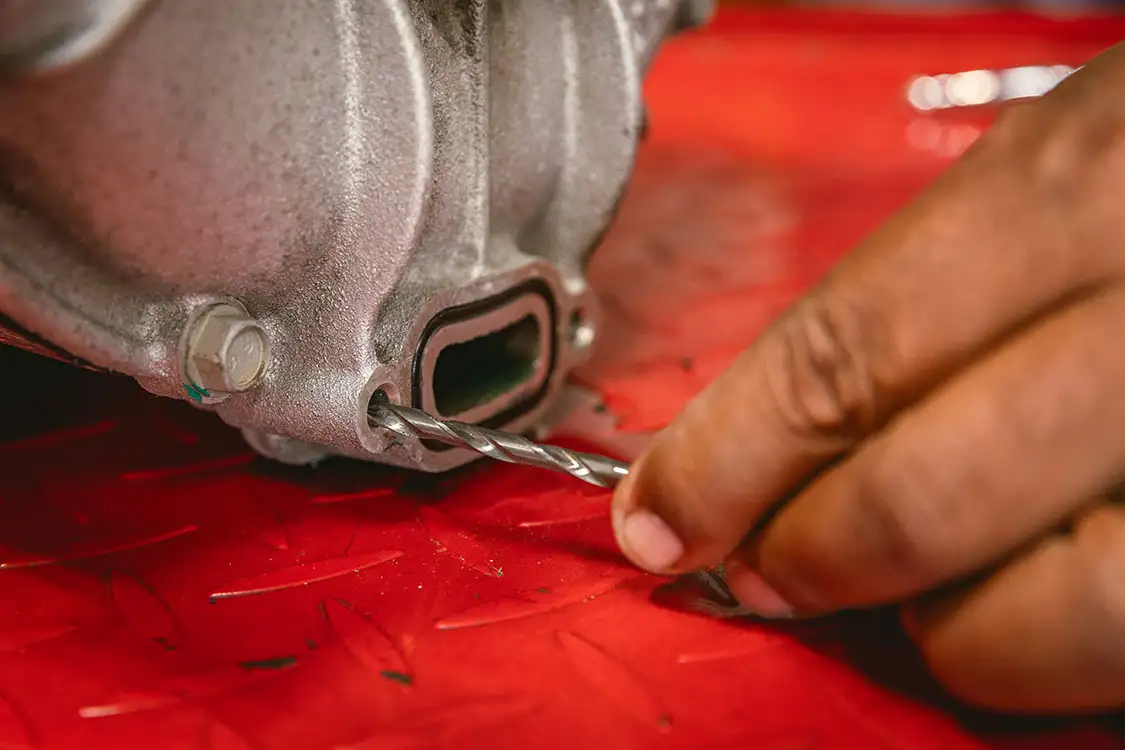
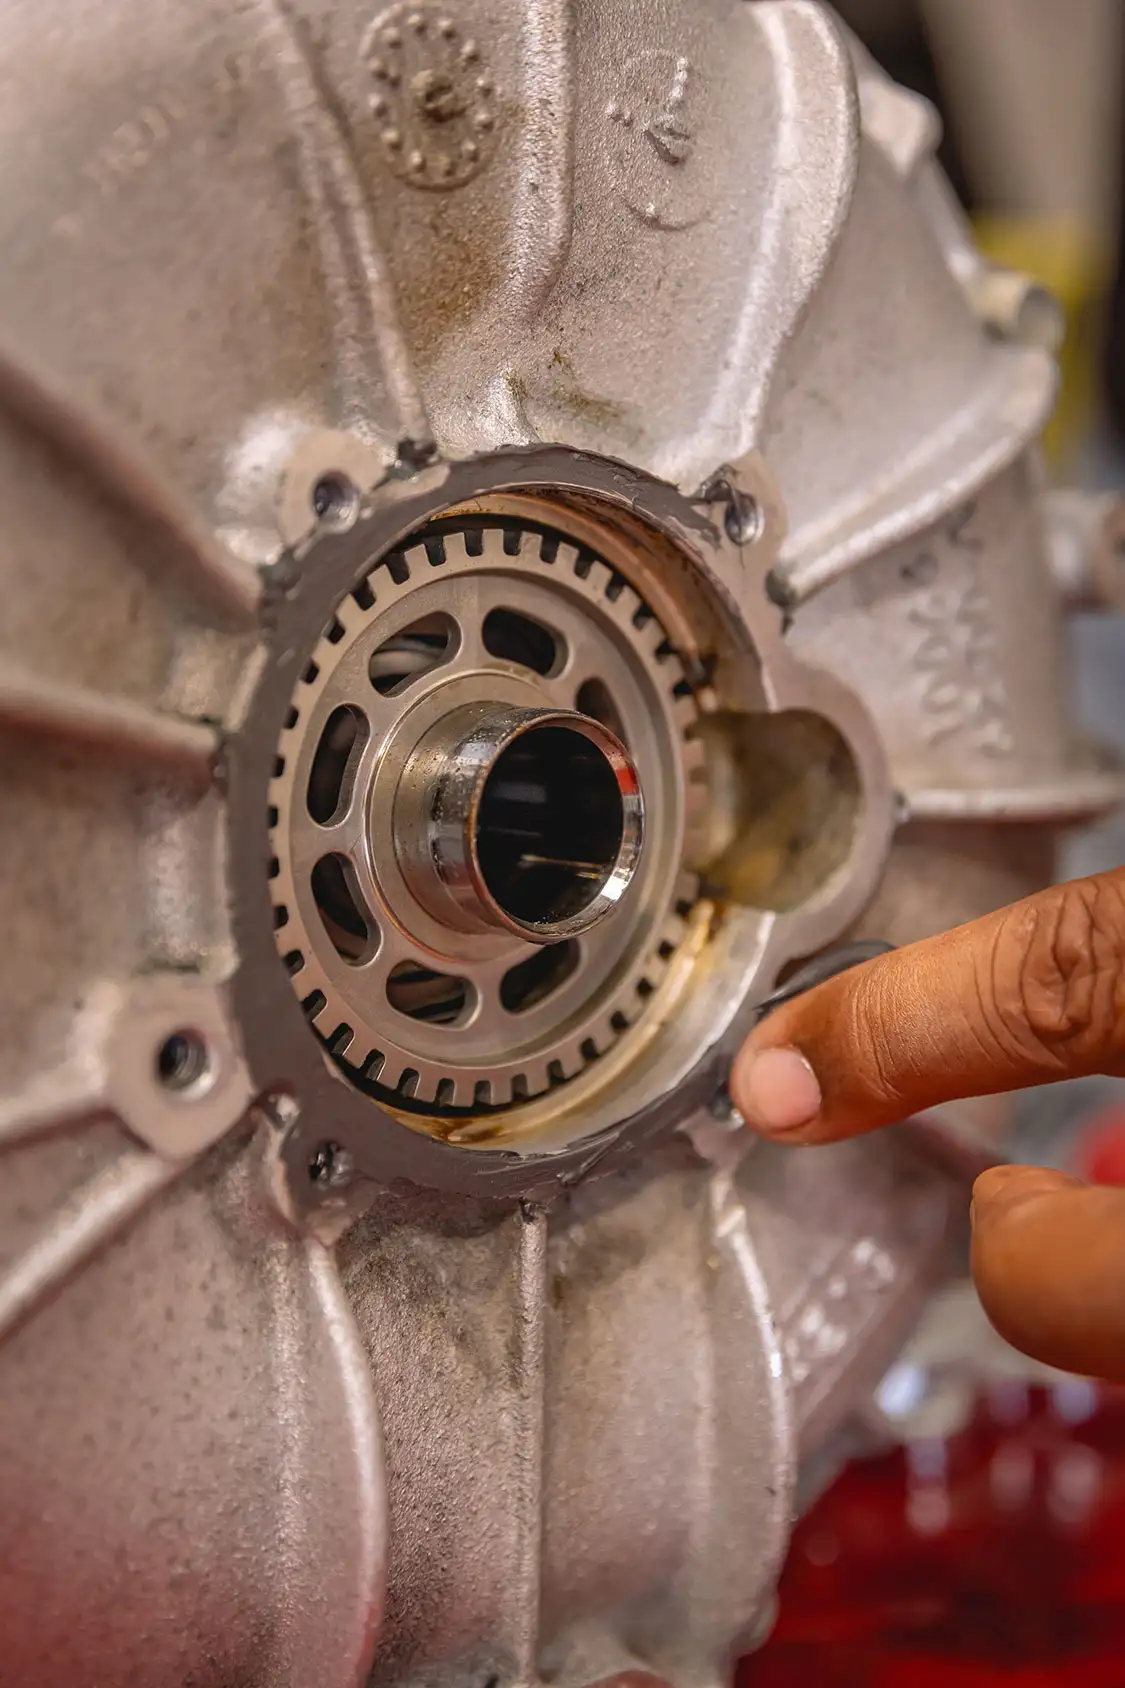
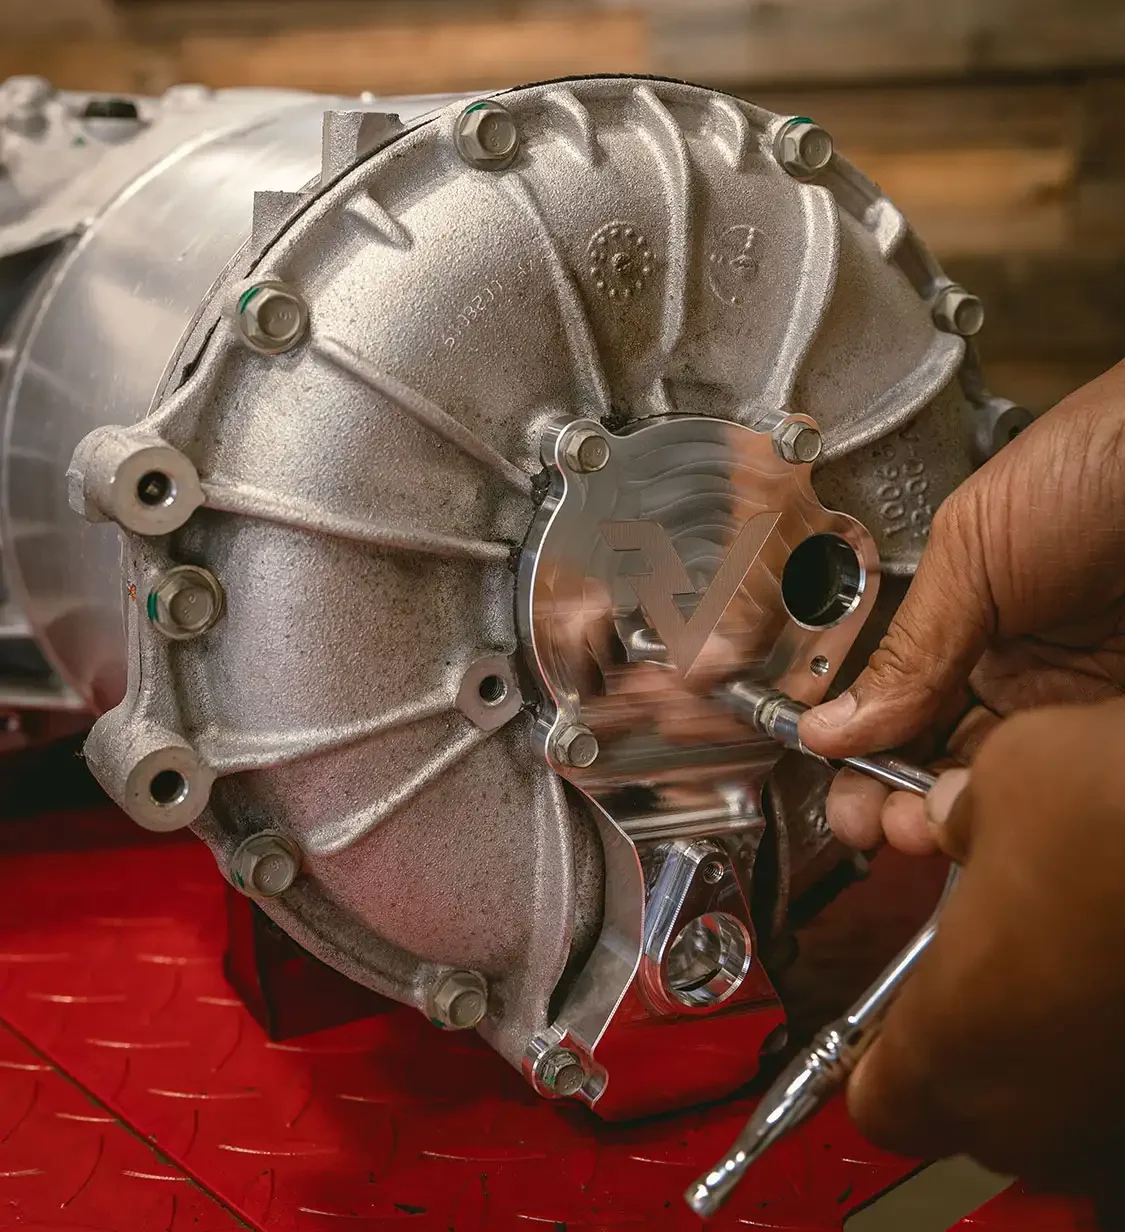
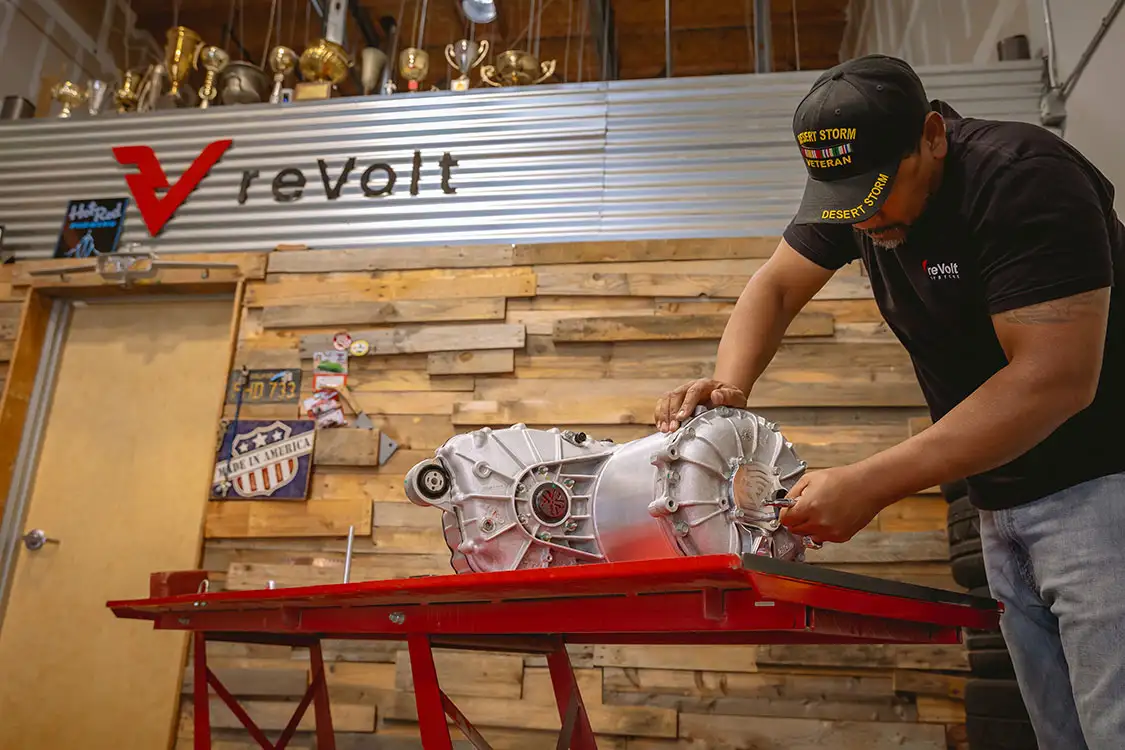
If the bolts start to get tight before they are fully seated, STOP, and see if the bolt hole still has old silicone stuck in it. These threads are easily stripped, especially the lower two.
ReVolt has seen the problem develop anywhere between 25k miles on up, so there’s a very wide window of failure, and if you have a Tesla LDU it’s not a matter of “if” it fails, but “when.”

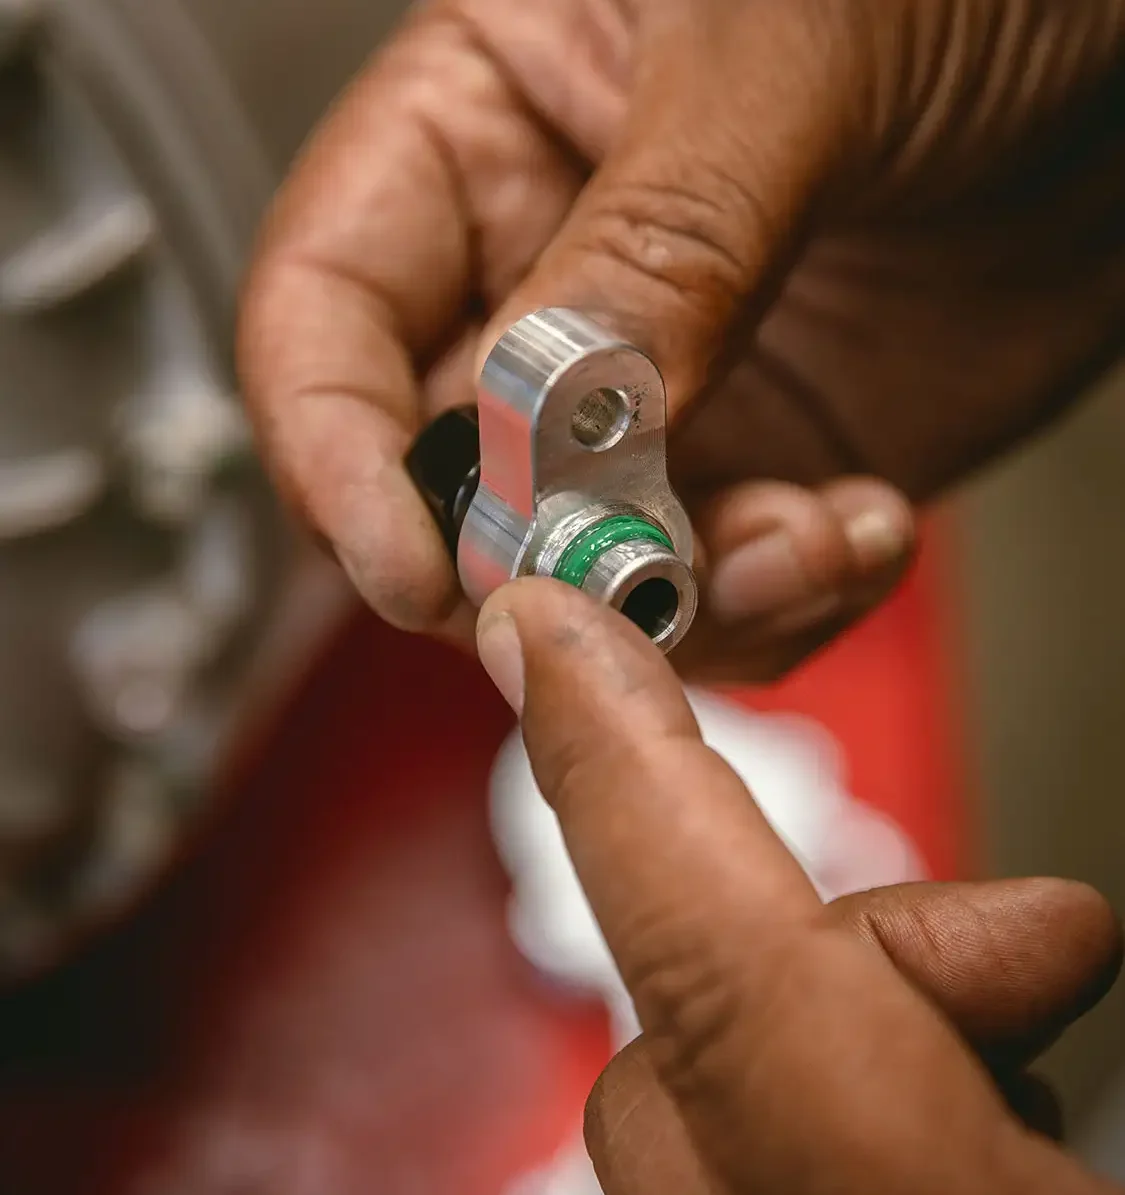
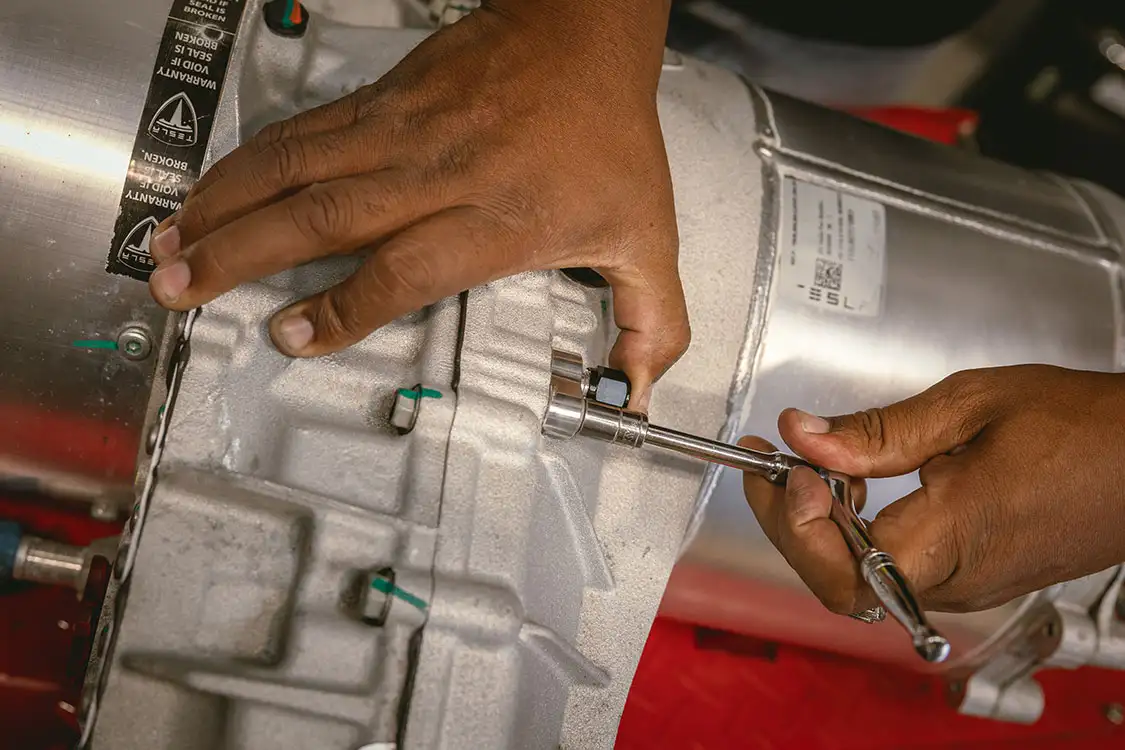
The fix is now complete!
First gather the following tools:
We use cookies to enhance your browsing experience, serve personalized ads or content, and analyze our traffic. By clicking "Accept All", you consent to our use of cookies. Visit our Cookie Policy for more info.
Notifications
Share Link