 Drive Staff
.
June 08, 2023
.
Drive Online

You’ve just sprayed the final coat of AutomotiveTouchup clear coat over your freshly painted repair, and wow, how shiny and deep is that color! Great job, you! However, the next day, you notice that although the clear coat looks shiny, it is really bumpy and uneven. That’s called orange peel. It’s a common problem, but it is super easy to fix.
Orange peel in the clear coat happens while it is being applied. If you spray too close to the surface or spray too thick, the clear coat will look like someone painted an actual orange after it dries! While it is easiest to prevent orange peel during application, it removing it later is a simple fix through a process known as wet sanding.

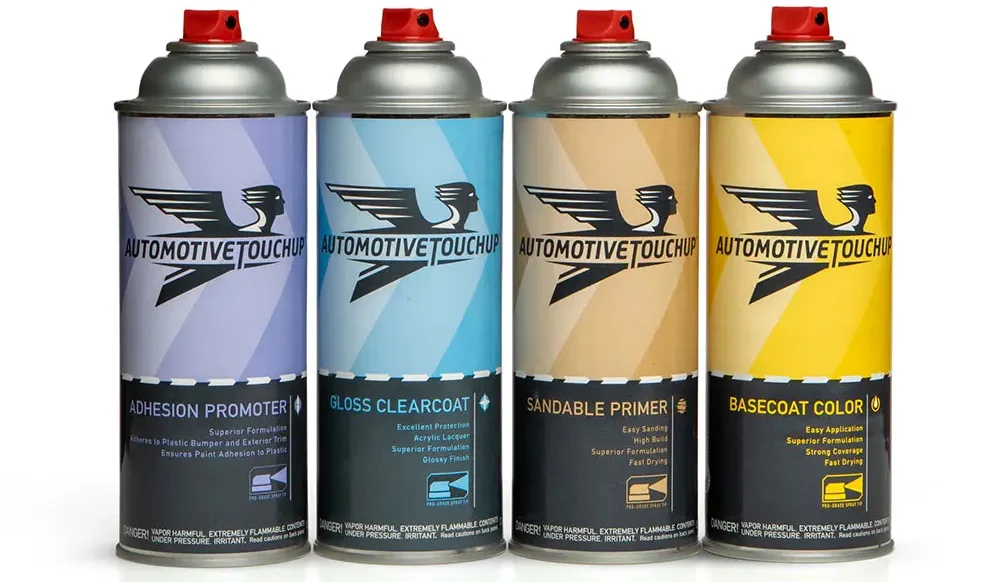
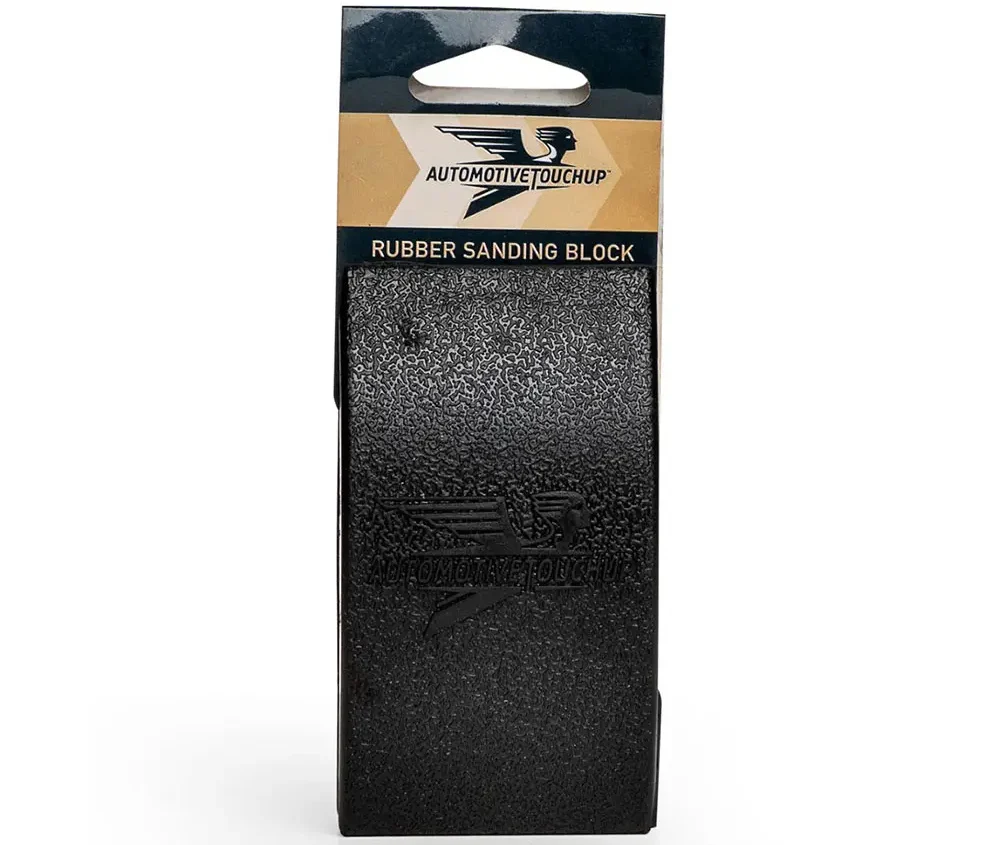
Wet sanding is the process to smooth out the orange peel. You’ll actually be using ultra fine grit, waterproof sandpaper to carefully sand the orange peel smooth. You’ll need these inexpensive supplies available from AutomotiveTouchup:
You’ll also need a spray bottle with clean water in it for sanding, and some clean microfiber towels.
To begin, cut a sheet of 2000 grit sandpaper to fit and fix it to the rubber sanding block. Next, spray the sandpaper with water from the bottle, and then spray the work area. Just get both areas damp, it doesn’t need much water. Rub your fingers along the area you want to sand, and note how it bumpy it feels. This is important, so pay extra attention here because you will be comparing your work as you go.

Now, lay the sanding block on the work area. Work in little areas about the size of your sanding block, and blend slightly into the surrounding areas you clear coated, including the factory paint. Lightly rub the sanding block side to side a few strokes until it starts to drag a little. That drag comes from the orange peel being leveled out as you sand the clear coat.
Remove the sanding block, and feel along the surface you just sanded with your fingertips. It should feel much smoother than when you started, so you know it is working. Rewet the area and the sanding block with the spray bottle. For this next step, move the sanding block up and down lightly over the area you just sanded. This helps to further level the orange peel, and also helps to remove any micro scratches you get from sanding.

Remove the sanding block and rinse the area with water, then feel it again. It should be even smoother than before. Rinse a nearby area of factory paint, and run your fingers over it. Compare that with the area you just sanded. They should start to feel about the same. If not, just sand a little more until it feels close and the visible orange peel is gone. Don’t sand too much or you’ll sand away the clear coat, and then you’ll have to respray it. It is better to leave the clear coat a little rough rather than to sand through it. The next step will help smooth things out even further.
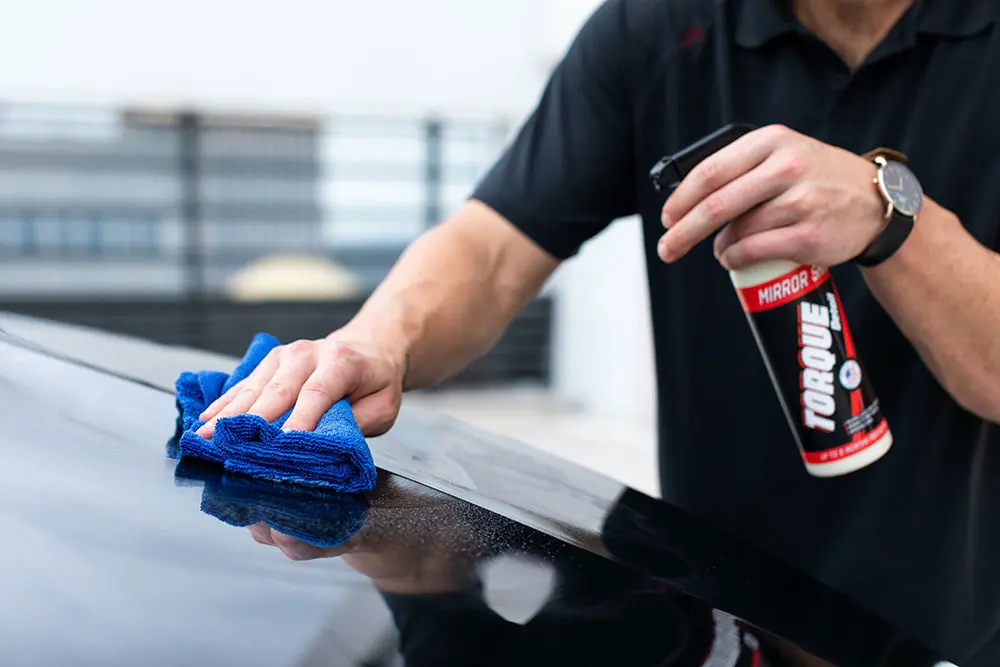
When you’ve finished sanding, rinse the area well, pat dry with a microfiber towel and let the work area dry. It should have a dull, even sheen to it, with no orange peel. That’s good, you’ve done well! Now to bring back the shine, you’ll use the rubbing compound to polish the work area. Use a microfiber cloth and follow the directions on the bottle. Move to a clean part of the towel frequently, and change towels often as you go along.
For larger areas or to help polish faster, most automotive parts stores offer a polishing kit that attaches to your drill motor. They work great, but be extra careful if you use one. It can burn through all the built up layers of clear coat and paint, right down to the metal!

When you’re done polishing, wash the work area again with soapy water, rinse well and dry. Now stand back and look at that shine. Be proud that you did it yourself and that it looks AWESOME!
The simplest way to remove orange peel is to prevent it before it happens, but if it does, you can fix it easily. Like we’ve said time and again, with a little bit of patience and the right products, you can fix your paint with help from AutomotiveTouchup.com.
Images: Automotive Touchup, Matheus Viana and Pexels.com
Share Link