 mach1 media
.
July 31, 2024
.
Diesel World
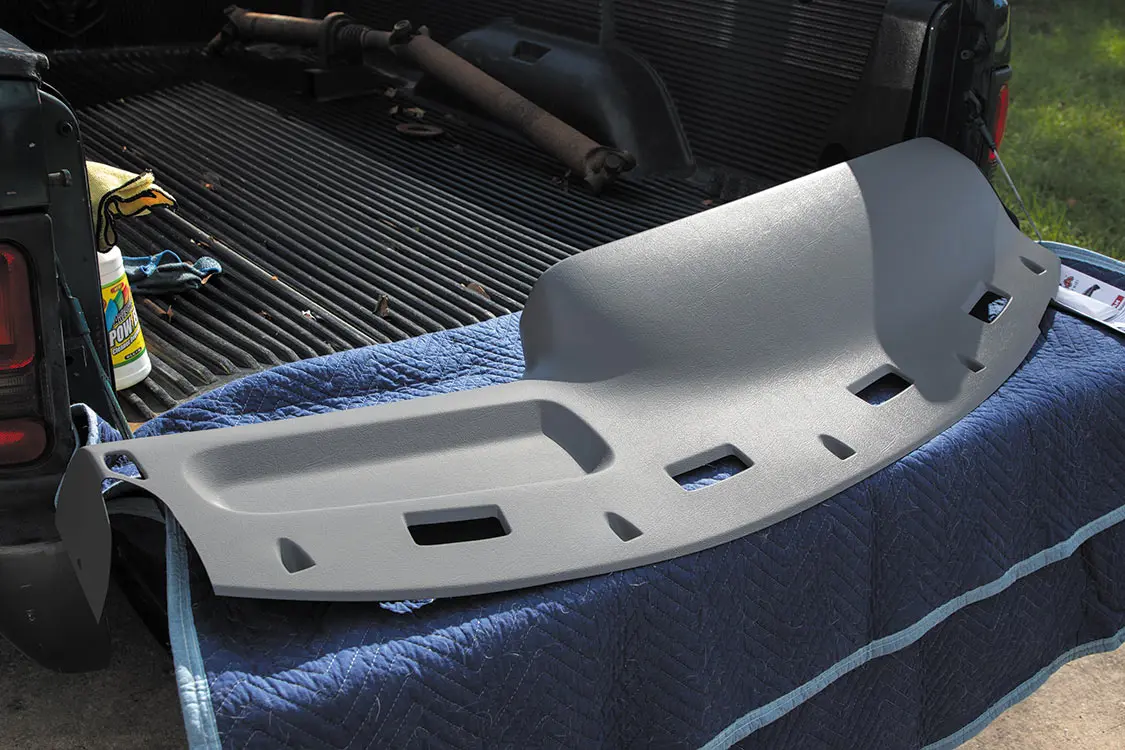
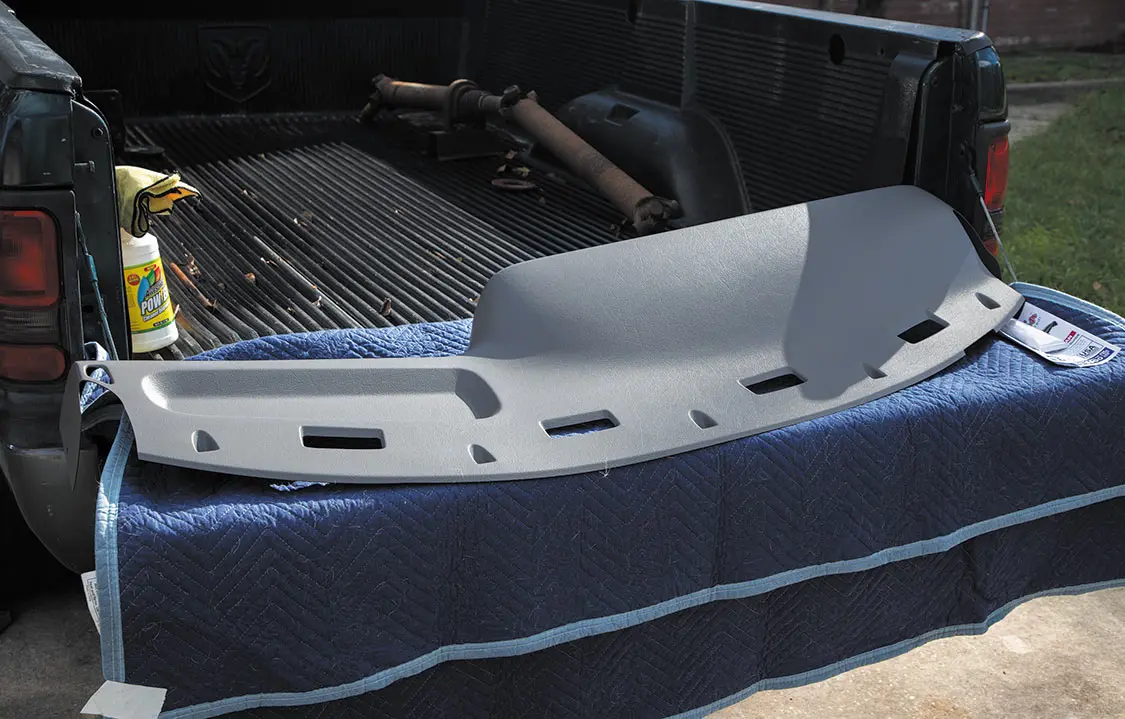
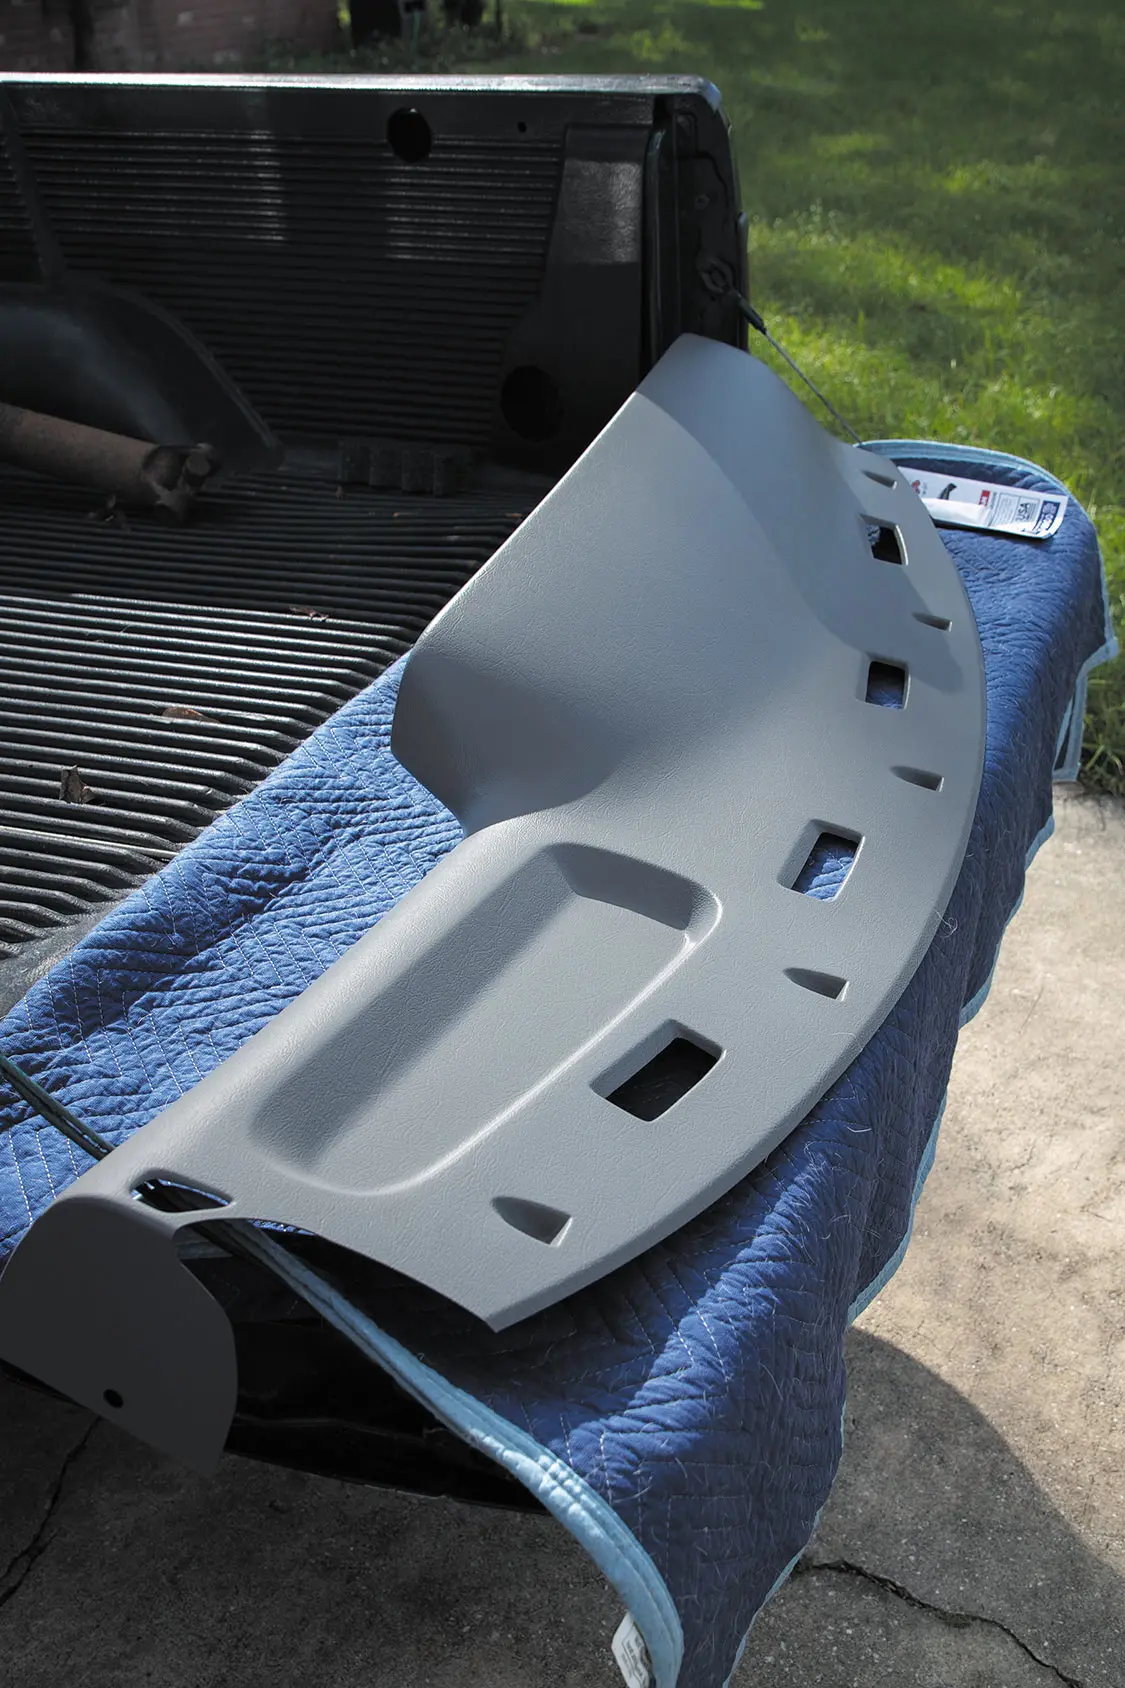
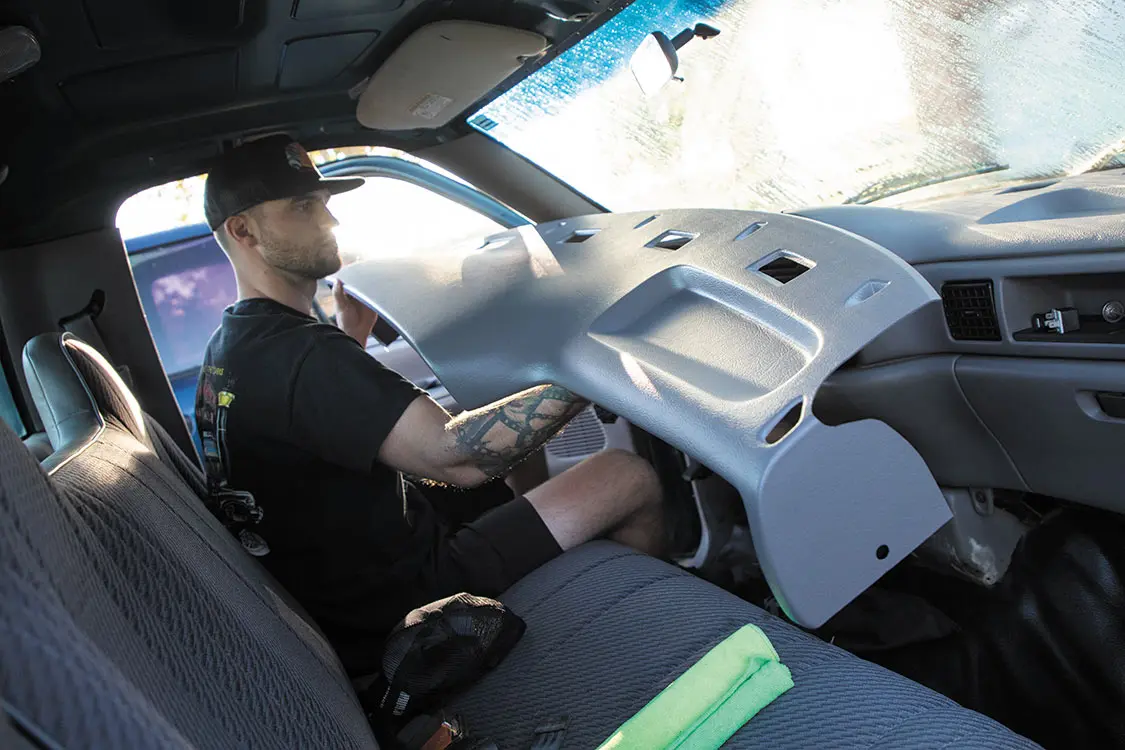
Ready for a quick weekend improvement project? Let’s get started on our DashSkin installation! We recommend you have a dedicated work bench or tailgate with a soft blanket to lay the cover on during install. This will ensure that all of your tools are right where you need them, making the install go very smoothly.
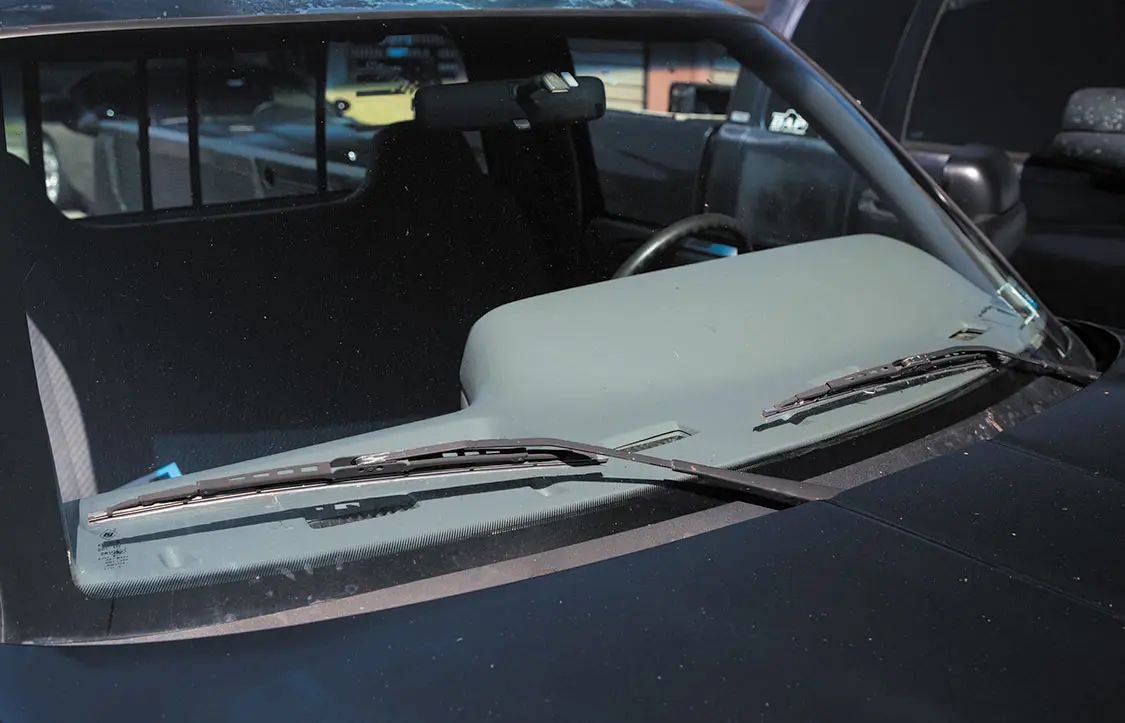
Test-fit your dash cover before installation. Some ends/edges of the cover may flare up slightly or may not lay completely flush under the weight of the cover alone; take note of these spots, as after you have applied the adhesive, these spots will need to be held down.
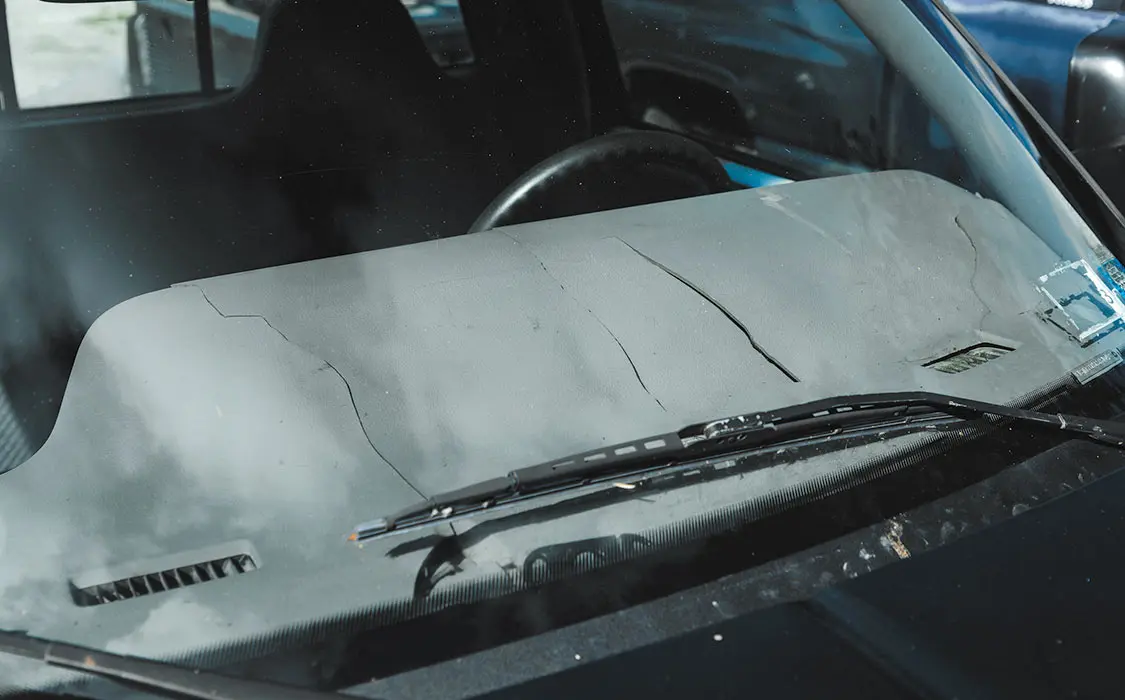
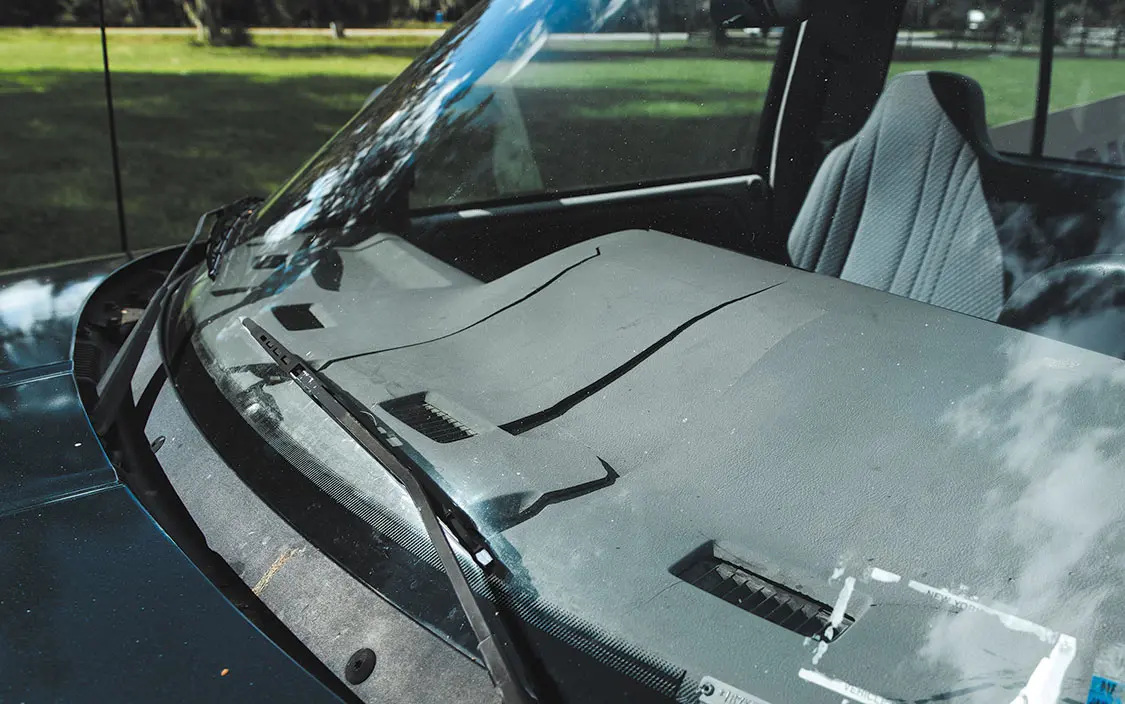
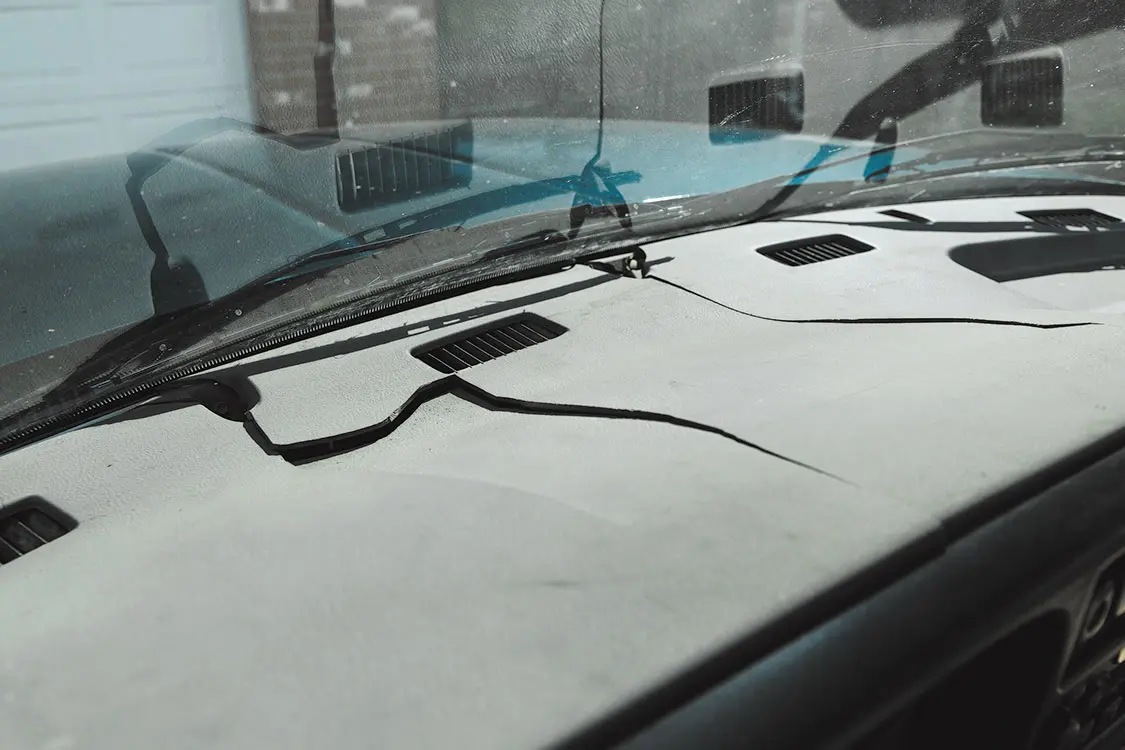
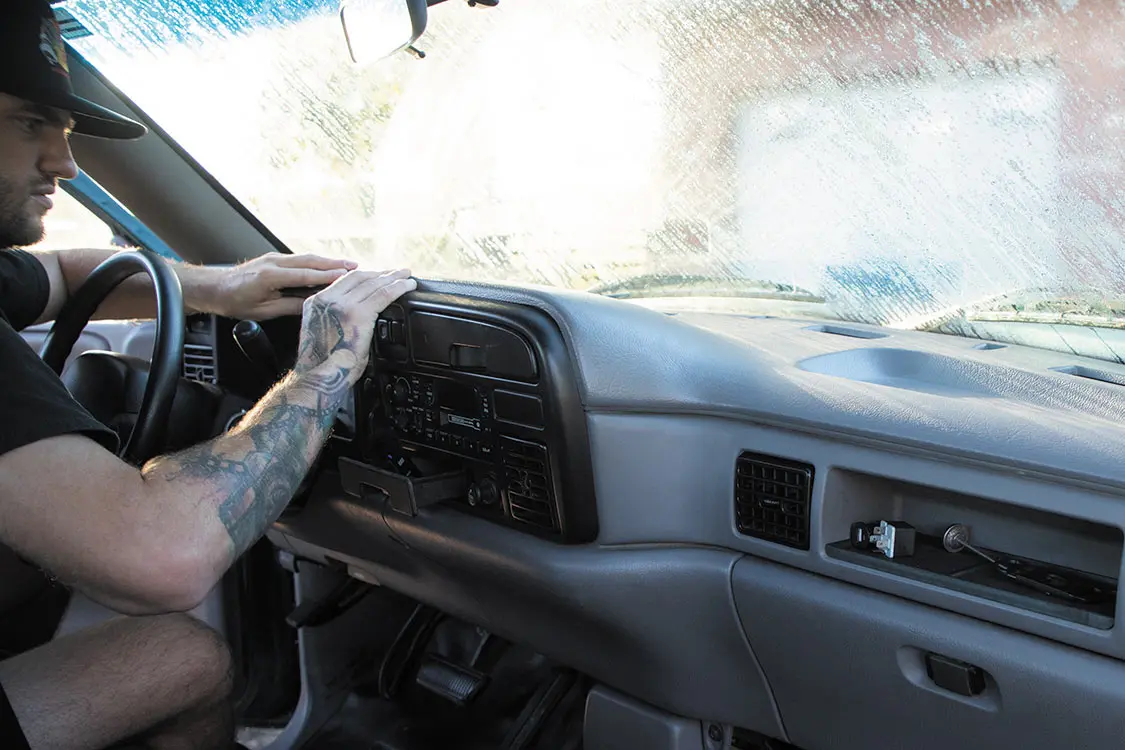
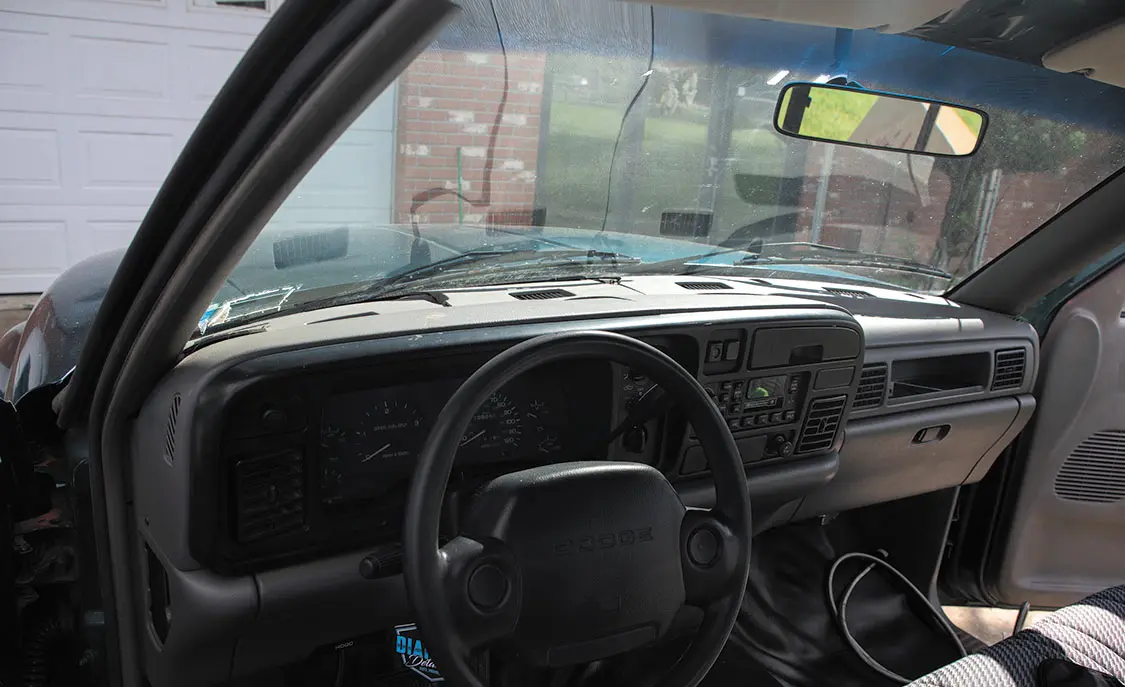
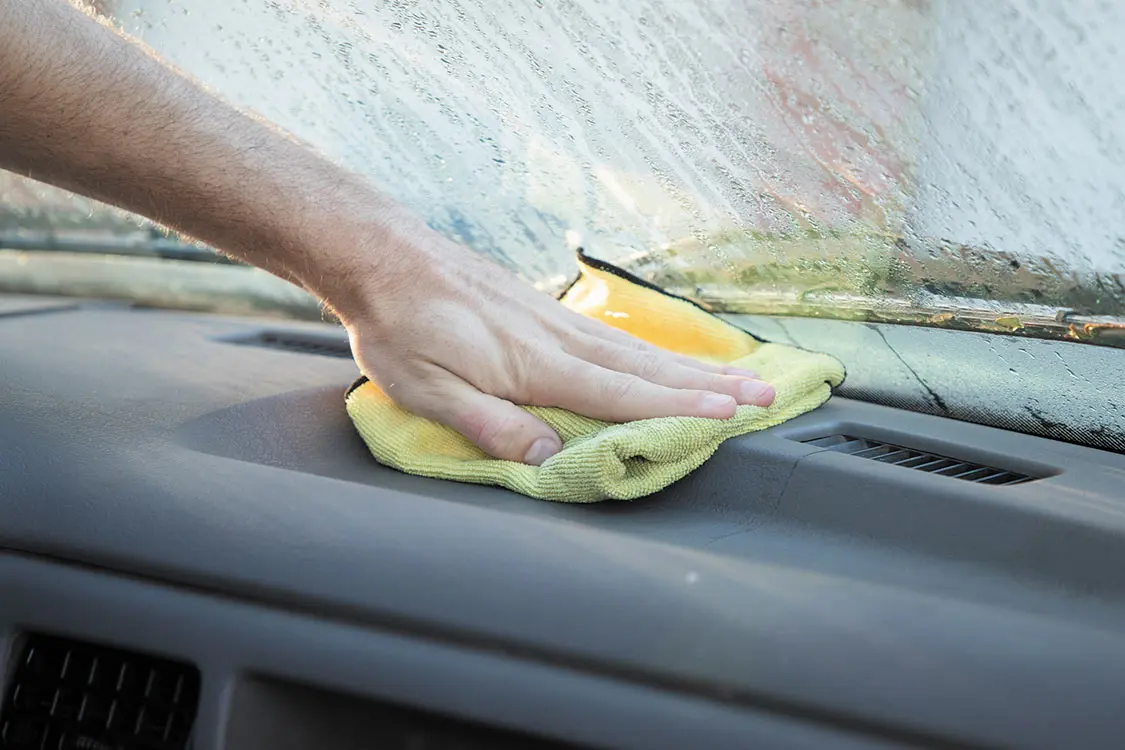
Clean the surface of the dashboard thoroughly with a general purpose degreaser to remove any residual interior shine, dust, and grime to give the silicone a clean surface to tack to. Lay the DashSkin topside down on something soft, like a towel (to avoid surface scratches). Harsh solvents should not be used on the dash cover; stick to just using a damp rag.

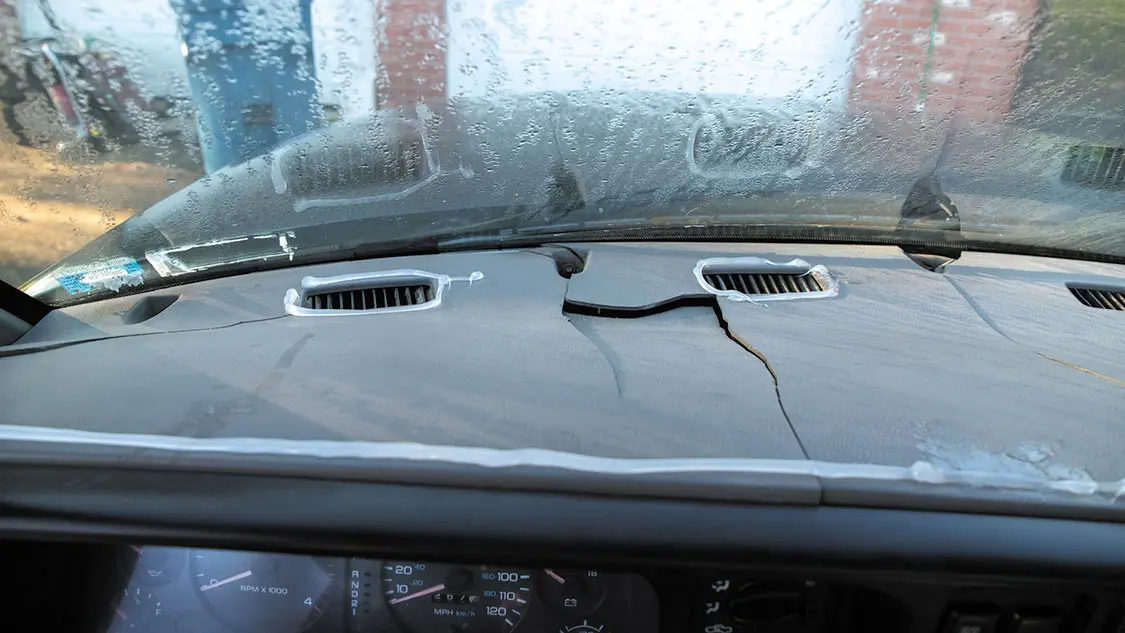
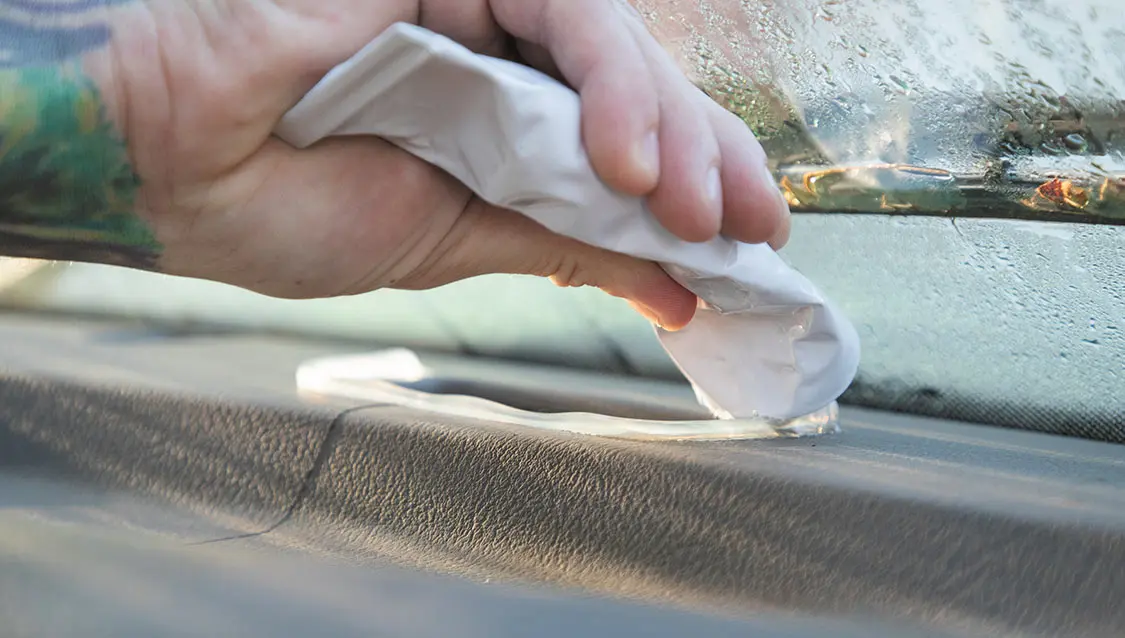
Apply the glue just like the picture shown above using a thin, continuous bead around the air vents and airbag opening. Use any remaining silicone to seal up any cracks in the dash, and outline any holes. This will add strength and prevent rattles.

Slowly and carefully, install the glued DashSkin over the dashboard and lightly push into place. The silicone adhesive will take at least six hours to cure and will not provide any “stickiness” to hold the cover down until it has cured. For this reason, you’ll need to weigh the cover down so it is pressed flush against the dash for the entire length of curing time. Phone books, small sand bags, or reams of paper work well as weights for the top surface. Ensure your weights are evenly dispersed around the top of the skin to prevent dips or uneven adhesion. Super heavy weights are not necessary; generally 5 to 10 pounds is plenty to ensure good contact.
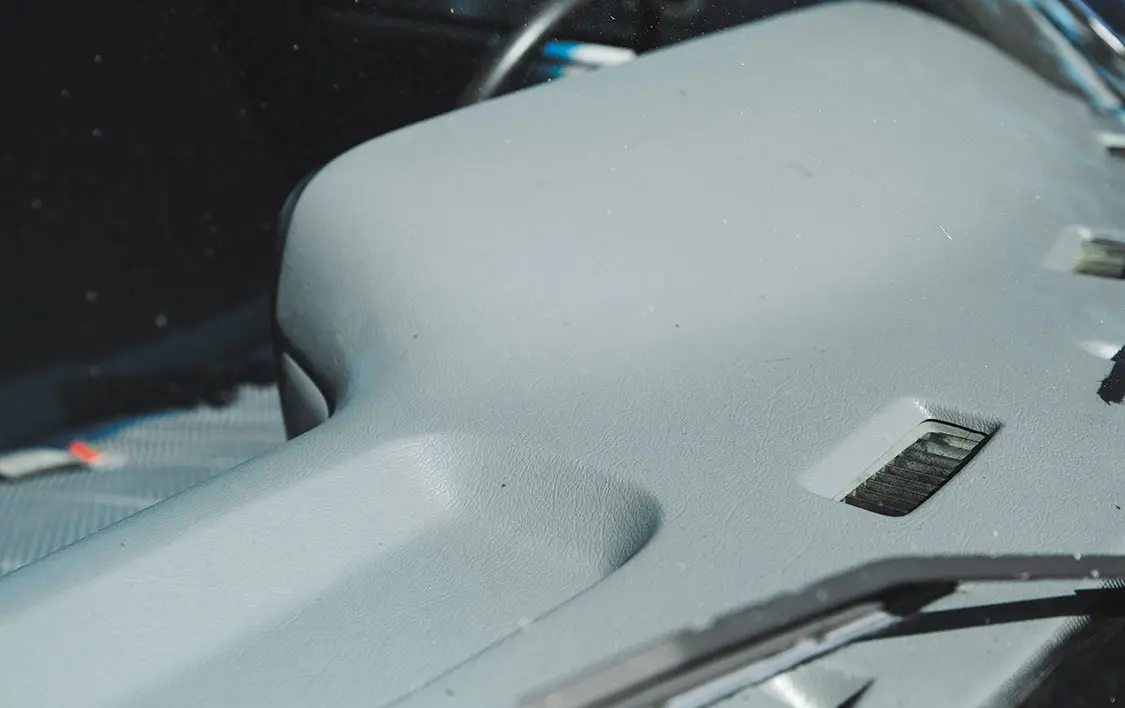
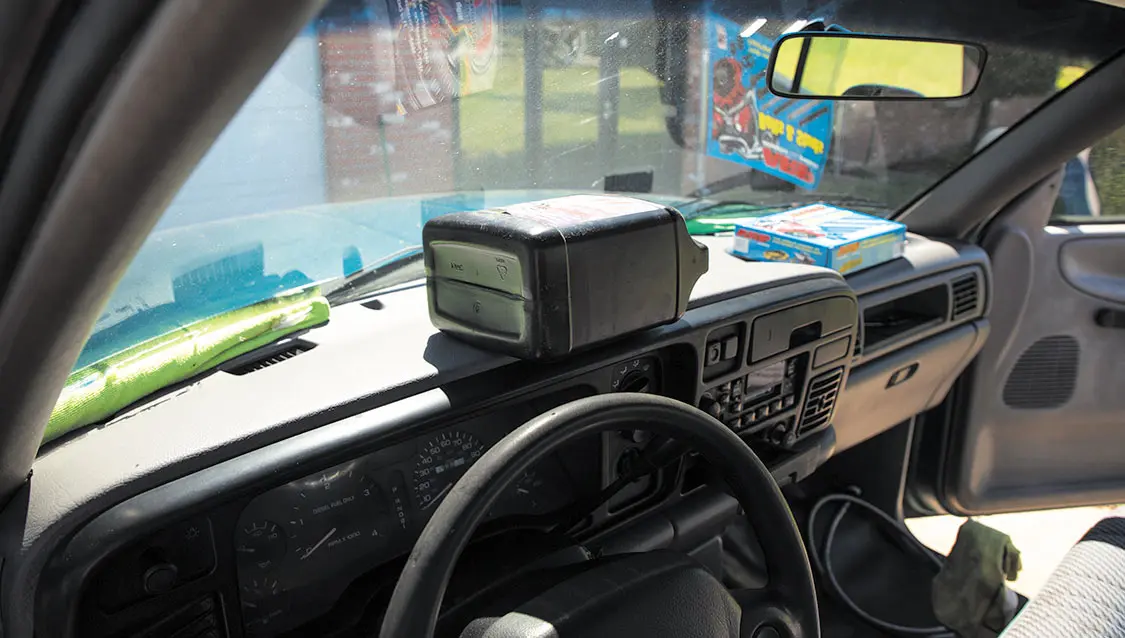
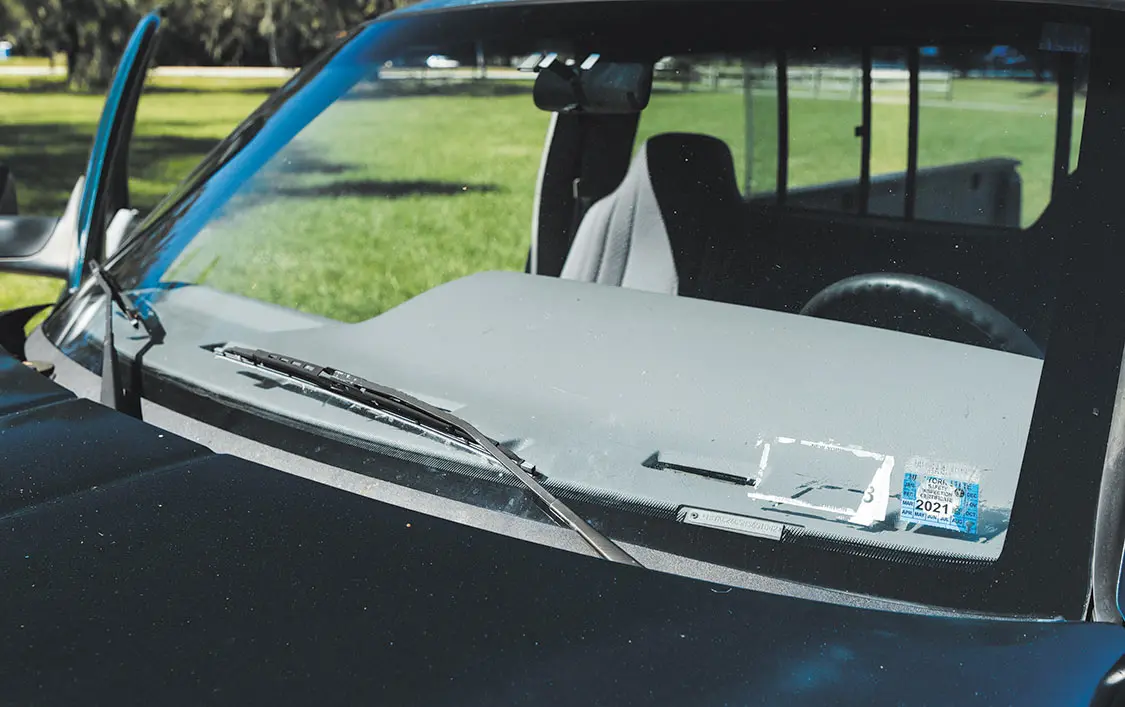
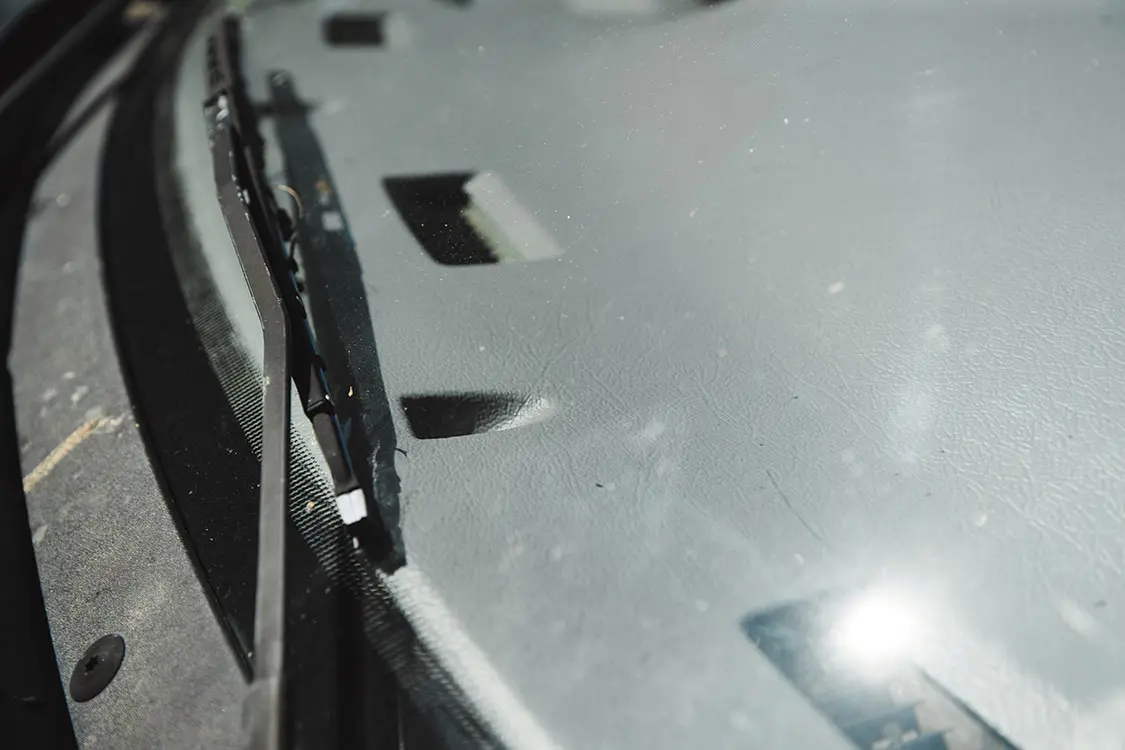

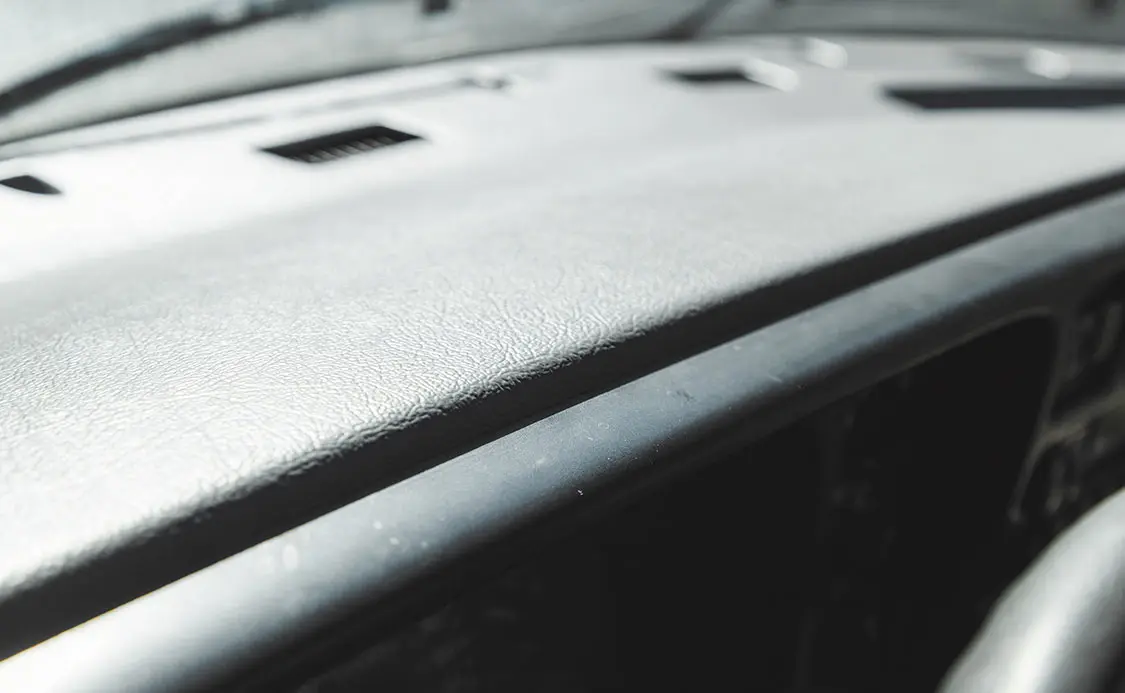
Sit back, crack open your second cold one, and admire how much value you just added back to your truck! You can clean your new DashSkin using a damp washcloth or standard automotive interior shine spray.
Share Link